We’ve stocked a gorgeous ‘country style’ printed linen fabric for a while now and for all the time it’s been here, I’ve been promising myself that I’d find a perfect excuse to use it. It’s far too pretty to be just sitting on a shelf, but what to make with it?!
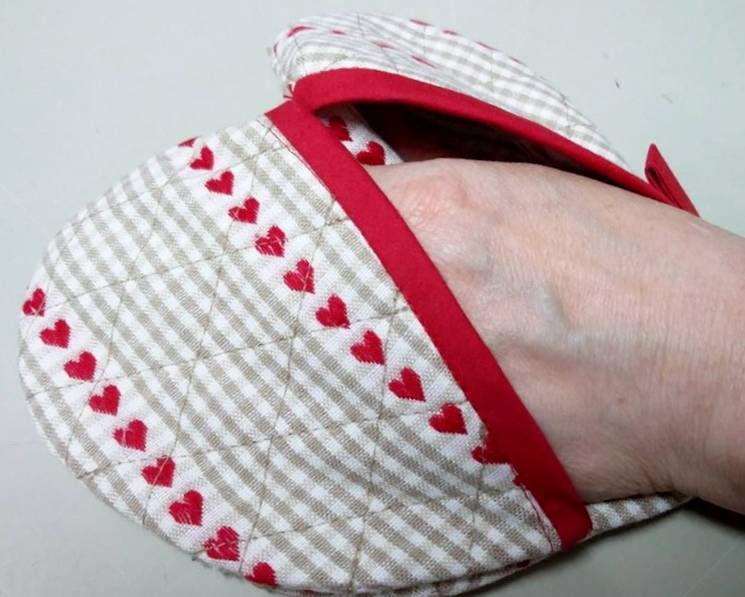
Last week, I decided that for this week’s Crafty Friday tutorial, I would finally get around to using it – so I did – I made this lovely heart shaped oven mitt and I have to say, I’m really pleased with how it turned out.
You could make two, so you have a pair of mitts or just make the one (as I did). This tutorial will explain how to make just one mitt – if you’re making two, make sure to cut double to quantities shown below.
These would make lovely gifts for Christmas, House-warmings or even birthdays. The print on this material is super-cute and it adds a bit of that sought after country-style to any kitchen.
What You Will Need

- 30 cm Fabric
- 30 cm of Thermal Batting/Wadding
- 30 cm of Cotton-Soft (or light-weight) Batting/Wadding
- (The fabric I used was 150cm (60 Inch) Wide. I managed to get the required pieces cut out with a small amount left over. If you’re using fabric with a shorter width, I would double the amount so you’d need 60 cm.)
- 50 cm Coordinating Bias Binding (You could also make your own with the same material if you prefer)
- Fabric Marker Pen/Tailors Chalk (I used a Sewline Marker Pen)
- Coordinating Thread(s)
- Scissors
- Walking Foot (for Sewing Machine)
- Quilting Needles (for Sewing Machines Size 90)
- Sewing Machine
- Pins
- Sellotape
- Printer – to Print out your pattern pieces
How to Make a Heart-Shaped Oven Mitt
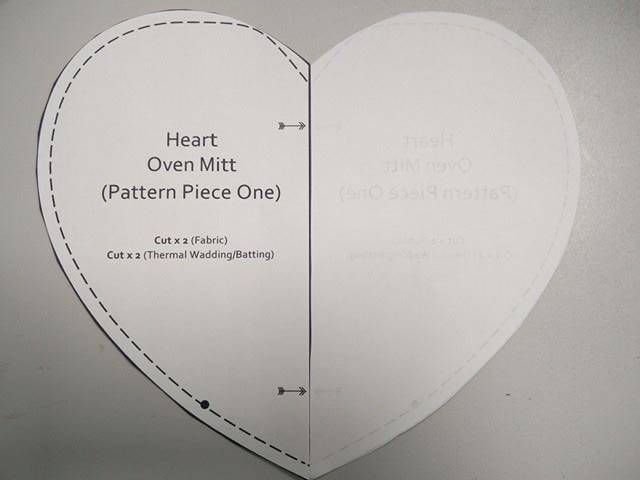
You’ll need to download the Heart Shaped Oven Mitt pattern, this will be used for your pattern pieces. You will need to print the file as it is, do not “Fit-to-page” or adjust the sizing or your mitt will be too small. You’ll need to print two copies of each pattern piece.
When printed, cut around the solid lines of each pattern piece. For Pattern piece ONE, you will need to join both piece so that the arrows are joined in the middle – for this to work you’ll need to flip one piece over. Once level sellotape together.

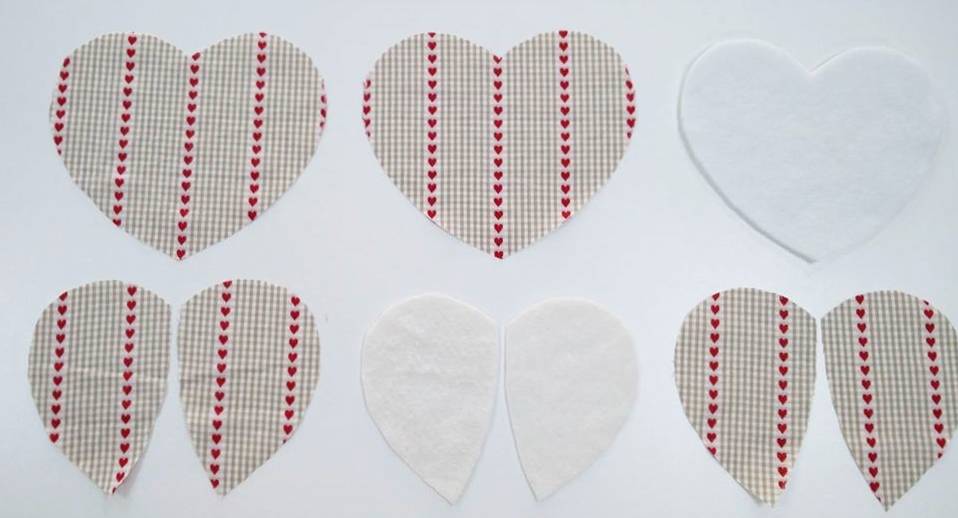
Pin all three pattern pieces to your material and cut out. You’ll need to make sure that you’re cutting out two of each piece. So you’ll have 2 full heart shapes (pattern piece one) and 4 half-heart shapes (pattern piece two.)
Trim the pattern pieces to the dotted line, so they will now be smaller. Pin the full-heart shape (pattern piece one) to the thermal wadding/batting and cut. Pin the half-heart shapes (pattern piece two) to the cotton-soft batting/wadding and cut out. You should have one cut of pattern piece one and two of pattern piece two.
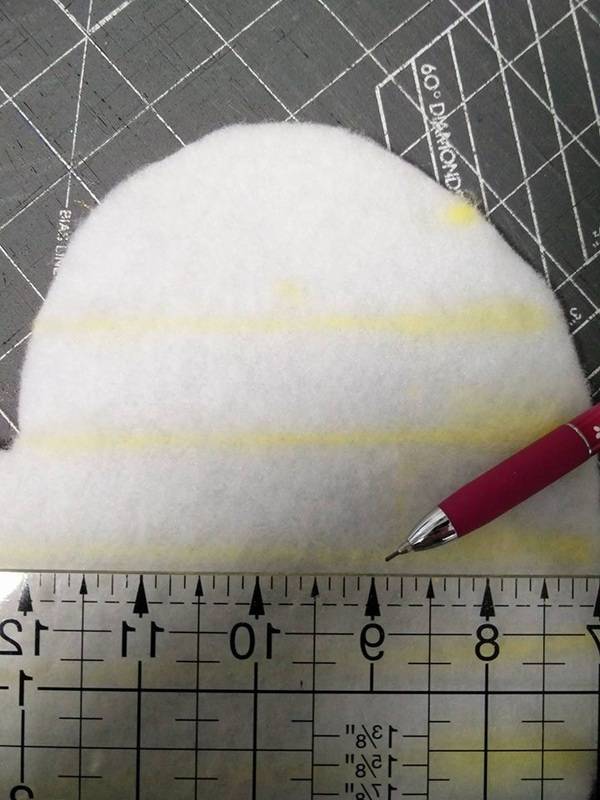
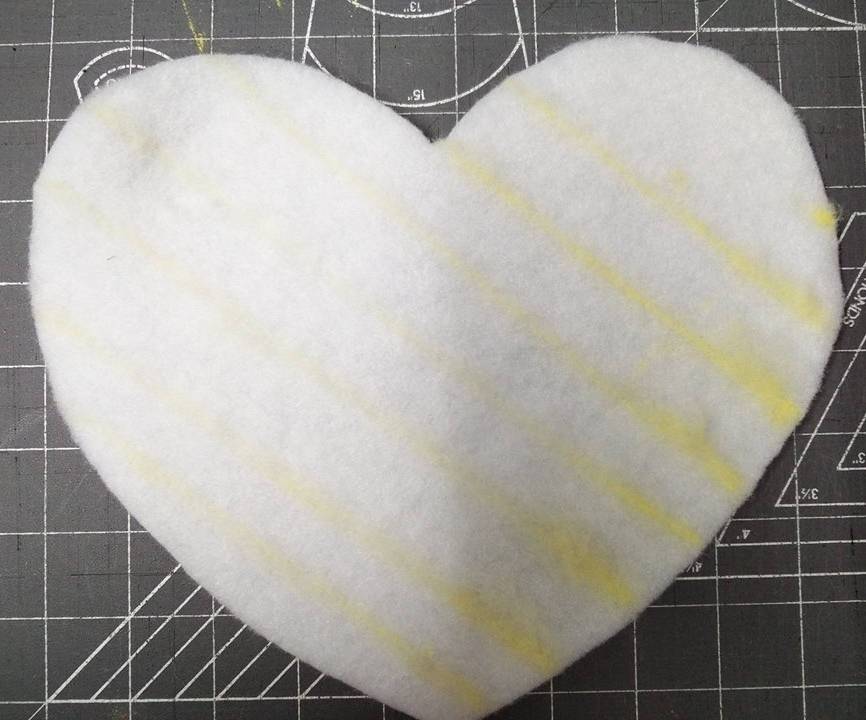
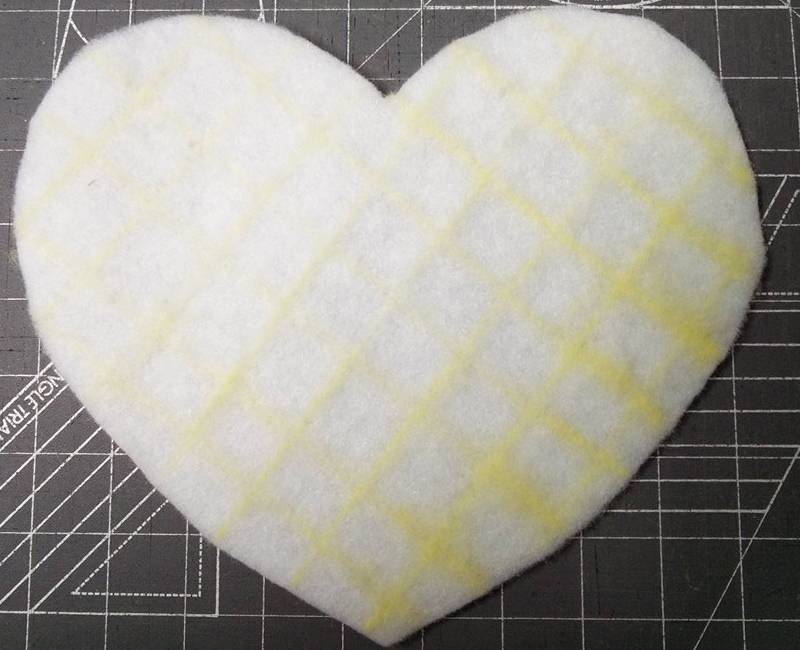
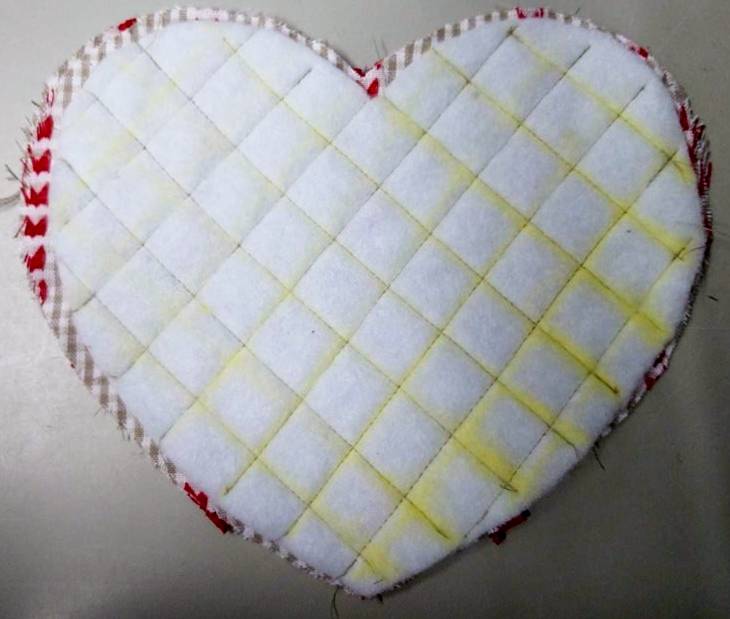
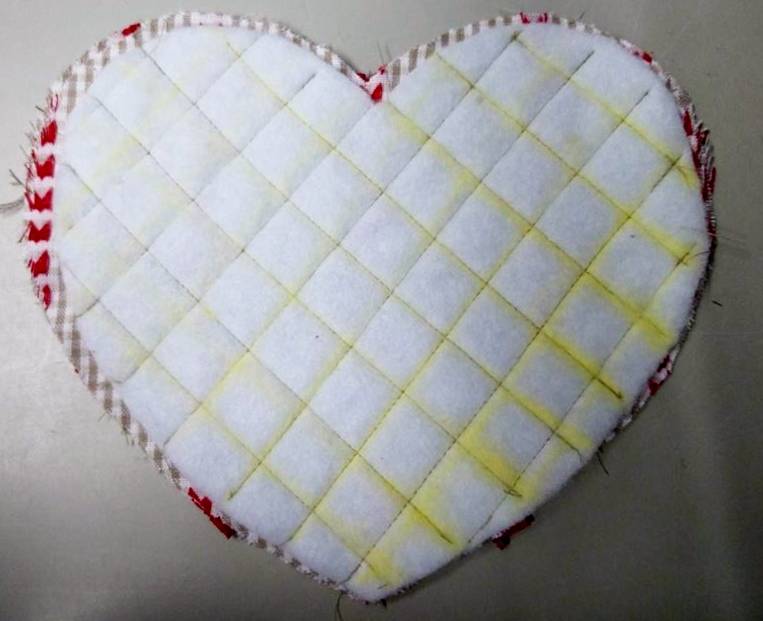
Using a ruler and your chosen fabric marker men (or tailor’s chalk) mark diagonal lines across the thermal wadding, each 2.5 cm apart from the last. Repeat this in the opposite direction to create a cross-hatched pattern.
Place the thermal wadding, cross-hatched side up in the middle of one of the main fabric full-hearts. You’ll want to make sure your bottom fabric is facing wrong side up.

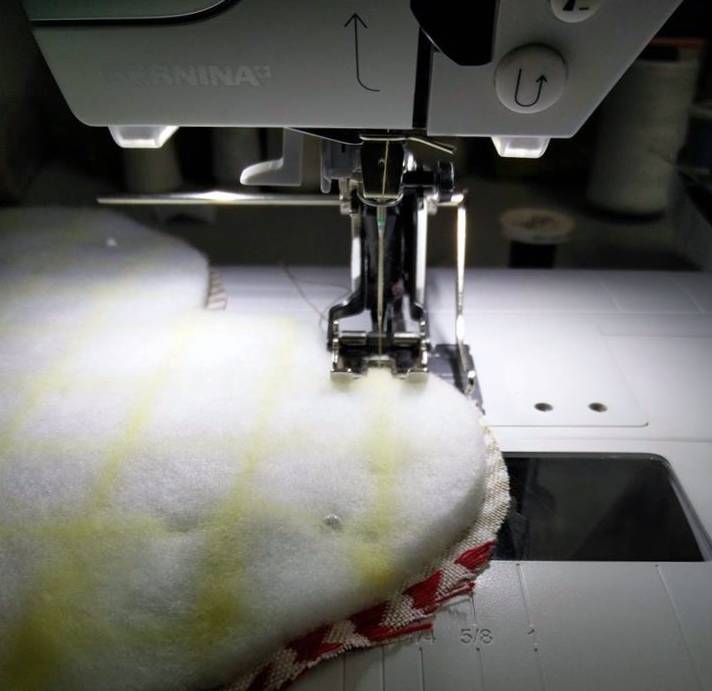
Set up your sewing machine with the coordinating thread and your walking foot.
Stitch along the first of the lines you have marked. Trim your thread at the end. Line up the sewing gauge with the line you have just sew and your foot with the next marked out line, stitch keeping the guide in line with the previous stitching. Repeat this until you have sewn each line in both directions.

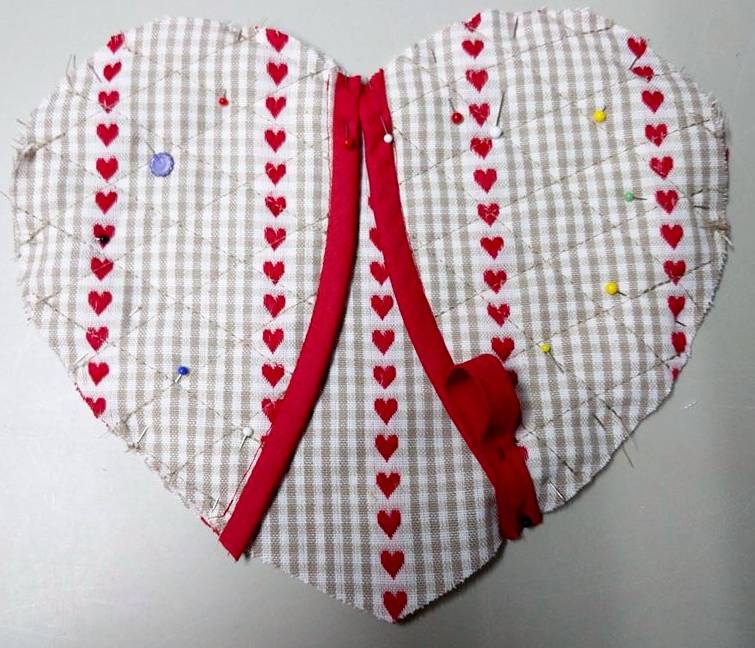
Take two of the fabric half-hearts and the two pieces of cotton-soft wadding/batting. Line up the non-curved edge of the wadding with the non-curved edge of the fabric. You should have a small seam allowance (just fabric) around the curved edge.
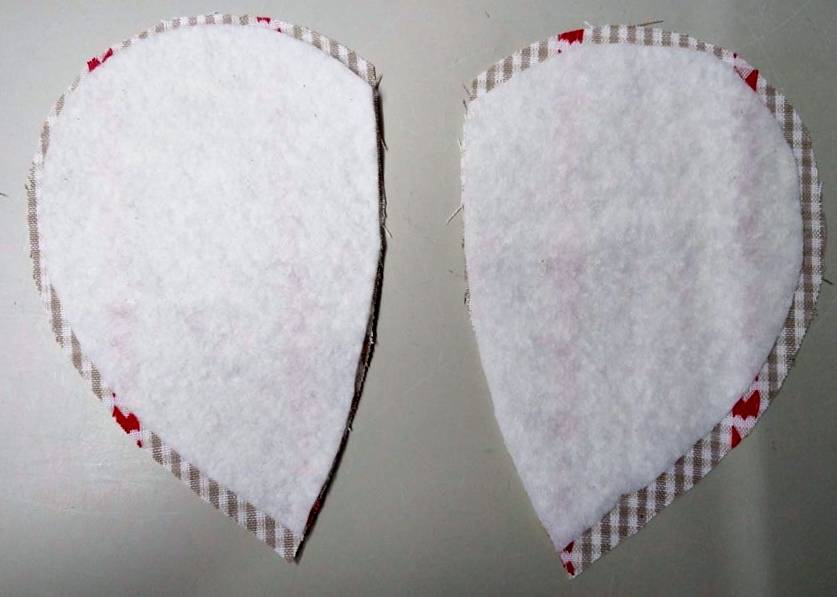
Place the second half-heart fabric pieces on the top, so you now have a fabric-wadding-fabric sandwich. Pin lightly. Stitch in the same way you did the back of the mitt. So that you end up with two quilted half-hearts.
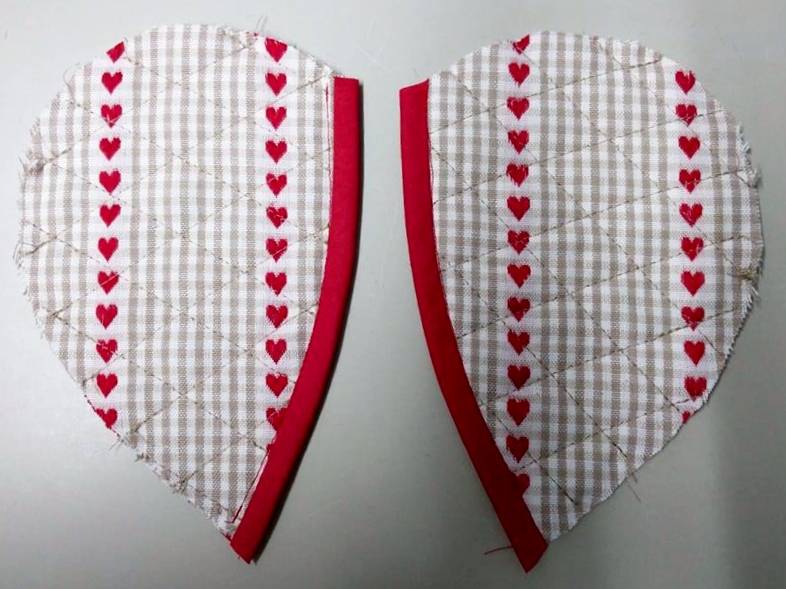
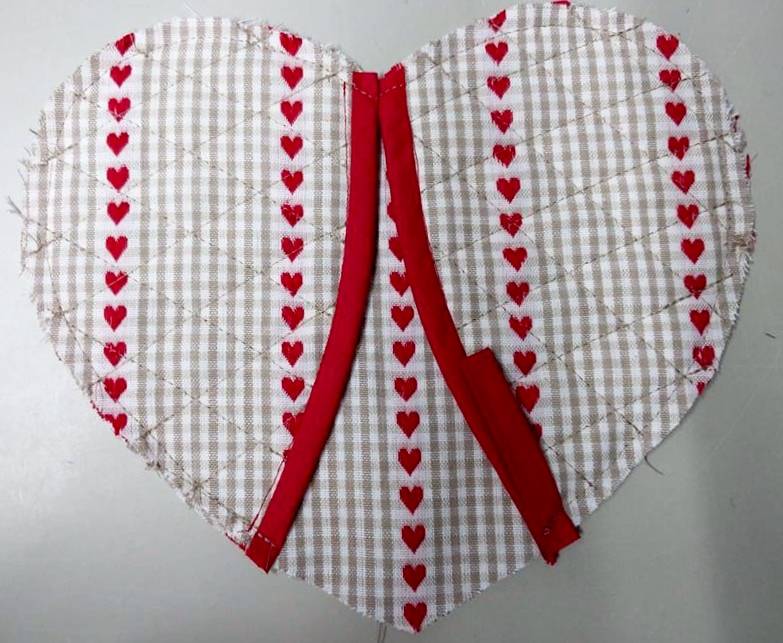
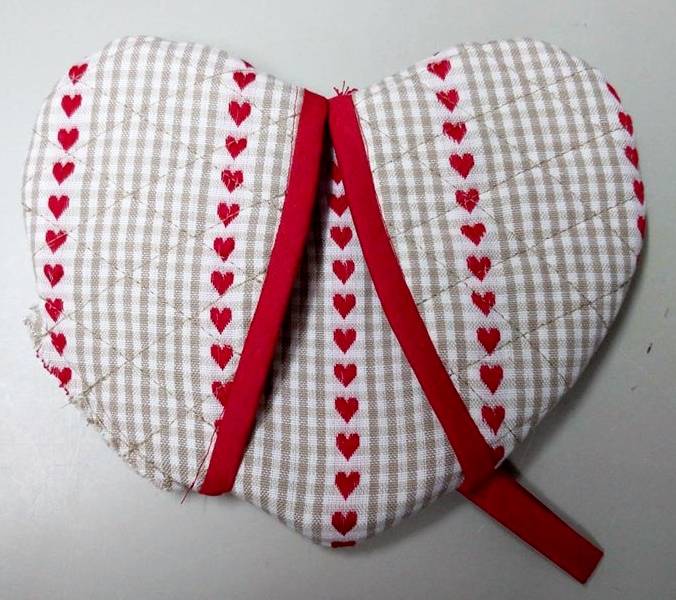
Using a coordinating bias binding (or one you have made yourself) and coordinating thread, stitch the bias binding along the non-curved edge of the heart, repeat this for both hearts. You should have about 10 cm of binding left over.
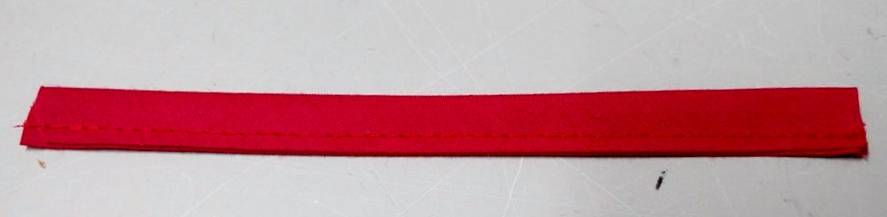
Using the remaining bias binding, fold in half, press and stitch close to the edge. This will become your hook to hang the mitt with.
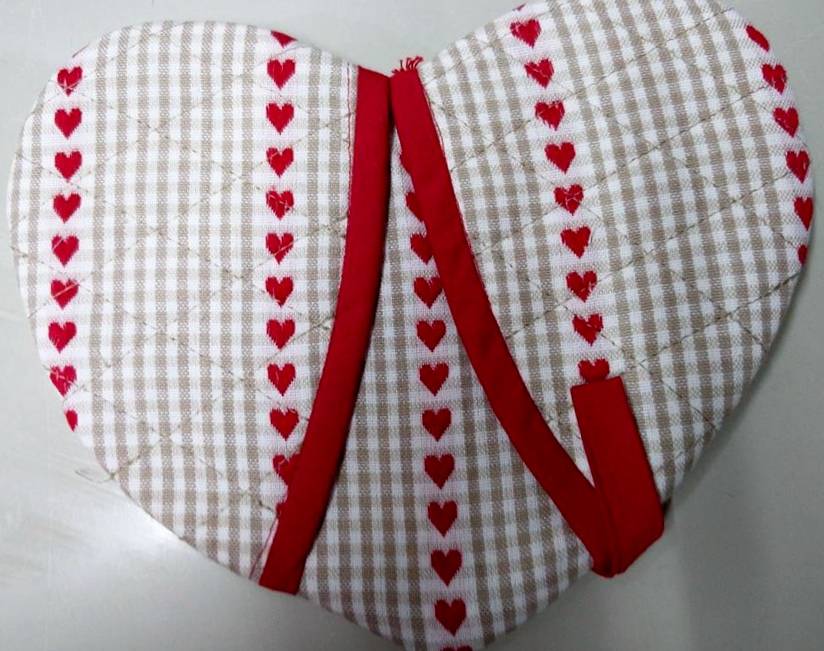
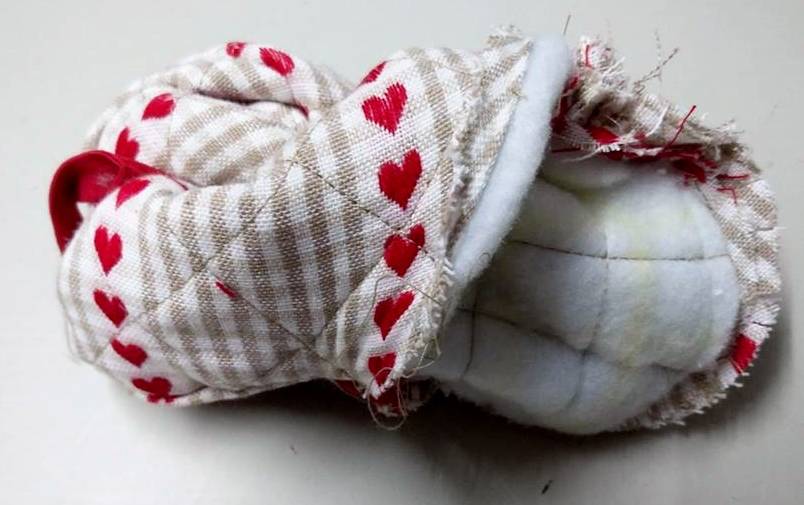
Using the remaining main fabric full heart, line the pockets up on top of the heart. You might find that the bound edges overlap at the ‘V’ in the top of the heart, but that is OK.
Fold the hook in half and pin to the bottom edge of either pocket. Pin all the way around the pockets, pinning them to the main fabric heart.
Stitch from one pocket edge (where the binding starts) all the way around the heart, stopping when you reach the bias binding again at the other pocket. You’ll want to stitch as close to the edge as you can. I used a ¼ inch seam.
Place what you have just sewn, pocket side upwards on your work surface. Layer the thermal wadded piece on the top, so that the wadding is facing upwards. You should have right-sides of your fabric facing each other.
Stitch around the whole heart shape, leaving a 4 inch gap along one of the edges – this will be where you turn out your work. Stitch using a 3/8 inch seam allowance.
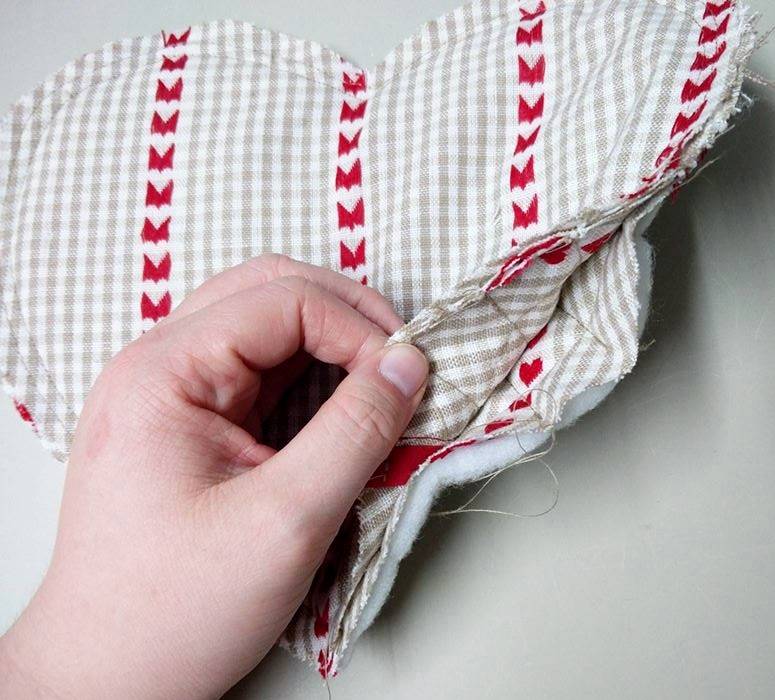
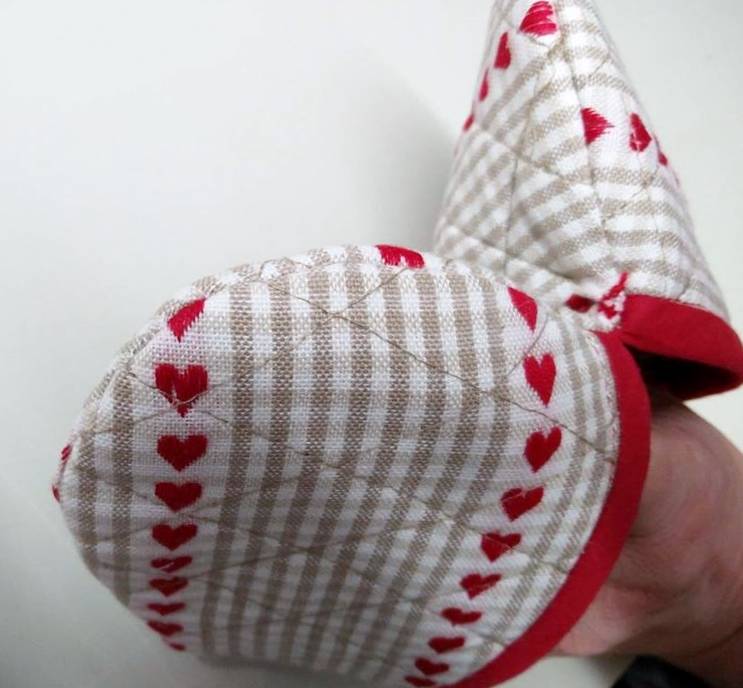
Clip the curved edges. Turn out your piece of work.
Press and hand-stitch the gap. Your oven mitt is completed – hooray! 🙂
To make our Heart Shaped Oven mitt we used our Country-look Linen Fabric, our poly-cotton bias binding and our heat-proof (Thermal) Wadding.
We hope you enjoyed this little tutorial and (as always :-)) we’d love to see any that you have made too, so feel free to send those to us via social media or our email address karendelahunty@outlook.co.uk