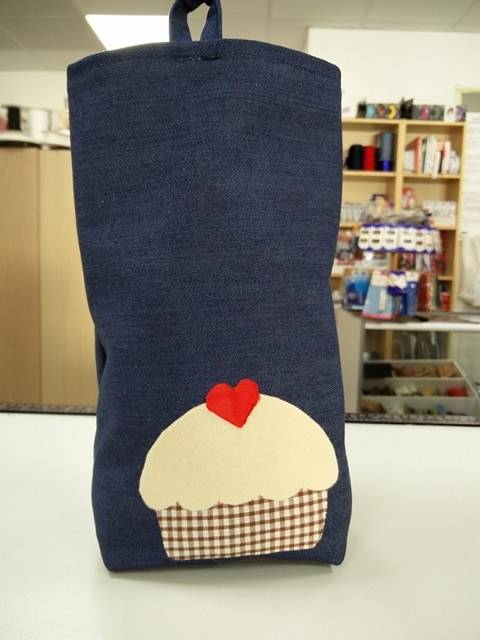
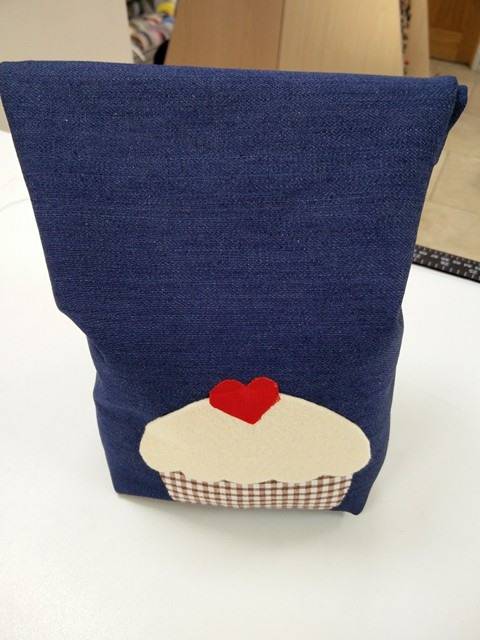
So the back to school madness has crept up on us all again. If you’re wanting to get your kids (or even yourself) to eat that little bit more healthily than why not make everyone one of these brilliant eco friendly lunch bags? Add some personalisation to them to make them that little bit more fun for your children and fill them up with yummy, healthy snacks! Brilliant!
What You Will Need
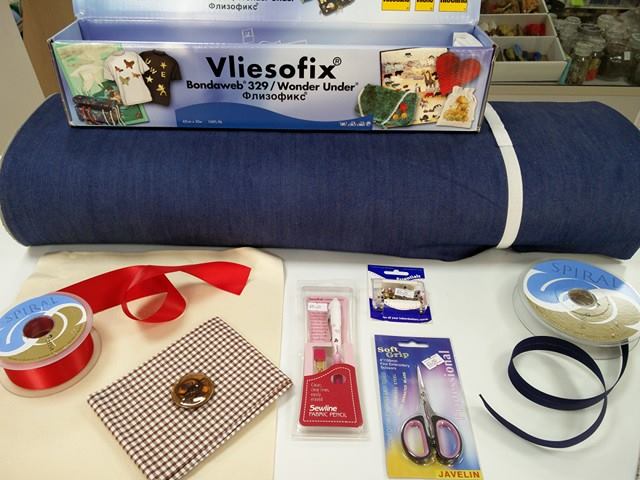
- 50cm Denim or Similar Weight Material
- 1m 20cm Bias Binding
- 1 x Square of Felt
- 10cm Red Ribbon
- 10cm Bondaweb
- 1 x Fat 1/4 in Gingham
- Coordinating Thread
How to Make a Green Lunch Bag
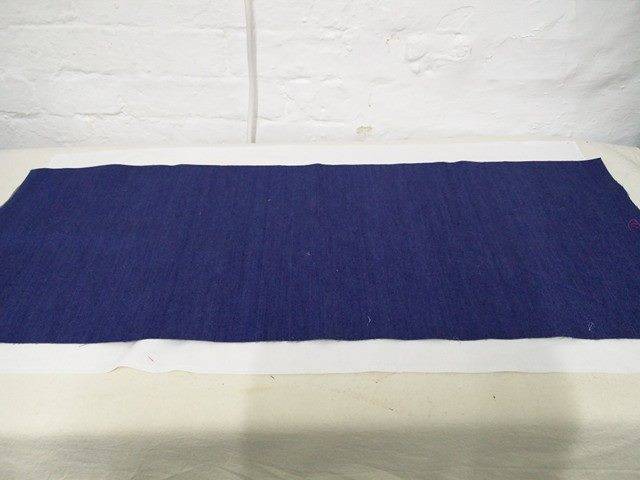
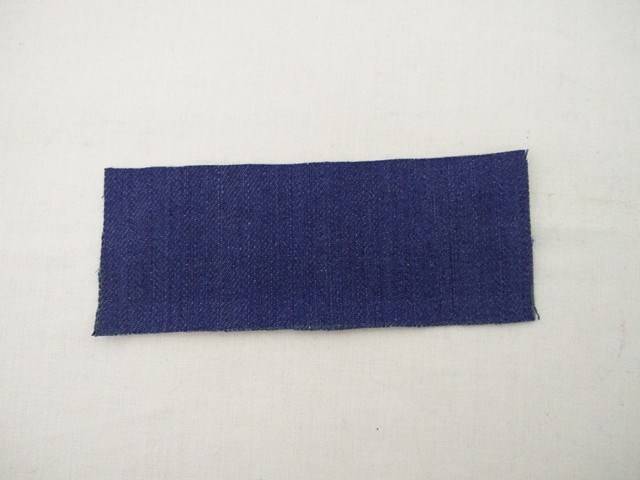


Draw a paper pattern, that is 29cm (11 1/2 Inches) x 74cm (29 Inches) and another that is 12 cm (5 Inches) x 5 cm (2 Inches). Cut one of each pattern from your piece of Denim material. This will make the main body of the lunch bag as well as the loop for the button.
Draw a cupcake template to a scale that you are happy with. Separate the template in to three sections; the case, the icing/cake, and the cherry. These will be your applique pattern pieces.
Using the applique pattern pieces cut one of each piece as follow:
- Use the cherry applique pattern, cut out in red ribbon
- Use the case applique pattern, cut out in the gingham
- Use the cake/icing applique pattern, cut out in felt.
- Cut the same pieces again in the bondaweb.
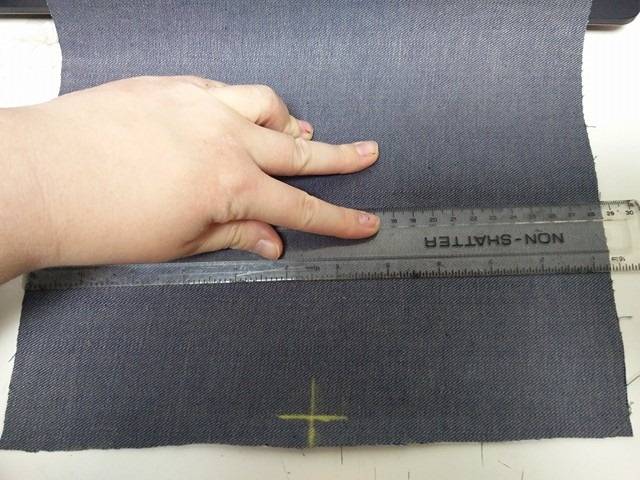
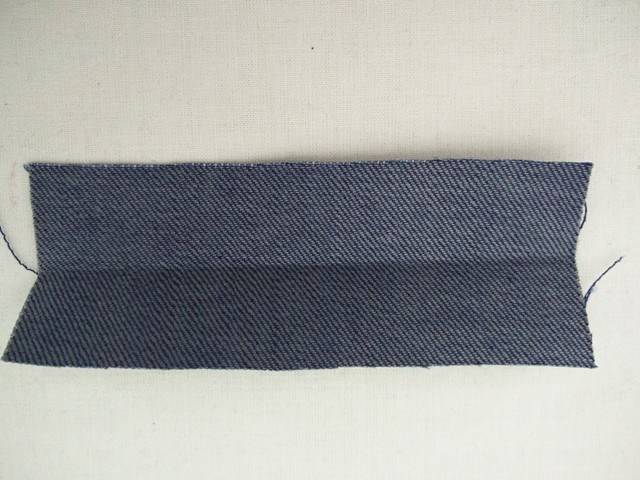
Measure 28 cm (11 Inches) from the top edge of one of the shorter edges of the denim rectangle you just cut out. Mark with a chalk or air erasable pen.
Take the cut out applique pieces – both fabric and bondaweb, and prepare. Heat the iron to a cotton temperature/setting. Lay the bondaweb on top of the matching fabric pieces, glue side facing to the fabric. Lay a pressing cloth on top and iron well, to ensure the bondaweb is affixed.
Once ironed, peel the backing away from the appliques, leaving a layer of glue on the back of the fabric. Start with the case applique, lay this where you previously marked the denim. Iron well to fix in place. Continue to place the appliques on where you would like them, iron well to ensure they stay in place.
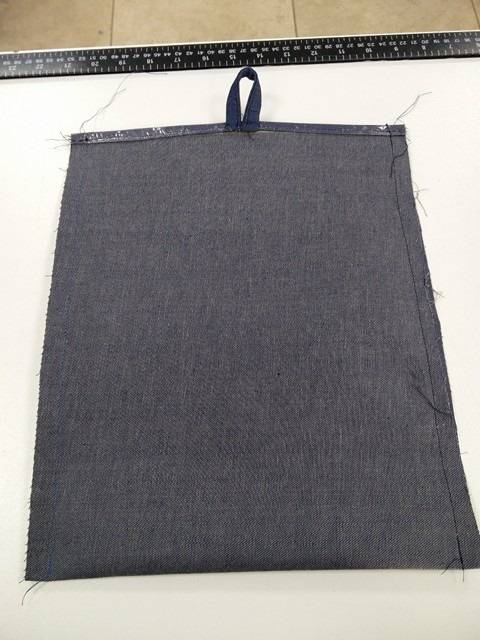
Make the button loop. Use the smaller template to cut a small strip from the denim. Press in half and then press the raw edges to the centre crease. Fold in half again, press and stitch.
Hem both short edges of the denim piece, folding over by 1.25 cm (1/2 Inch) twice. Find the middle point of one of the short edges and pin the raw edges of the button loop under the fold/hem so that the ends of the loop are either side of the centre point. Stitch in place.
Press the button loop upwards and stitch, so that it now points out of the top of the short edge of the rectangle.
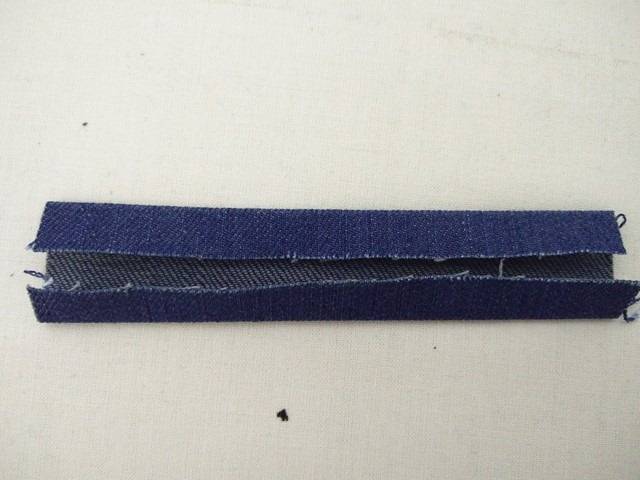
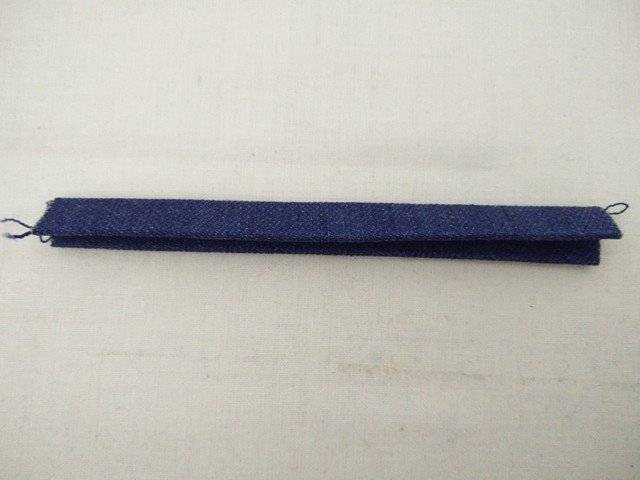
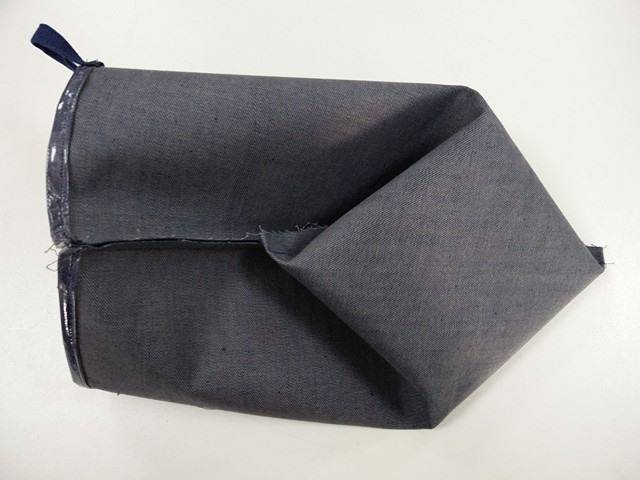
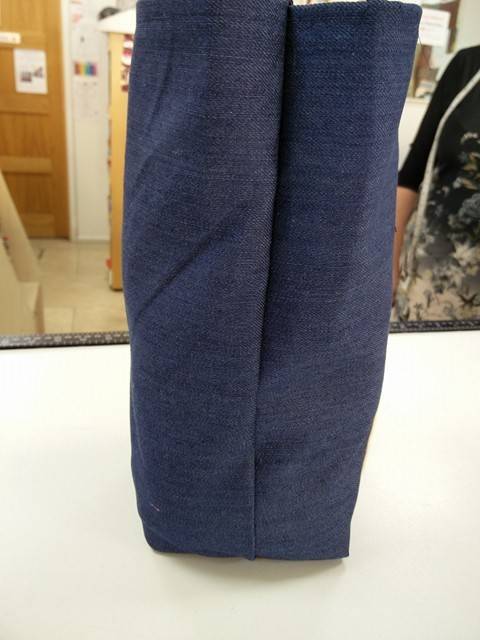
Fold the denim piece, short edge to short edge with the right sides facing inwards. Stitch the longer edges together using a 1.5cm (1/2 inch) seam allowance. Trim the seams as close to the stitching as you can. Pin the bias binding in place over the seam and stitch in place. Do this on both sides.
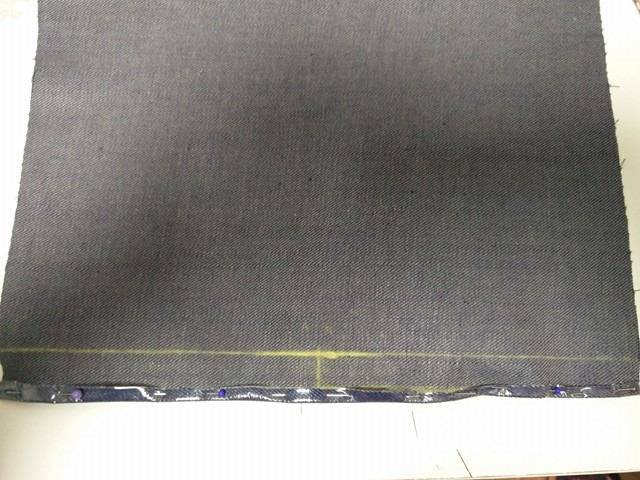
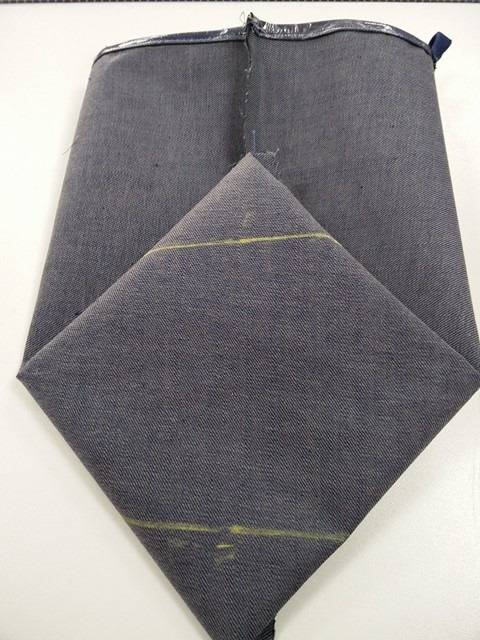
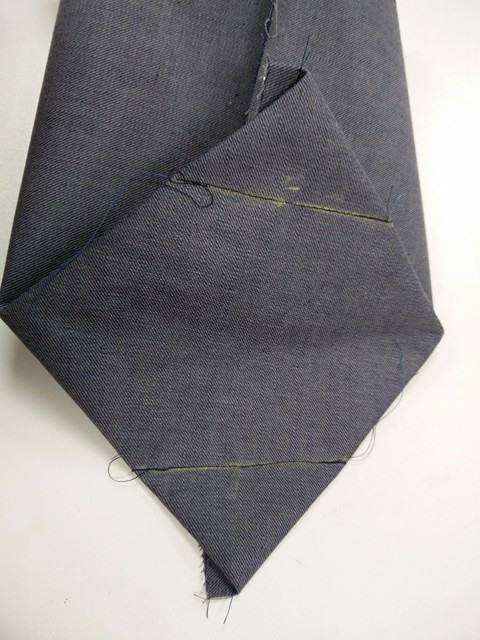
Still keeping the right sides together, pull the two layers of fabric at the bottom of the bag away from each other, until the bottom forms a diamond shape, with the bottom fold, going straight down the centre.
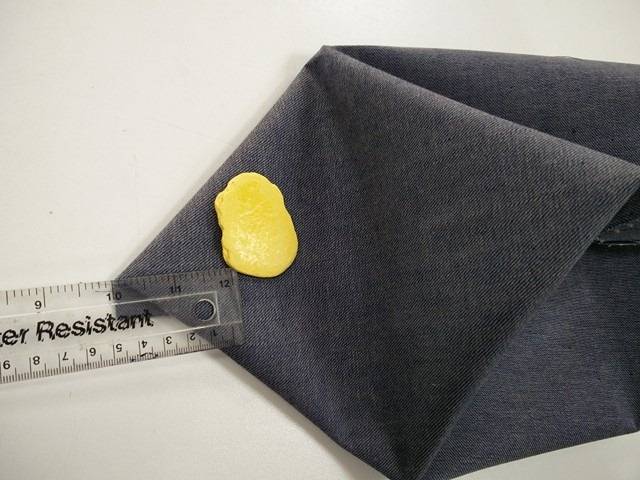
Mark a line at each corner perpendicular to the centre fold, 5 cm (2 inches) away from the corner of the diamond shape and 10cm (4 inches) across. Pin along the lines you have just made, making sure the the fabric is not bunching underneath, and that the bias tape covered seams are lying flat.
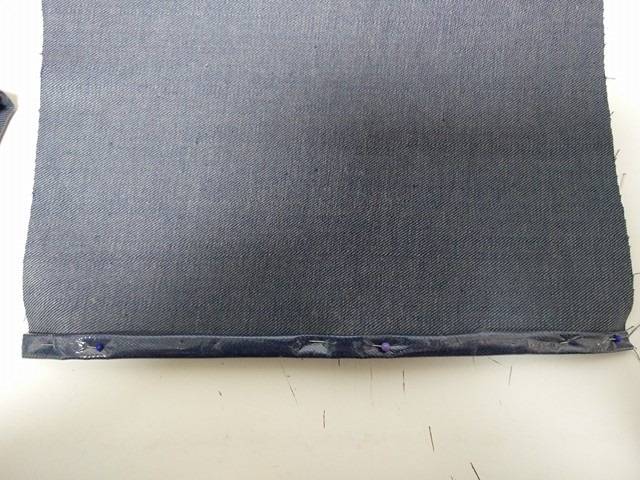
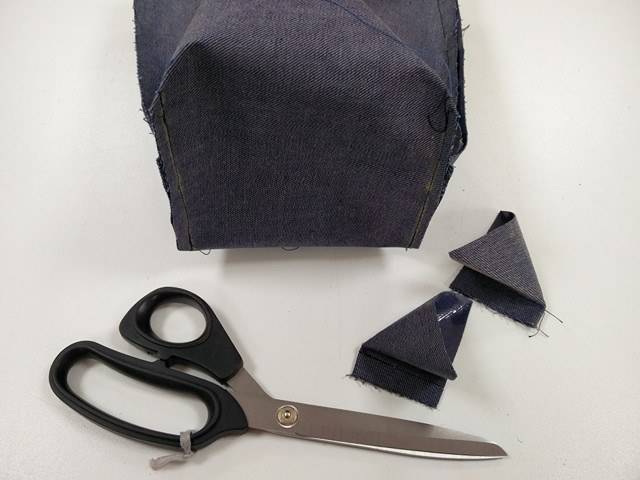
Following the lines you have just marked and pinned, stitch along them. Cut away the triangles, leaving a 1.25 cm (1/2 Inch) seam allowance. Cover the seam with bias binding and stitch.
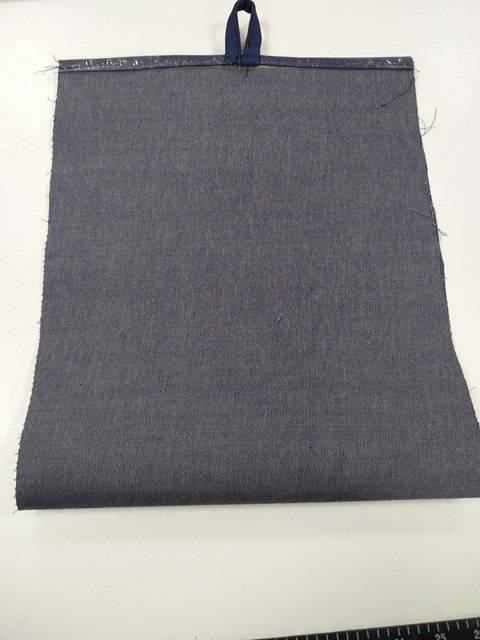
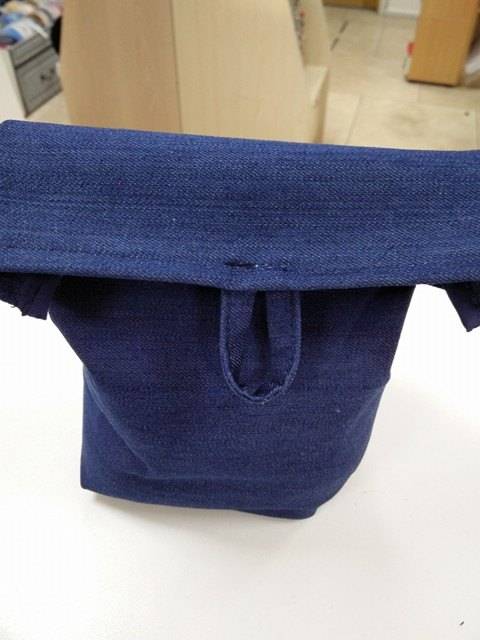
Turn the bag the right side out. On the side of the bag without the button loop attached, make a mark, 12.5 cm (5 Inches) from the top edge and 13 cm (5.25 Inches) from either side. Sew a button on here to close and open your lunch bag.
Fill your lunch bag with lots of yummy treats and enjoy! 🙂