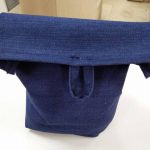
Posted on

Easy Summer Roses

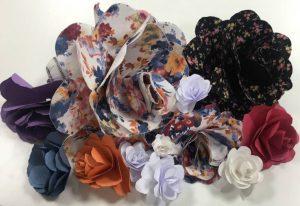
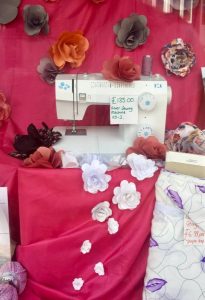
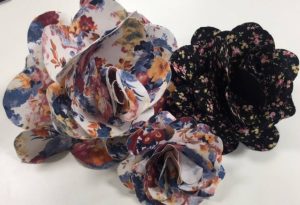
This month’s fun craft project is a beautiful summers rose, perfect for anyone or any age. The roses are quick and easy to make and you’ll soon end up with a whole bunch to wow people, just like we have done for our summer window this year. You can choose to do them in any size, any colour and either out of paper or fabric.
Choosing to make them out of fabric however, will require a sewing machine rather than simply using glue.
So I advise, giving it a go on paper first, it will only take a few minutes. Out of paper they make lovely floral decorations, but made out of fabric they could even be added to a garment or furnishing for that creative touch.

What you will need to make the Rose

Paper Rose

  • Tape measure to measure your squares
  • 4 x paper squares the same size (As an example I have done 14” X 14”)
  • Paper Scissors
  • Glue stick
  • An all purpose glue (I used YUHU all purpose glue)

Fabric Rose

  • Tape measure to measure your squares
  • 4 x Fabric squares the same size
  • 4 x fusible interfacing squares (the same size as the fabric squares)
  • Fabric scissors
  • Matching Thread
  • Sewing machine
  • Sewing needle (for hand sewing)

How to make

If you are making the rose out of fabric you will need to iron the interfacing to the fabric squares beforehand to stiffen the fabric. Make sure the shiny glue side of the interfacing is on the wrong side of the fabric.
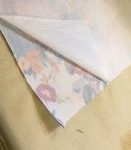


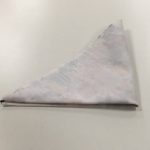
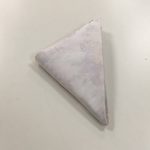
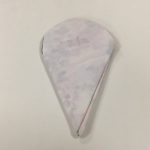
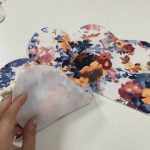
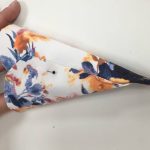
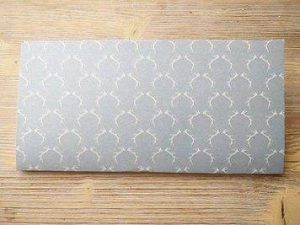
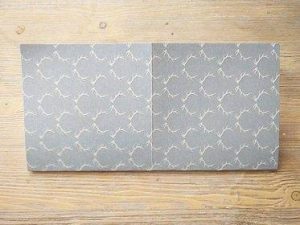
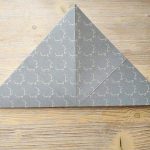
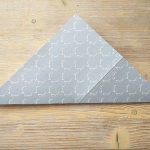
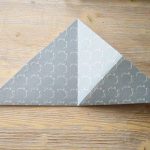
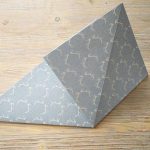
​Take one square and fold it in half to make a triangle repeat 2 more times to make a smaller triangle shape each time. If you are using fabric you may want to press the folded fabric to create a clear fold line and it will help to keep it in place.

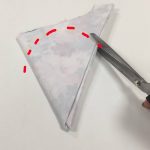
Make sure the fold is at the bottom and cut a rounded petal shape. Repeat this process for the other folded triangles.

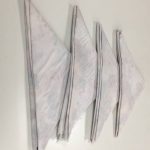
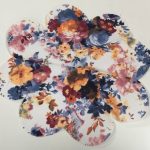
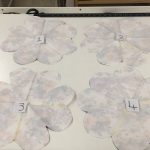
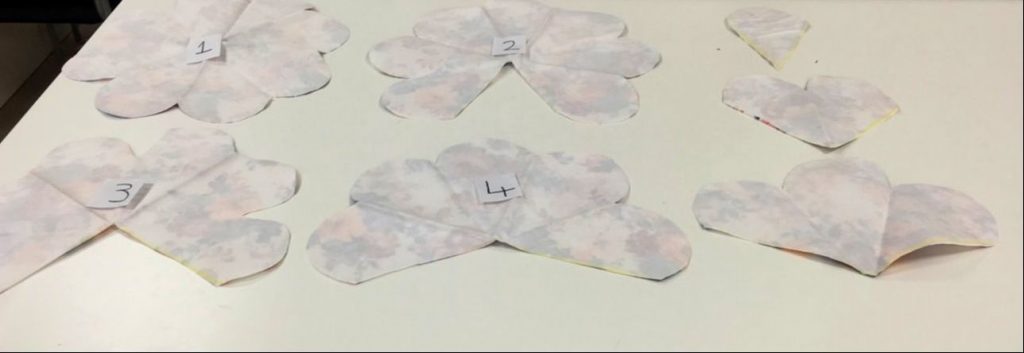
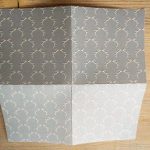
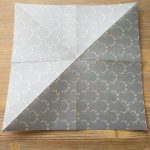
After you have done this to all 4 triangles unfold them all. Lay the 4 floral pieces you have out on a table.

Leave the first (Number 1) original full flower piece to one side.
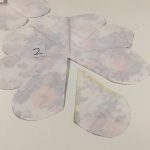
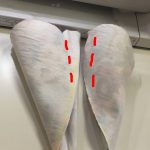
Take the second one (Number 2) and cut out just 1 of the petals. Use the folds as a guideline.
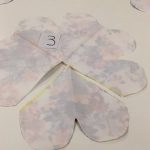
Take the third (Number 3) flower piece and cut 2 petals out.
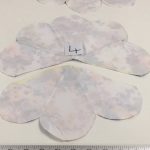
Then take the fourth (Number 4) final flower piece and cut 3 petals out.

You will then have the original pieces and the petal shapes you have just cut out.

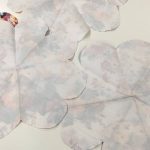
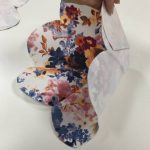
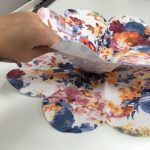
(If you are using fabric for this step you will want the right side facing up)The next step take the second floral piece (Number 2) and overlap the petals together where you have cut.
Take the wrong side of one side of the petal and place it onto the right side of the petal to join it into a 3 Dimensional flower shape.

​Glue it in place with the glue stick or if you’re using fabric sew it in place with a sewing machine. Do the same with the other 2 floral pieces (Numbers 3 &4) and do the same with the cut out petals.

With the singular one petal on its own this is going to be the very centre of the rose, so you will have to roll it. A good tip is using a pencil to roll it round. Glue or sew it in place.

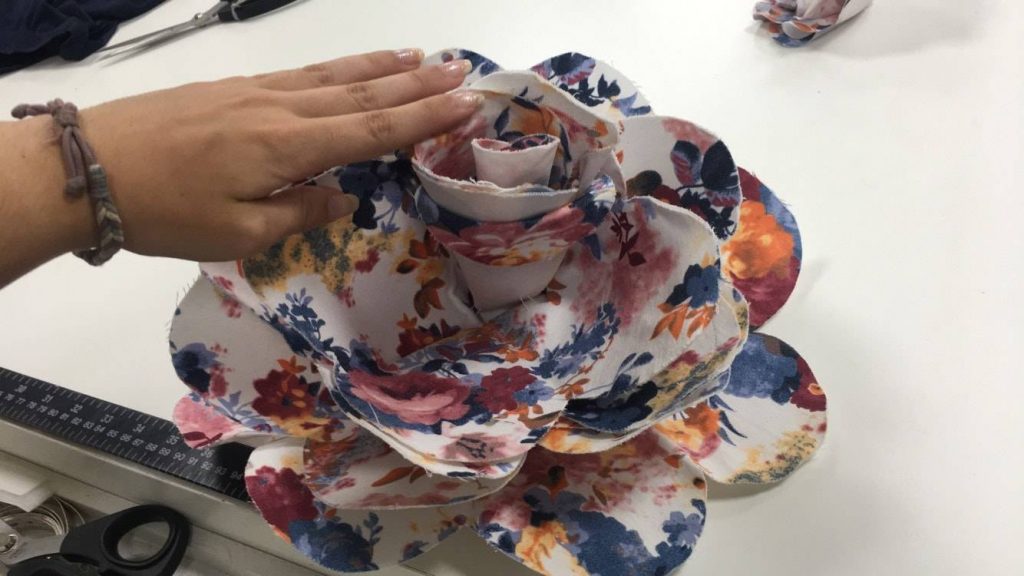
Go back to the original first unfolded piece (Number 1) and place the flower that you cut 1 petal out of (Number 2) on top of the original first piece (Number 1). Glue or sew these pieces together directly in the centre. If sewing you will need to do this by hand.

Then get the next smallest flower piece (Number 3) and do the same: place it in the bigger flower and sew/ Glue in place. Continue doing this with the rest of the flower pieces. Finish by putting the last singular rolled up petal in the middle of the flower. Hand sew or glue in place.

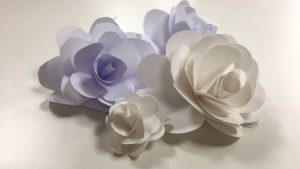
Once you’ve glued/ sewed all your pieces together you should have a pretty Rose. Try playing around mixing different sizes and different colours together to create colourful bunch of Roses.

We’d be happy to answer any questions in store or over the phone at 01926859892, and don’t hesitate to leave a response, we’d love to see all the wonderful roses you’ve made! You could send us your responses via email: Karendelahunty@outlook.co.uk or via facebook.

You can find the supplies used to make this rose in our shop at Karen Delahunty Sewing & Knitting Centre, 80 Warwick Road, Kenilworth, CV81HL.

Posted on

Crafty Friday: Origami Gift Wrap Bows

Can you believe it’s less than 2 months to Christmas?

We love Christmas, it’s such a lovely festive season! All those cosy nights in by the fire, the loveliest food, time spent with family, gift giving (and receiving!) What’s not to love?

One of my favourite things about Christmas is Gift Wrapping. I know lots of people who think it’s a chore and really boring, but I LOVE it! 🙂
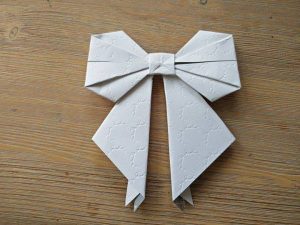
So for this week’s Crafty Friday, I wanted to share with you, how to make an Origami Bow to sit on top of any present and make it that extra bit special. You can make these from paper or Fabric – for this tutorial I’ll show you how to make the paper version (they’re less tricky!)
What You’ll Need

  • Sheet of Card ( I used 20cm x 20cm or 8″ x 8″) – You’ll need to make sure it’s square.
  • Scissors
  • Ruler and Pencil (Optional)

How to Make an Origami Gift Wrap Bow

Fold your piece of card in half horizontally.

Note: If you’re using patterned paper, You’ll need to fold with the right sides together.

Now, unfold and fold again, this time, fold in half vertically.

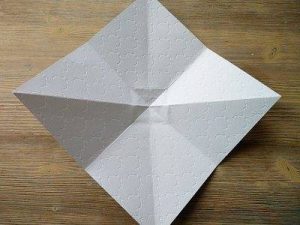
Unfold the card again and turn so that it resembles a diamond shape.

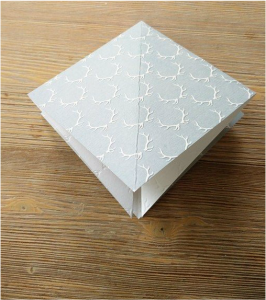
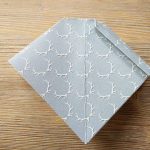
Fold one corner to the opposite one to form a triangle, press along the crease.

Unfold and repeat the previous step using the corners on the other side.

When you open the card back out after this step, you should see that from the centre point you have 8 creases.

Keep the last fold in place, so you still have a triangle in front of you.

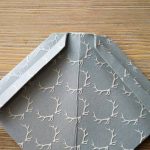
Take the right hand corner of the triangle and gently push it up to the top point of the triangle.

The creases you made should pop out and cause this to make a diamond shape; press to hold in place.

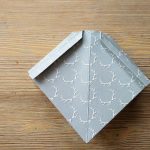
Turn over your sheet of card and repeat the step above with the next corner.

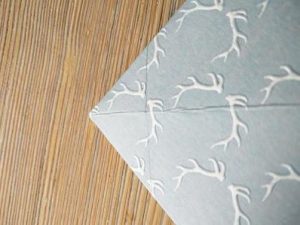
From the tip of the diamond shape you now have in front of you, draw a line roughly 2cm down. You can do these next two steps by eye or by drawing and marking exactly with a ruler and pencil.

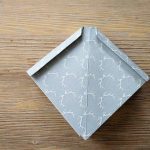
​Fold along the line you’ve just marked (or where you think), so the tip of the diamond is now pointing down to the bottom of the diamond,

Open out all of your creases.

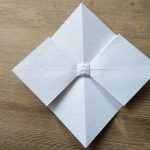
You should see a small square shape has appeared from the creases in the centre.

You are going to use those creases to help form the centre of the bow.
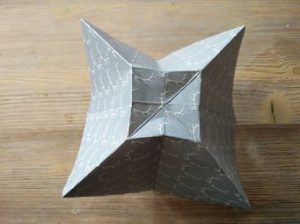
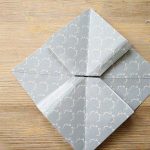
Take one side and fold along the crease, repeat this on all four sides, so the points of the card meet in the centre and the bottom of each side has formed a square shape.

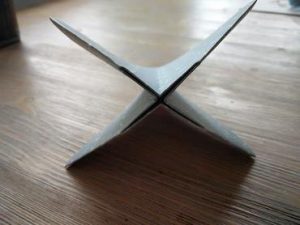
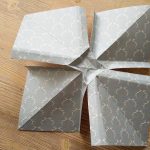
Push the centre of the square inwards along its creases until it forms an X or Cross shape.

Press the X/Cross shape flat.
Starting from the right hand side, fold over the top edge (making sure to only use one layer of card) until it almost touches with the centre crease. Repeat on the left side.

Turn over the card and repeat with the second layers of card.

Gently pull the sides, to open the creases out. Push down at the middle.

You should see on one side a square has formed in the centre and on the other side, you have two creases that almost meet in the centre.

Working on the side where the creases almost meet, open out very carefully and not fully, so that you can see where the creases begin and end.

You will need to cut each crease that touches any corner of the centre square, cut from the outer edge to the corner of the square.

Once cut, press the piece back together, so the creases are in place.

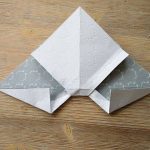
Fold the bottom diamond shape up to the one at the top; press in place.

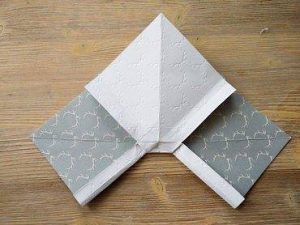
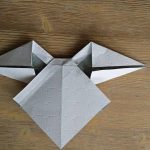
Focusing on the two pieces sticking out to the sides, fold the bottom corner up to the centre fold and repeat on the opposite side.

Flip the centre diamond piece (that you just folded upwards a few steps previous) down, so they are now on the same side as the pieces you just folded. Repeat the folds on the opposite sides.

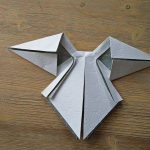
Take the large two diamond shapes and hold together, cut along the centre crease; make sure you cut through both layers of card.

Fold the line that you cut along and the adjacent sides by 1cm or less.

Turn the card over again, fold in the outer points (coming from the square in the middle), tuck the points under the square and press along the edge to hold in place, repeat on both sides.

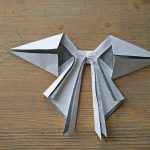
Cut the excess overhang of the bow ribbon – if you wish, this is optional.

Ta dah! You’ve got your very own Occasion Origami Gift Wrap Bow! 🙂

Posted on

Crafty Friday: Simple Crochet Flower

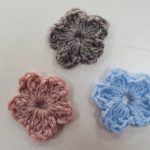
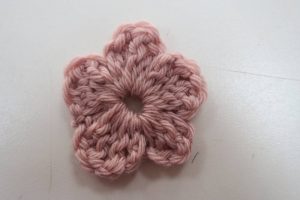
This week’s Crafty Friday tutorial is a nice and easy project for Crochet Pro’s or even Beginners and the end result is so pretty. This tutorial has been requested by our customers too, so we really hope you all like it.

You can use these really sweet flowers for anything, they are perfect for any number of craft projects, you could string lots together to make pretty bunting or even stitch them in to a blanket. They take a matter of minutes to make and can be made in a variety of sizes simply by changing the crochet hook size or the weight of yarn.

What You’ll Need to Make a Simple Crochet Flower

  • Double Knitting Yarn – You can make these from leftover yarn or from a new ball depending on how many you want to make.
  • 5.5mm Crochet Hook
  • Small Scissors
  • Darning or Knitters Needle

How to Make a Simple Crochet Flower

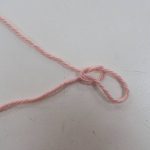
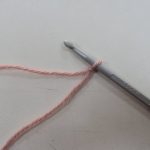
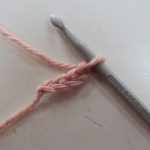
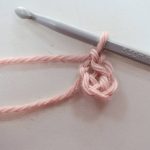
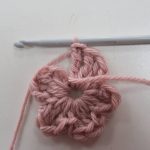
Begin your flower by making a slip stitch and then a chain of 4 stitches.

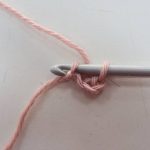
Push your hook through the first chain you made and slip stitch it with the chain on the hook to create a circle.

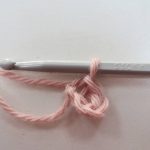
Make one chain stitch.

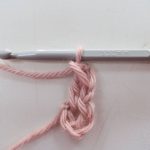
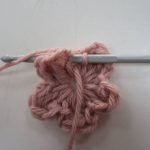
Work 4 Double Treble stitches in to the centre circle.

After the fourth Double Treble, make 1 Double Crochet stitch.

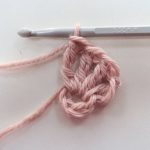
​This completes your first petal, your finished flower will have 5 petals in total.

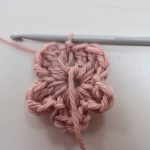
Repeat the previous step a further 4 times.

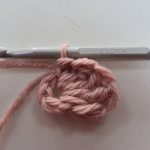
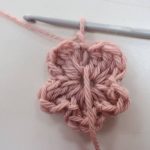
You now have 5 petals.

Slip stitch the last stitch on the hook with the one chain you made at the very beginning.

Chain 1. Cut the yarn, leaving a small tail.

Remove your hook and pull the yarn tail to create a knot which will hold your flower together.

Using a darning or knitters needle, weave the tail in to your flower, so it is hidden.

You should now have a finished simple crochet flower!

Remember you can play around with the hook sizing or even the weight of your yarn to create bigger or smaller flowers, depending on what you want to do with them at the end. ​

As always, all of the supplies to make these flowers can be found in our shop.

Here’s what we used to create our flowers:

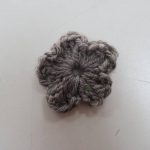
For the Grey Flecked Flower: Jarol Heritage Tweed DK, 50% Wool, 25% Nylon, 20% Acrylic, 5% Viscose.
Baby Blue Plain Flower: Babycare DK, 100% Acrylic.
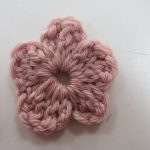
​Dusky Pink Flower: Rooster Almerino Aran, 50% Baby Alpaca, 50% Merino Wool.

Posted on

Crafty Friday: Baby Minky Blankets

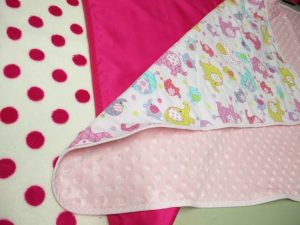
Playful prints and super soft fleece lined baby blankets – or rather, Minky or Dimple blankets – have been filling up Pinterest boards everywhere! These really soft blankets are the perfect gift for newborn babies or make them a little bigger and you can gift them to slightly older children too!

The soft fleece adds comfort and warmth, while the cotton or flannelette adds style and novelty.

The blankets themselves are so easy to make and they take very little time too, so even if you’re a beginner, you’ll be able to make one of these too!

What You’ll Need to Make a Baby Minky Blanket

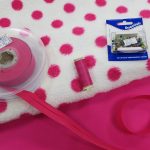
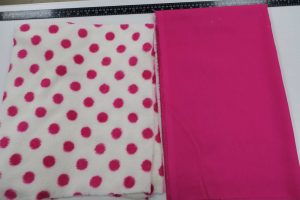
  • 1m x Flannlette
  • 1m x Fleece (or Dimple Plush)
  • Coordinating Thread (we used 1 x 100m Reel of Gütermann Sew All)
  • 3.5m x Coordinating (or Contrasting) Bias Binding


How to Make a Baby Minky Blanket

Cut your flannelette fabric to 75cm (29 Inches) x 95cm (37 Inches).

​Once cut, you can then use this as a template to cut your fleece.

You should now have two pieces of fabric that both measure 75cm (29 Inches) x 95cm (37 Inches).

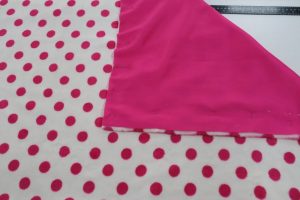
Pin the two pieces of fabric together, making sure that the wrong sides are facing inwards (wrong sides together).
You should have the pattern of the fabric facing to the outside of the blanket.

Stitch around the edges of the rectangle, making sure that you are sewing through both the fleece and the cotton/flannelette. You will need to use a narrow seam allowance of about 1cm.

When you’re done, trim back your seam allowances as close to the stitching as you can. We used pinking shears at this point to neaten the edge and reduce fraying.

Find the end of the bias binding you have chosen and fold it in on itself, so there is no raw edge.
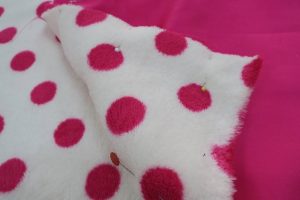
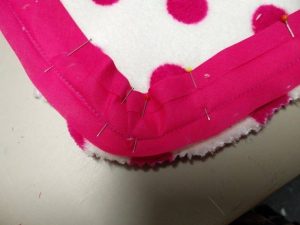
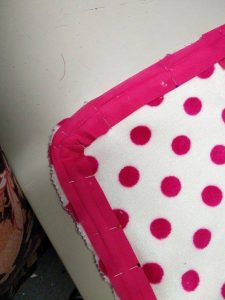
Pin around the edges of the blanket, curving the binding at the corners – this makes it easier to sew as there is less bulk of material; it will also look neater.

When you have pinned one side of the binding stitch it in place.

Fold the bias binding over the top of the material and pin the other side as you did in the previous step. Once pinned, stitch in place.

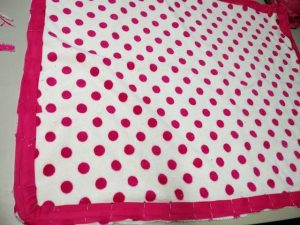
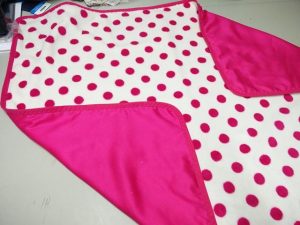
You should now have your very own, gorgeous minky blanket!

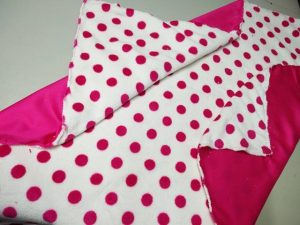
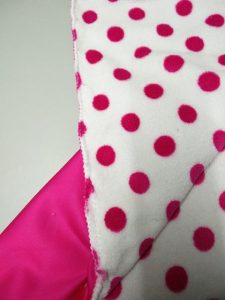
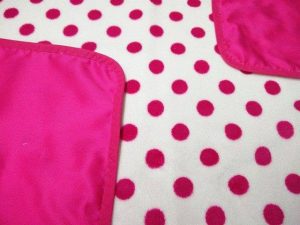
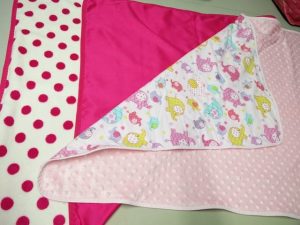
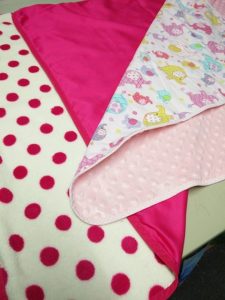
We made two minky blankets a pink flannelette one and a cotton sateen one.

The fabrics we used were:

  • Pink Cotton Sateen, 100% Cotton, 115cm (45 Inches) wide
  • Cotton Flannelette, 100% Cotton, 115cm (45 Inches) wide
  • White & Pink Polkadot Fleece
  • Dimple Plush in Baby Pink
Posted on

Crafty Friday: The Green Lunch Bag

So the back to school madness has crept up on us all again. If you’re wanting to get your kids (or even yourself) to eat that little bit more healthily than why not make everyone one of these brilliant eco friendly lunch bags? Add some personalisation to them to make them that little bit more fun for your children and fill them up with yummy, healthy snacks! Brilliant!

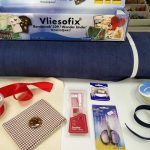
What You Will Need

  • 50cm Denim or Similar Weight Material
  • 1m 20cm Bias Binding
  • 1 x Square of Felt
  • 10cm Red Ribbon
  • 10cm Bondaweb
  • 1 x Fat 1/4 in Gingham
  • Coordinating Thread

How to Make a Green Lunch Bag

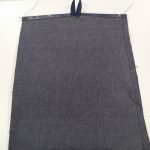
Draw a paper pattern, that is 29cm (11 1/2 Inches) x 74cm (29 Inches)​ and another that is 12 cm (5 Inches) x 5 cm (2 Inches). Cut one of each pattern from your piece of Denim material. This will make the main body of the lunch bag as well as the loop for the button.

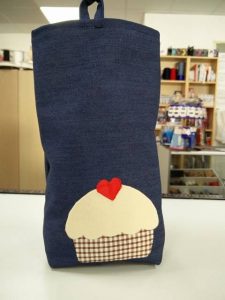
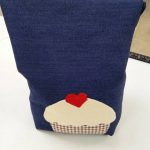
Draw a cupcake template to a scale that you are happy with. Separate the template in to three sections; the case, the icing/cake, and the cherry. These will be your applique pattern pieces.

Using the applique pattern pieces cut one of each piece as follow:

  • Use the cherry applique pattern, cut out in red ribbon
  • Use the case applique pattern, cut out in the gingham
  • Use the cake/icing applique pattern, cut out in felt.
  • Cut the same pieces again in the bondaweb.

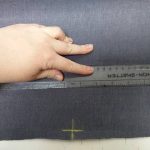
Measure 28 cm (11 Inches) from the top edge of one of the shorter edges of the denim rectangle you just cut out. Mark with a chalk or air erasable pen.

Take the cut out applique pieces – both fabric and bondaweb, and prepare. Heat the iron to a cotton temperature/setting. Lay the bondaweb on top of the matching fabric pieces, glue side facing to the fabric. Lay a pressing cloth on top and iron well, to ensure the bondaweb is affixed.

Once ironed, peel the backing away from the appliques, leaving a layer of glue on the back of the fabric. Start with the case applique, lay this where you previously marked the denim. Iron well to fix in place. Continue to place the appliques on where you would like them, iron well to ensure they stay in place.

Make the button loop. Use the smaller template to cut a small strip from the denim. Press in half and then press the raw edges to the centre crease. Fold in half again, press and stitch.

Hem both short edges of the denim piece, folding over by 1.25 cm (1/2 Inch) twice. Find the middle point of one of the short edges and pin the raw edges of the button loop under the fold/hem so that the ends of the loop are either side of the centre point. Stitch in place.

Press the button loop upwards and stitch, so that it now points out of the top of the short edge of the rectangle.

Fold the denim piece, short edge to short edge with the right sides facing inwards. Stitch the longer edges together using a 1.5cm (1/2 inch) seam allowance. Trim the seams as close to the stitching as you can. Pin the bias binding in place over the seam and stitch in place. Do this on both sides.

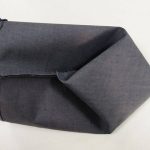
Still keeping the right sides together, pull the two layers of fabric at the bottom of the bag away from each other, until the bottom forms a diamond shape, with the bottom fold, going straight down the centre.

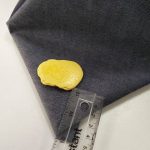
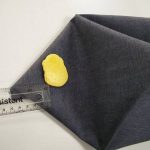
Mark a line at each corner perpendicular to the centre fold, 5 cm (2 inches) away from the corner of the diamond shape and 10cm (4 inches) across. Pin along the lines you have just made, making sure the the fabric is not bunching underneath, and that the bias tape covered seams are lying flat.

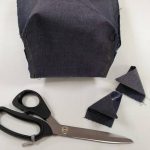
Following the lines you have just marked and pinned, stitch along them. Cut away the triangles, leaving a 1.25 cm (1/2 Inch) seam allowance. Cover the seam with bias binding and stitch.

Turn the bag the right side out. On the side of the bag without the button loop attached, make a mark, 12.5 cm (5 Inches) from the top edge and 13 cm (5.25 Inches) from either side. Sew a button on here to close and open your lunch bag.

Fill your lunch bag with lots of yummy treats and enjoy! 🙂