Posted on

Crafty Friday: Baby Minky Blankets

Playful prints and super soft fleece lined baby blankets – or rather, Minky or Dimple blankets – have been filling up Pinterest boards everywhere! These really soft blankets are the perfect gift for newborn babies or make them a little bigger and you can gift them to slightly older children too!

The soft fleece adds comfort and warmth, while the cotton or flannelette adds style and novelty.

The blankets themselves are so easy to make and they take very little time too, so even if you’re a beginner, you’ll be able to make one of these too!

What You’ll Need to Make a Baby Minky Blanket
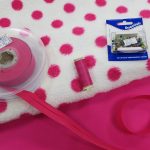
  • 1m x Flannlette
  • 1m x Fleece (or Dimple Plush)
  • Coordinating Thread (we used 1 x 100m Reel of Gütermann Sew All)
  • 3.5m x Coordinating (or Contrasting) Bias Binding


How to Make a Baby Minky Blanket

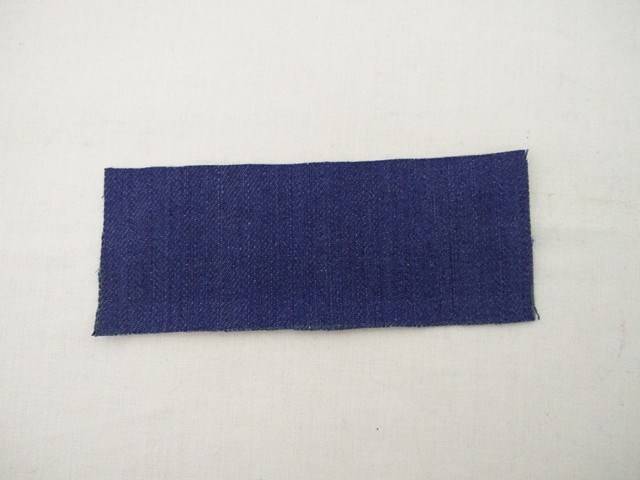
Cut your flannelette fabric to 75cm (29 Inches) x 95cm (37 Inches).

​Once cut, you can then use this as a template to cut your fleece.

You should now have two pieces of fabric that both measure 75cm (29 Inches) x 95cm (37 Inches).

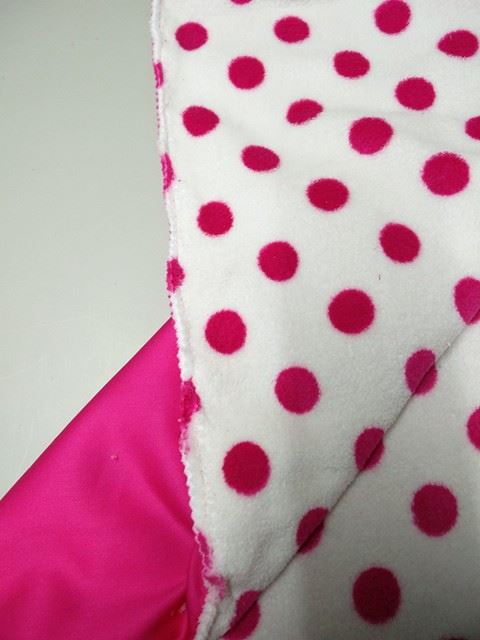
Pin the two pieces of fabric together, making sure that the wrong sides are facing inwards (wrong sides together).
You should have the pattern of the fabric facing to the outside of the blanket.

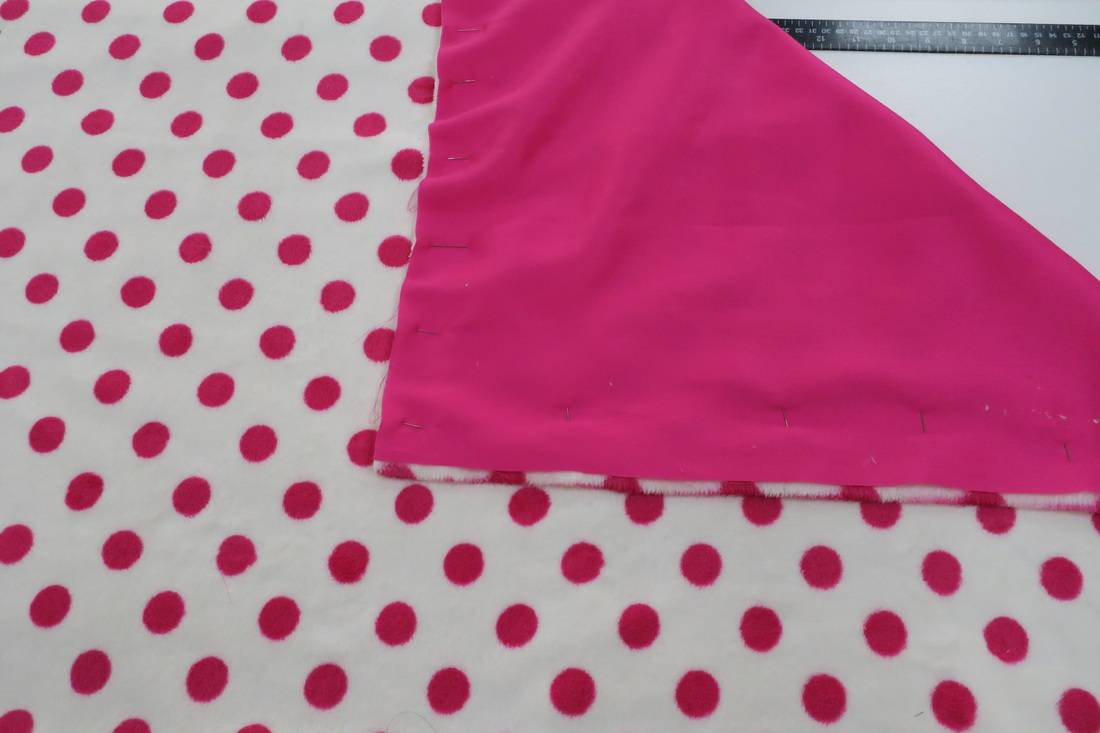
Stitch around the edges of the rectangle, making sure that you are sewing through both the fleece and the cotton/flannelette. You will need to use a narrow seam allowance of about 1cm.

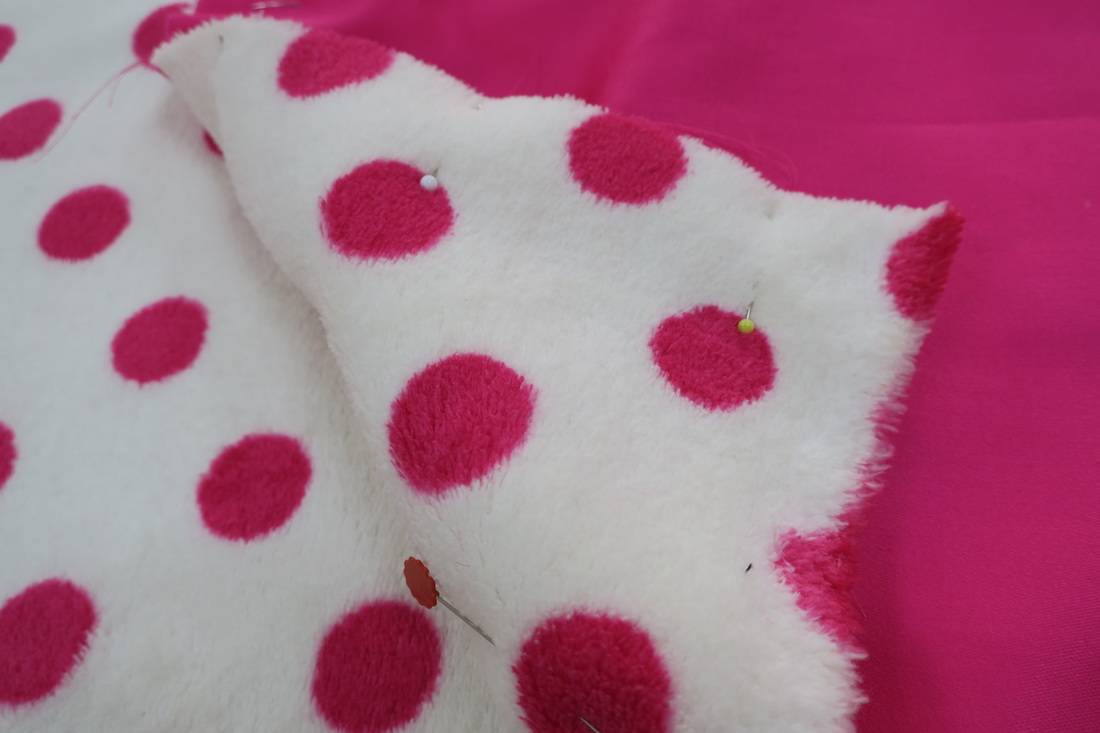
When you’re done, trim back your seam allowances as close to the stitching as you can. We used pinking shears at this point to neaten the edge and reduce fraying.

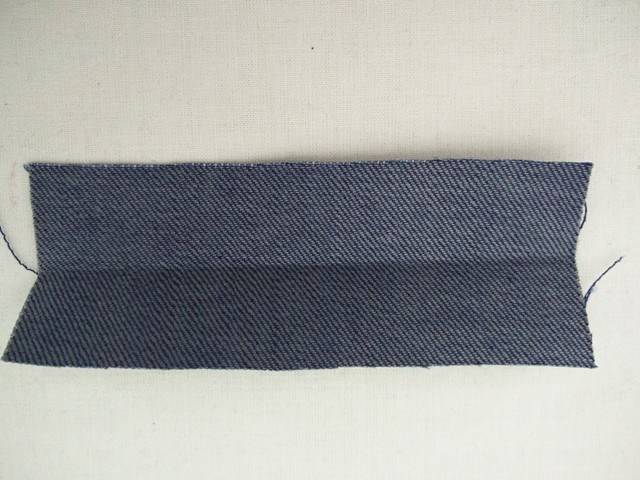
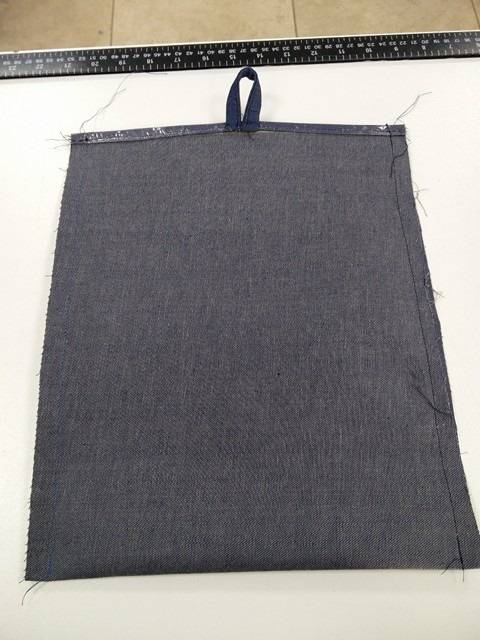
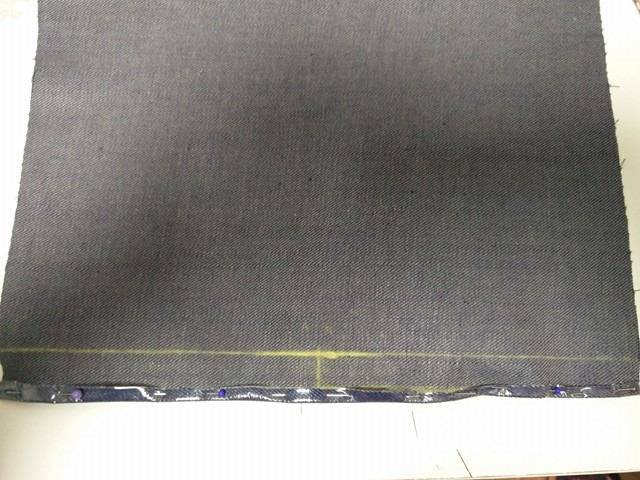
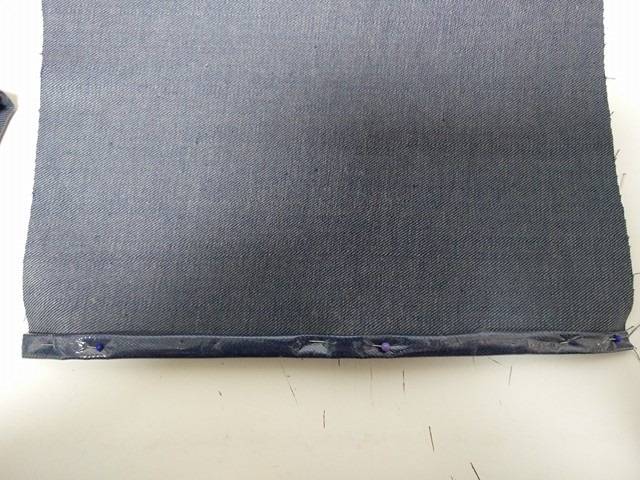
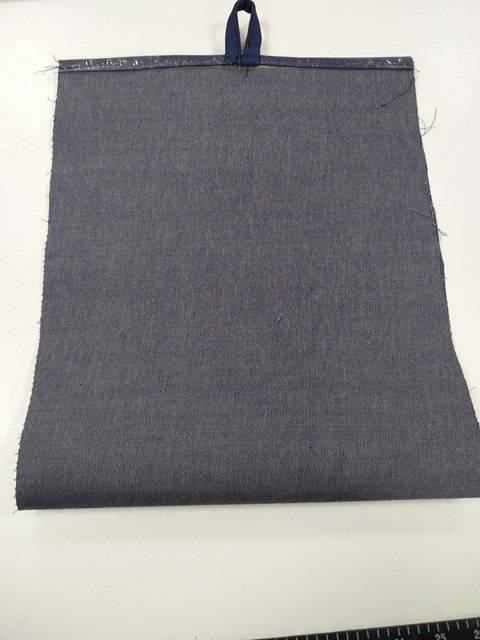
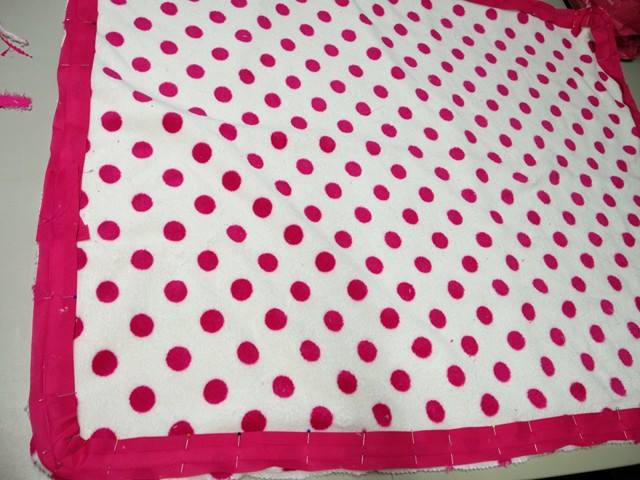
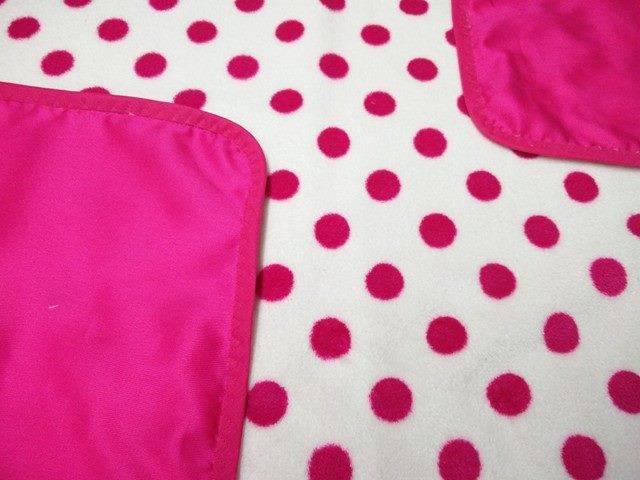
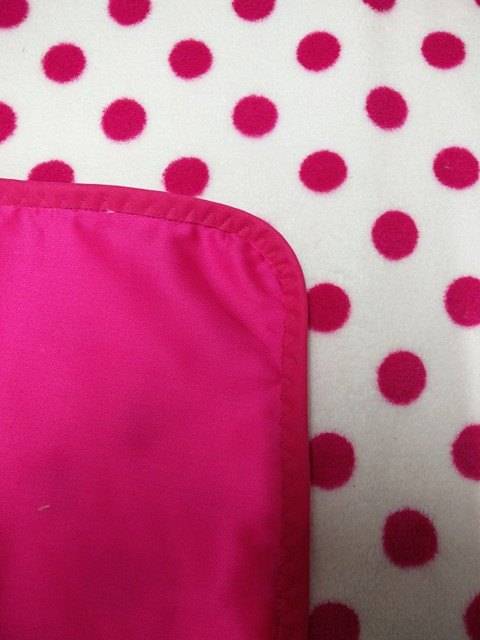
Find the end of the bias binding you have chosen and fold it in on itself, so there is no raw edge.
Pin around the edges of the blanket, curving the binding at the corners – this makes it easier to sew as there is less bulk of material; it will also look neater.

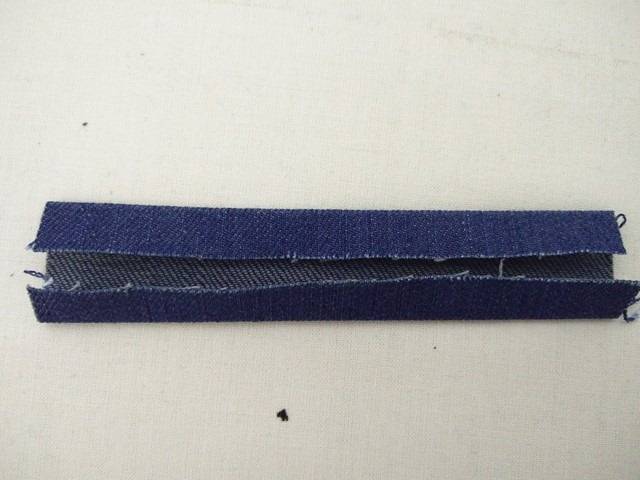
When you have pinned one side of the binding stitch it in place.

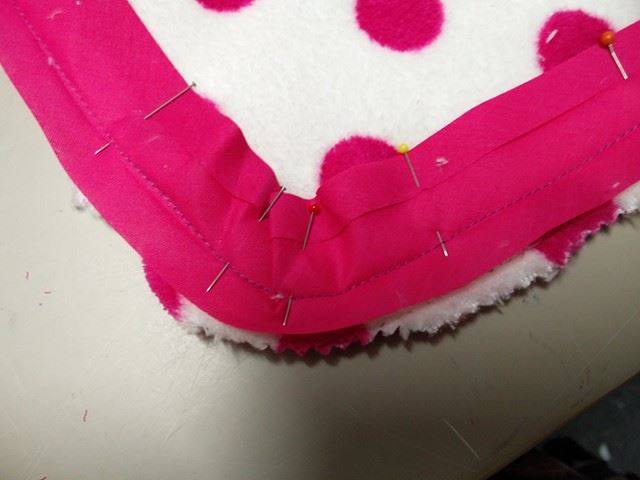
Fold the bias binding over the top of the material and pin the other side as you did in the previous step. Once pinned, stitch in place.

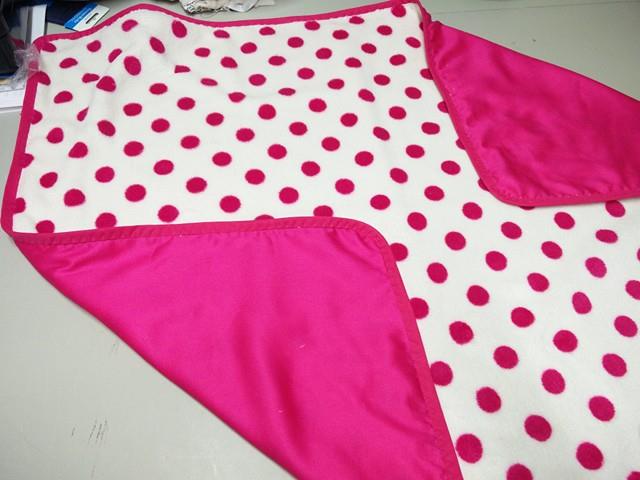
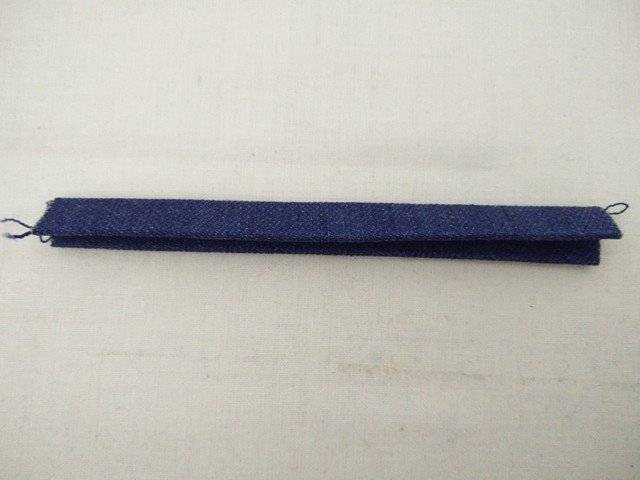
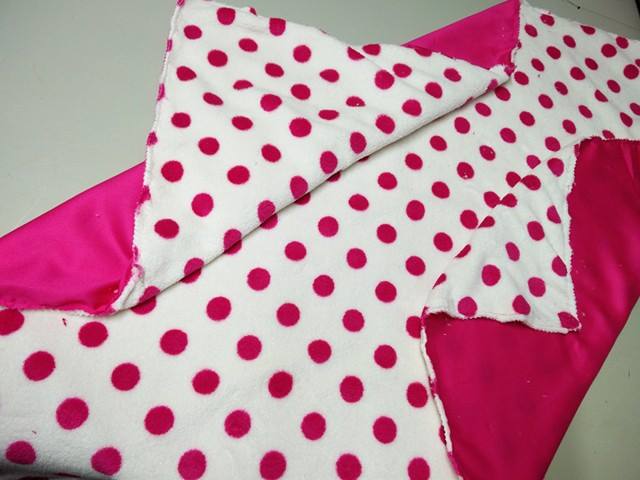
You should now have your very own, gorgeous minky blanket!

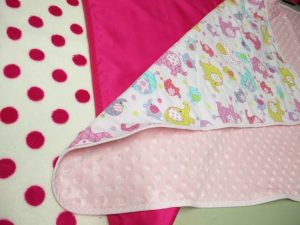
We made two minky blankets a pink flannelette one and a cotton sateen one.

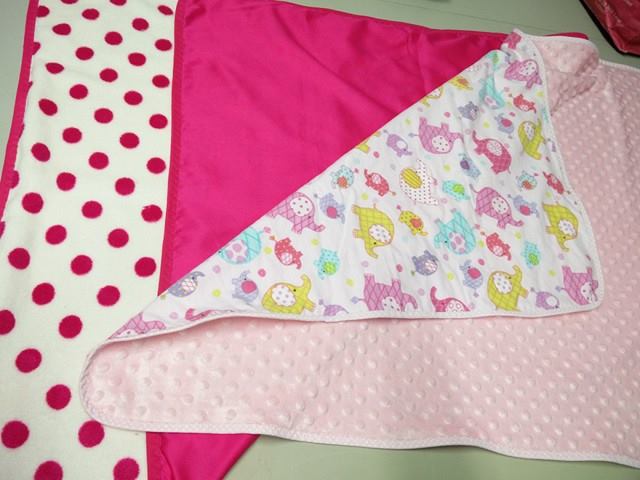
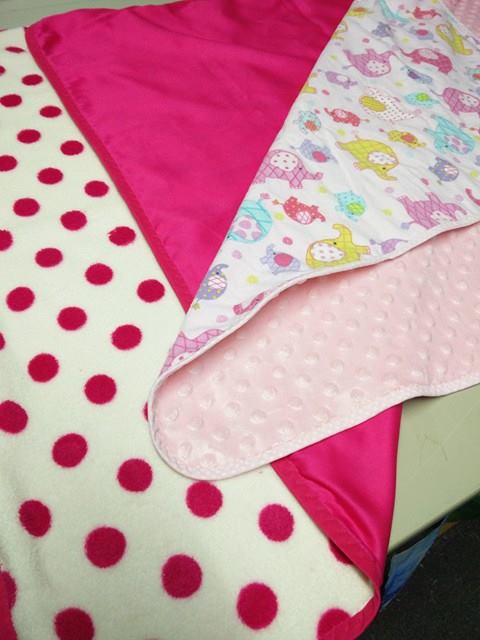
The fabrics we used were:

  • Pink Cotton Sateen, 100% Cotton, 115cm (45 Inches) wide
  • Cotton Flannelette, 100% Cotton, 115cm (45 Inches) wide
  • White & Pink Polkadot Fleece
  • Dimple Plush in Baby Pink
Posted on

Crafty Friday: The Green Lunch Bag

So the back to school madness has crept up on us all again. If you’re wanting to get your kids (or even yourself) to eat that little bit more healthily than why not make everyone one of these brilliant eco friendly lunch bags? Add some personalisation to them to make them that little bit more fun for your children and fill them up with yummy, healthy snacks! Brilliant!

What You Will Need

  • 50cm Denim or Similar Weight Material
  • 1m 20cm Bias Binding
  • 1 x Square of Felt
  • 10cm Red Ribbon
  • 10cm Bondaweb
  • 1 x Fat 1/4 in Gingham
  • Coordinating Thread

How to Make a Green Lunch Bag

Draw a paper pattern, that is 29cm (11 1/2 Inches) x 74cm (29 Inches)​ and another that is 12 cm (5 Inches) x 5 cm (2 Inches). Cut one of each pattern from your piece of Denim material. This will make the main body of the lunch bag as well as the loop for the button.

Draw a cupcake template to a scale that you are happy with. Separate the template in to three sections; the case, the icing/cake, and the cherry. These will be your applique pattern pieces.

Using the applique pattern pieces cut one of each piece as follow:

  • Use the cherry applique pattern, cut out in red ribbon
  • Use the case applique pattern, cut out in the gingham
  • Use the cake/icing applique pattern, cut out in felt.
  • Cut the same pieces again in the bondaweb.

Measure 28 cm (11 Inches) from the top edge of one of the shorter edges of the denim rectangle you just cut out. Mark with a chalk or air erasable pen.

Take the cut out applique pieces – both fabric and bondaweb, and prepare. Heat the iron to a cotton temperature/setting. Lay the bondaweb on top of the matching fabric pieces, glue side facing to the fabric. Lay a pressing cloth on top and iron well, to ensure the bondaweb is affixed.

Once ironed, peel the backing away from the appliques, leaving a layer of glue on the back of the fabric. Start with the case applique, lay this where you previously marked the denim. Iron well to fix in place. Continue to place the appliques on where you would like them, iron well to ensure they stay in place.

Make the button loop. Use the smaller template to cut a small strip from the denim. Press in half and then press the raw edges to the centre crease. Fold in half again, press and stitch.

Hem both short edges of the denim piece, folding over by 1.25 cm (1/2 Inch) twice. Find the middle point of one of the short edges and pin the raw edges of the button loop under the fold/hem so that the ends of the loop are either side of the centre point. Stitch in place.

Press the button loop upwards and stitch, so that it now points out of the top of the short edge of the rectangle.

Fold the denim piece, short edge to short edge with the right sides facing inwards. Stitch the longer edges together using a 1.5cm (1/2 inch) seam allowance. Trim the seams as close to the stitching as you can. Pin the bias binding in place over the seam and stitch in place. Do this on both sides.

Still keeping the right sides together, pull the two layers of fabric at the bottom of the bag away from each other, until the bottom forms a diamond shape, with the bottom fold, going straight down the centre.

Mark a line at each corner perpendicular to the centre fold, 5 cm (2 inches) away from the corner of the diamond shape and 10cm (4 inches) across. Pin along the lines you have just made, making sure the the fabric is not bunching underneath, and that the bias tape covered seams are lying flat.

Following the lines you have just marked and pinned, stitch along them. Cut away the triangles, leaving a 1.25 cm (1/2 Inch) seam allowance. Cover the seam with bias binding and stitch.

Turn the bag the right side out. On the side of the bag without the button loop attached, make a mark, 12.5 cm (5 Inches) from the top edge and 13 cm (5.25 Inches) from either side. Sew a button on here to close and open your lunch bag.

Fill your lunch bag with lots of yummy treats and enjoy! 🙂

Posted on

Fabric of The Week: Reversible Cotton Blend

For this week only, you can get this really cool, reversible fabric, with flashes of animal print throughout.

The fabric is reversible, so you can wear it either way, which makes it a really versatile piece. It features flashes of animal print from one side and a gorgeous overlaying stitching, in a floral/swirl pattern. The blend of polyester and cotton makes this material so easy to use and to wear. We also think this would be really fun to use in free motion machine embroidery, or any form of textile embroidery.

Posted on

Crafty Friday: Buttons The Sew Saturday Cat

We’re Sew excited for Sew Saturday, happening on 15th October, that we wanted to share with you a tutorial for how to make your own felt kitty pincushion, Buttons, the Sew Saturday mascot!

Buttons, the Sew Saturday Mascot

If you’re not sure about what Sew Saturday is, or want to know more about what we’re doing, check out our latest vlog on YouTube!

What You’ll Need…

  • One Felt Square (Two, if you would like the ears and tail to be contrasting to the main body.)
  • Printed Fabric 5cm x 6cm
  • 20cm of Ric-Rac
  • Toy Stuffing
  • Coordinating Sewing Thread
  • Air-Erasable or Washable Marker Pen (We used a Sewline Fabric Marker)


How to Make Your Kitten Pincushion

Print the Cat Pin Cushion Cutout pattern using the link below and cut out.

Place the pattern on your square of felt and cut out. If you have chosen to contract the ears and tail, you’ll need to cut them out in the contrast felt.

Make sure you cut 2 of the main body, 2 of the ears and one of the tail.

Stitch the two body pieces together, either by hand or sewing machine, using a 1.5 cm seam allowance. Trim this seam allowance back to 3mm.

Cut a slit in the front body of the cat – as seen on the pattern piece. Turn your cat inside out and stuff firmly with toy stuffing. We used a polyester toy stuffing.

Once stuffed sew up the slit in the front of the cat. Using the tummy piece from the pattern, cut out in fabric. We used a lovely polka dot jersey material for our cats tummy. Once cut out, tack in place, making sure to cover the stitched gap, where you stuffed the cat.

Sew your ric rac over the edge of the tummy, using a matching thread so the stitches can’t be seen. You can hide the join at the top of the ric rac with embellishments like bows or bells, or you could leave as it is as we have done.

Embroider a cute nose, and mouth by hand and sew two buttons in place to create the eyes, we used general fish-eye buttons as we thought they looked very cat-like.

Hand sew on the ears and tail, using small stitches and angling your needle, so to hide the sewing in the seam of the body. Add some decorative pins in place as whiskers.

And there you go, your very our Sew Saturday mascot cat, buttons!

Thank you to Sew Magazine for the pattern to make buttons the cat.

Remember, if you spend over £30 on Sew Saturday at Karen Delahunty Sewing & Knitting Centre, you’ll get your very own, free pattern and complete kit for making Buttons the cat, along with lots of other exciting goodies!

Posted on

Fabric of The Week: 100% Printed Silk

Fabric Details: 100% Silk, 145cm Wide, Black/Cerise/White/Grey, we recommend this fabric for dressmaking use.

Price Was: £14.99 per metre. Price Now*: £12.75 per metre.

For this week only, you can get this beautiful printed 100% silk fabric for only £12.75* a metre. That means you’ll save 15% on every metre you buy.

PictureThe fabric is 100% Silk and is printed with Cerise, grey and white colours on a black background. The fabric is extremely elegant and would look perfect sewn up in a Vogue Sewing Pattern. It’s super-soft and drapes beautifully, which is why we would recommend it as a dressmaking fabric.

*Offer is only available for one week starting on 05th September 2016 and ending on 10th September 2016, or while stock lasts