Posted on

Fabric of the Week: 60’s Print Cotton Spandex

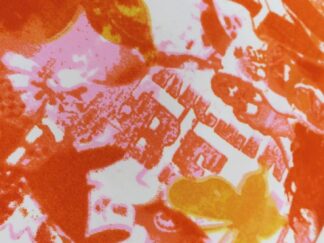
Our ‘Fabric of the Week’ from 08th July 2016 to 13th August 2016 is our 60’s Print Cotton Spandex.

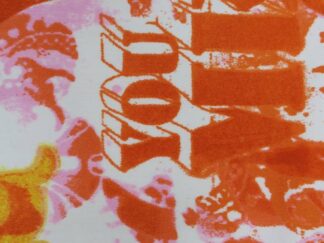
This week, we chose this bright and cheerful Cotton/Spandex blend in an Orange and White, featuring a fab 60’s print, for our Fabric of the Week.

The material is lovely to work with, and the blend of cotton and spandex means you don’t have to worry about your fabric moving as you sew; the cotton keeps it nice and sturdy while the addition of spandex allows for a little give when you need it.

The material is bright and airy and would be the perfect addition to your summer wardrobe.

We loved this fabric so much we just had to get busy sewing with it. We chose, Simplicity Pattern #1609, Version A.

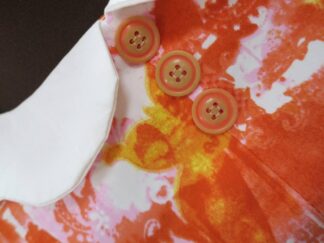
The style of this dress worked beautifully with our fabric. We chose a soft Cotton Lawn to finish the peter-pan collar and some sombre wooden buttons, available at Karen Delahunty Sewing & Knitting Centre.

Remember you can always purchase any of the patterns, materials or notions that we have used to create this piece in store or online.

Posted on

Crafty Friday: Heart Shaped Oven Mitt

We’ve stocked a gorgeous ‘country style’ printed linen fabric for a while now and for all the time it’s been here, I’ve been promising myself that I’d find a perfect excuse to use it. It’s far too pretty to be just sitting on a shelf, but what to make with it?!

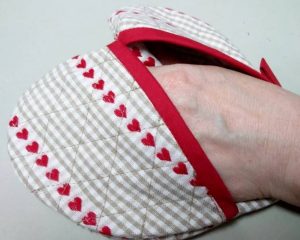
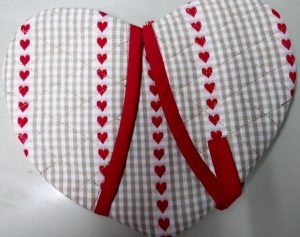
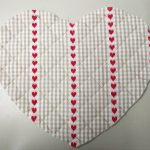
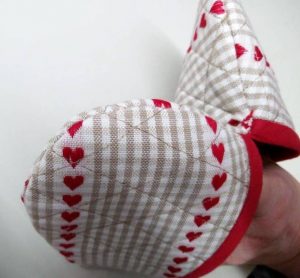
Last week, I decided that for this week’s Crafty Friday tutorial, I would finally get around to using it – so I did – I made this lovely heart shaped oven mitt and I have to say, I’m really pleased with how it turned out.

You could make two, so you have a pair of mitts or just make the one (as I did). This tutorial will explain how to make just one mitt – if you’re making two, make sure to cut double to quantities shown below.

These would make lovely gifts for Christmas, House-warmings or even birthdays. The print on this material is super-cute and it adds a bit of that sought after country-style to any kitchen.

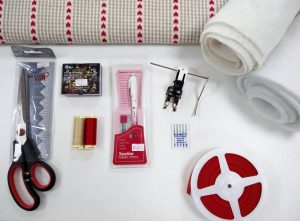
What You Will Need

  • 30 cm Fabric
  • 30 cm of Thermal Batting/Wadding
  • 30 cm of Cotton-Soft (or light-weight) Batting/Wadding
    • (The fabric I used was 150cm (60 Inch) Wide. I managed to get the required pieces cut out with a small amount left over. If you’re using fabric with a shorter width, I would double the amount so you’d need 60 cm.)
  • 50 cm Coordinating Bias Binding (You could also make your own with the same material if you prefer)
  • Fabric Marker Pen/Tailors Chalk (I used a Sewline Marker Pen)
  • Coordinating Thread(s)
  • Scissors
  • Walking Foot (for Sewing Machine)
  • Quilting Needles (for Sewing Machines Size 90)
  • Sewing Machine
  • Pins
  • Sellotape
  • Printer – to Print out your pattern pieces

How to Make a Heart-Shaped Oven Mitt

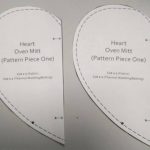
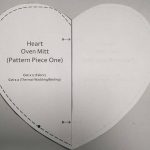
You’ll need to download the Heart Shaped Oven Mitt pattern, this will be used for your pattern pieces. You will need to print the file as it is, do not “Fit-to-page” or adjust the sizing or your mitt will be too small. You’ll need to print two copies of each pattern piece.

When printed, cut around the solid lines of each pattern piece. For Pattern piece ONE, you will need to join both piece so that the arrows are joined in the middle – for this to work you’ll need to flip one piece over. Once level sellotape together.

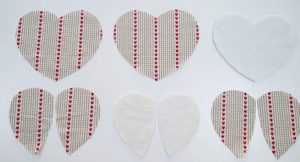
Pin all three pattern pieces to your material and cut out. You’ll need to make sure that you’re cutting out two of each piece. So you’ll have 2 full heart shapes (pattern piece one) and 4 half-heart shapes (pattern piece two.)

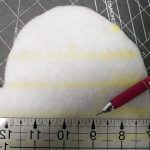
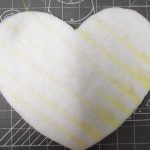
​Trim the pattern pieces to the dotted line, so they will now be smaller. Pin the full-heart shape (pattern piece one) to the thermal wadding/batting and cut. Pin the half-heart shapes (pattern piece two) to the cotton-soft batting/wadding and cut out. You should have one cut of pattern piece one and two of pattern piece two.
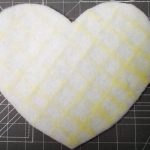
Using a ruler and your chosen fabric marker men (or tailor’s chalk) mark diagonal lines across the thermal wadding, each 2.5 cm apart from the last. Repeat this in the opposite direction to create a cross-hatched pattern.

Place the thermal wadding, cross-hatched side up in the middle of one of the main fabric full-hearts. You’ll want to make sure your bottom fabric is facing wrong side up.

Set up your sewing machine with the coordinating thread and your walking foot.

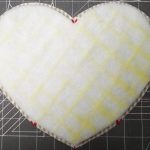
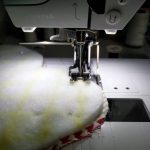
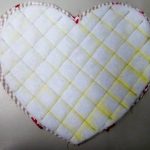
​Stitch along the first of the lines you have marked. Trim your thread at the end. Line up the sewing gauge with the line you have just sew and your foot with the next marked out line, stitch keeping the guide in line with the previous stitching. Repeat this until you have sewn each line in both directions.

Take two of the fabric half-hearts and the two pieces of cotton-soft wadding/batting. Line up the non-curved edge of the wadding with the non-curved edge of the fabric. You should have a small seam allowance (just fabric) around the curved edge.
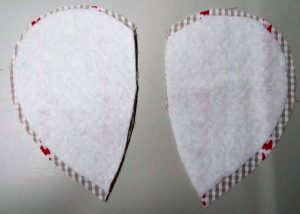
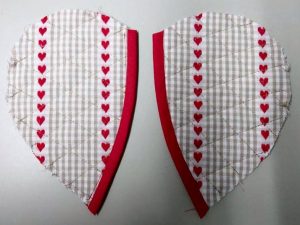
Place the second half-heart fabric pieces on the top, so you now have a fabric-wadding-fabric sandwich. Pin lightly. Stitch in the same way you did the back of the mitt. So that you end up with two quilted half-hearts.

​Using a coordinating bias binding (or one you have made yourself) and coordinating thread, stitch the bias binding along the non-curved edge of the heart, repeat this for both hearts. You should have about 10 cm of binding left over.
Using the remaining bias binding, fold in half, press and stitch close to the edge. This will become your hook to hang the mitt with.

Using the remaining main fabric full heart, line the pockets up on top of the heart. You might find that the bound edges overlap at the ‘V’ in the top of the heart, but that is OK.

​Fold the hook in half and pin to the bottom edge of either pocket. Pin all the way around the pockets, pinning them to the main fabric heart.
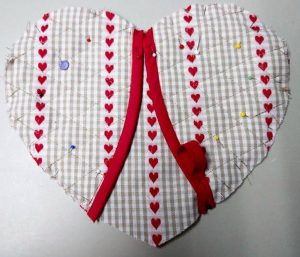
Stitch from one pocket edge (where the binding starts) all the way around the heart, stopping when you reach the bias binding again at the other pocket. You’ll want to stitch as close to the edge as you can. I used a ¼ inch seam.
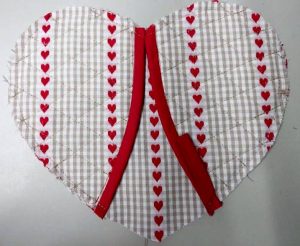
Place what you have just sewn, pocket side upwards on your work surface. Layer the thermal wadded piece on the top, so that the wadding is facing upwards. You should have right-sides of your fabric facing each other.
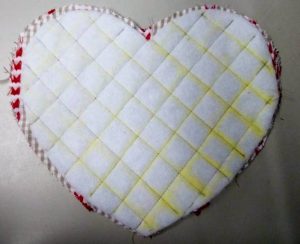

Stitch around the whole heart shape, leaving a 4 inch gap along one of the edges – this will be where you turn out your work. Stitch using a 3/8 inch seam allowance.
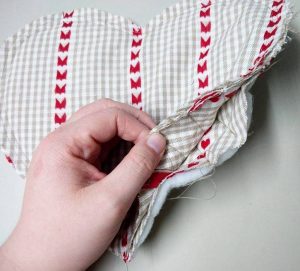
Clip the curved edges. Turn out your piece of work.
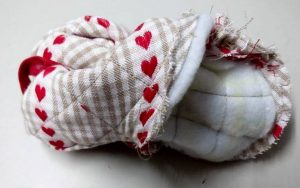
Press and hand-stitch the gap. Your oven mitt is completed – hooray! 🙂

To make our Heart Shaped Oven mitt we used our Country-look Linen Fabric, our poly-cotton bias binding and our heat-proof (Thermal) Wadding.

We hope you enjoyed this little tutorial and (as always :-)) we’d love to see any that you have made too, so feel free to send those to us via social media or our email address karendelahunty@outlook.co.uk

Happy Crafting and Weekend-ing!

Posted on

Crafty Friday: Crochet Bow Hairclips

This week’s Crafty Friday tutorial is extra special as it’s also Laura’s birthday (yay! ?) birthdays – as well as Christmas – are the perfect excuse for making some fabulous handmade gifts.

You’ll find a number of handmade gift ideas in our Crafty Friday posts; including this one!

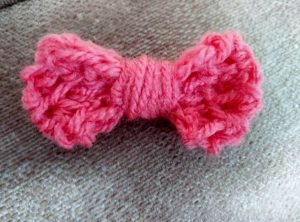
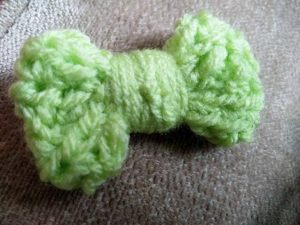
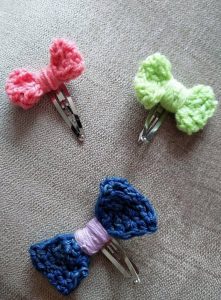
This week we wanted to show you how to make these beautiful Crochet Bow Hairclips. They are so easy to make – a perfect project for any crochet beginner – and they look super sweet! You make them using any left-over yarn, so the cost really is minimal.

For this tutorial you’ll need to know how to Chain Stitch (C) and Half Treble Crochet (Htr).

If you’re not sure, follow the tutorial below and refer to the images or look out for our handy Youtube tutorial coming soon to our Channel.

What You Will Need

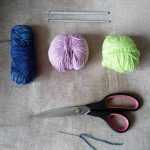
  • DK Yarn (a fair amount of Left-over yarn or 1 x new ball)
    • You can use any type of yarn to make these we used both 100% Acrylic and 100% Cotton yarns.
  • 5mm Crochet Hook
  • Scissors
  • Plain Curl Hair Clips
  • Knitters (or Darning) Needle
  • Hot Glue Gun (or Strong PVA Glue or Craft Glue)

How To Make A Crochet Bow Hairclip

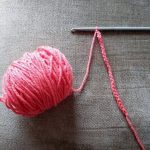
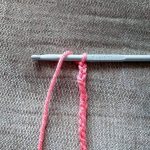
  • Find the end of your yarn and in whichever way you prefer, make a Slip Stich on to your crochet hook.
  • Chain Stitch for 25. You can do this by wrapping the ‘yarn over’ the hook, and pulling it through the loop you already have on your hook.
    • You can make your bow bigger or smaller by adding or deducting to/from the number of chains.
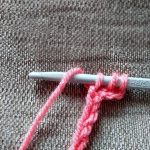
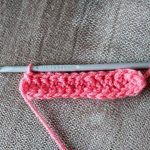
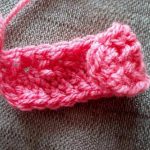
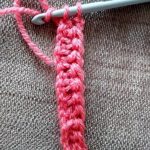
  •  At the end of the chain, wrap the ‘yarn over’ your hook and Half Treble Crochet (Htr) in the third chain from your hook.
    • With the yarn wrapped over the hook, push the hook through the third chain from the hook.
    • Wrap the ‘yarn over’ again and pull through.
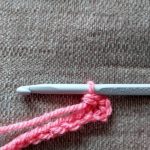
    • Wrap the yarn over your hook again and pull it through all three stitches on your hook.
    • Pull the yarn snug after each stitch.
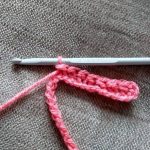
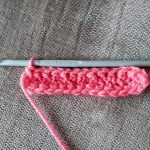
  • Work along the chain, making a Htr in each chain until you reach the end.
  • After your last Htr, Chain Stich 2.
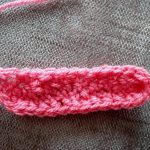
  • Flip your completed row to the other side, and continue doing Htr down the other side of your row of Chain Stitching. Go into the first loop, don’t miss any.
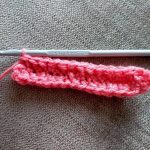
  • Repeat for another two rows, one on either side, so you have a total of four Htr rows and one Chain row.
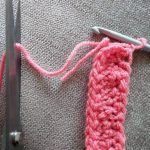
  • At the end of the last row, chain one. Cut your yarn leaving a tail and pull completely through the chain, pull tight to knot.
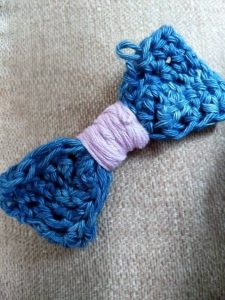
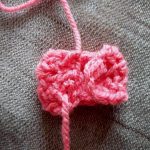
  • Fold each end of your crochet piece in to the centre. Thread your Knitters (Darning) needle and stitch across the middle to hold in place.
    • If you prefer to, you could just Glue the end to the centre. You’ll need to be careful not to apply too much.
  • Cut a length of the same or a contracting colour yarn (this will be for the middle of the bow.) Add a small amount of glue to the back of the bow and press the end of your new yarn to it.
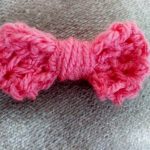
  • Wind the yarn around the middle, keeping it quite tight – finish whenever you’re happy with how it look, you can use as little or as much as you want to.
  • When you’re happy, cut the yarn (if you need to) and glue it to the back of the bow. Glue the bow to your Hair Curl Clip. Ta-dah! You’re all done! 🙂

To make our Crochet Bow Hair Clips we used our New Fashion 100% Acrylic Yarn we also used Katia Cotton as well as True Blue Indigo Dyed Cotton.

We hope you enjoyed this little tutorial and (as always :-)) we’d love to see any that you have made too, so feel free to send those to us via social media or our email address karendelahunty@outlook.co.uk

Happy Crafting and Weekend-ing!
Posted on

Crafty Friday: Exposed Zipper Cosmetic Bag

Summer seems to have finally arrived this week, which has been wonderful. Children leaving school for the summer holidays, plane tickets to exotic foreign destinations being snapped up quicker than you can say “Let’s Sew!” and a lovely helping of warm sunshine. What’s not to love?

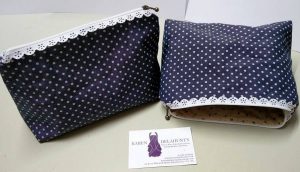
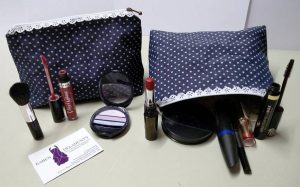
Well if this week’s weather has got you thinking of jetting off or booking a weekend away, then make sure you make one of these Exposed Zipper Cosmetic Bags using this handy tutorial, to take with you wherever you go!

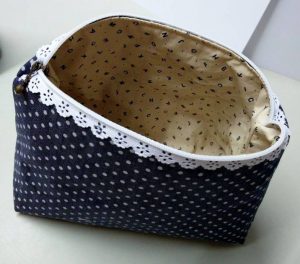
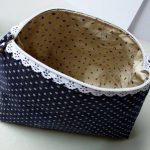
This week’s Crafty Friday Tutorial is our lovely Exposed Zipper Cosmetic Bag – don’t they look fabulous? These are the perfect way to upgrade your cosmetic bag without spending too much time or money. They are simple to make in just under an hour and cost under £12.00!

What You’ll Need

  • ​Main Fabric (1 Fat Quarter or 25cm of any material)
  • Inner/Lining Fabric (1 Fat Quarter or 25cm of any material)
  • 25cm of Medium Weight Interfacing (Iron-On/Fusible)
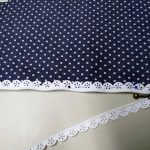
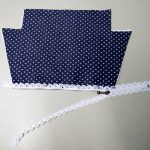
  • 30cm Lace Zipper
  • Sewing Machine
  • Scissors
  • Pins
  • Coordinating Threads
  • Cardstock
  • Pen
  • Ruler

​How to Make an Exposed-Zipper-Cosmetic-Bag


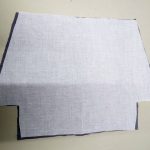
  • First of all, you’ll need to draw up your pattern piece. Take your cardstock and pen and start by drawing a rectangle, 10cm x 16xcm.
    • From the shorter edge, measure up 5.5cm and make a mark.
    • Next, draw a line 4.5cm out from the mark you’ve just made.
    • Now join the line you’ve just drawn to the other shorter edge of the rectangle.
    • This is now your pattern, cut it out. On the long straight edge make a note to “Cut on Fold.”
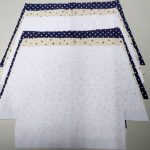
  • Using the pattern piece you’ve just made, pin to the fabric you have chosen to be the main body of the bag, ensuring the edge is placed on a fold – cut x 2.
    • Repeat this step using the inner/lining material
    • Repeat this step using the medium-weight interfacing.
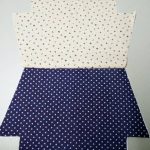
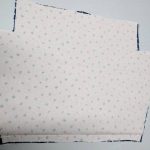
  • Now you have six pieces, cut out and ready to sew. Place the fusible interfacing on top on the main fabric, ensuring that the wrong sides are together.
  • Adjust your iron temperature and settings according to the main fabric. With the interfacing showing, iron gently over the top for a few seconds (or until you’re happy the materials have fused together.)
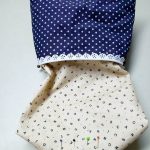
  • Place the Inner/Lining fabric on top of the main fabric with right sides together, pin along the top edge. Using a 1cm seam allowance, sew along the edge. Repeat this for both sides of the bag.
  • Press the seams flat. Fold over so you now only see the right sides of the material, no interfacing should be showing at this point. Repeat this for both sides of the bag.
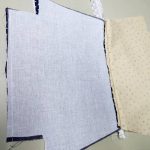
  • Open out the lace zipper and pin the tape to the main fabric and lining. The tape should show on the main fabric. Zip back up slightly, so that the zip pull is not poking out the side of the fabric.
  • Using a zipper foot on your sewing machine, stitch as close to the zipper edge as you can. Sew all the way to the end of the material (not the end of the zip.)
    • Repeat the previous two steps on the other side of the bag, so the zip is joined to both sides.
  • Separate the lining materials and main fabrics, so one sits at either side of the zip. On the main fabric stitch a 1cm seam allowance at the bottom edge. On the lining fabric, stitch a 1cm seam allowance along the bottom edge, but leave a gap of 10cm for turning out.
  • Pin the edges of the zipper tape together so they don’t move. Stitch a 1cm seam allowance along both side seams.
  • Pull together the bottom edges to make the bag base aligning the seams and stitch the corners. Do this on both the main fabric and the lining fabric. Stitch using a 1cm seam allowance.
  • Turn the right way out through the gap you left in your lining, press out the corners. Hand-stitch the gap in your lining and hide inside the bag.

And there you go, in just under an hour you’ve made yourself a beautiful exposed zipper cosmetic pouch, hooray! Now to go an fill it up with all of your make-up and cosmetic needs!:)

To make our exposed zipper cosmetic bags we used our polka-dot navy blue chambray we also used one of our fat quarters as well as our medium-weight fusible interfacing.​

We hope you enjoyed this little tutorial and (as always :-)) we’d love to see any that you have made too, so feel free to send those to us via social media or our email address karendelahunty@outlook.co.uk

Happy Crafting and Weekend-ing!
Posted on

Crafty Friday: Suffolk Puff Flowers

Oh how we love Friday! 🙂
Phew! Another busy week for us all at Karen Delahunty Sewing & Knitting Centre, lots of alteration fittings, sewing machine demonstrations going on as well as the usual hustle and bustle of the shop. Here we are again though, ready to share another lovely tutorial with you.

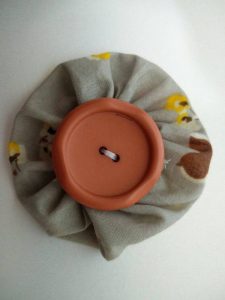
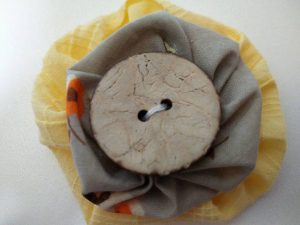
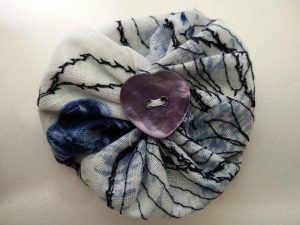
​​This week we’ve been making these beautiful little Suffolk puff flowers – aren’t they sew sweet? We think these would make lovely handmade gifts for any occasion. Sew them to a cushion cover to make a lovely home-ware piece, add a headband or hairpin to make a beautiful hair-piece. You could even sew them to bags or blankets or attach them to false stems and create a bouquet that lasts forever! The added bonus is that absolutely anyone can make these lovely little flowers with ease.

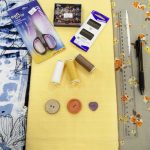
What You’ll Need

  • Fabric Scraps or Fat Quarters
  • Buttons
  • Threads
  • Needle
  • Ruler
  • Card
  • Compass (Or any round object to draw around and use as a template.)
  • Pen

How to Make Suffolk Puff Flowers

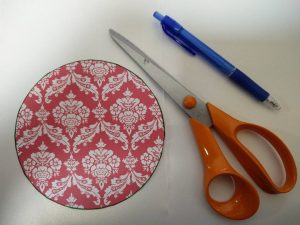
  1. Draw a circle template on to your sheet of card at the desired size. If you’re using a round object, place on the card and draw around. Cut out when finished. This will be your pattern.
    • TIP: If you want to layer your Suffolk puffs, make two patterns, one larger circle and one a little smaller.
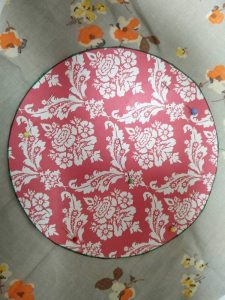
  2. Pin your pattern to your fabric and cut out. Cut as many as you wish to make.
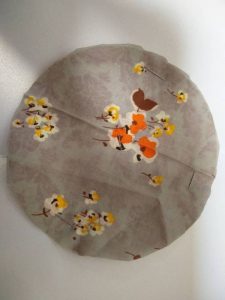
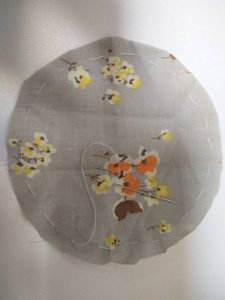
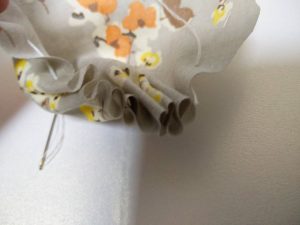
  3. Thread your needle with thread that matches your material, tie a knot at the end. Using a running (or straight) stitch, sew around the circle about 1.5cm from the edge of the fabric.
  4. When you reach your starting point, gently pull the thread to gather the fabric – you may have to do this a couple of times to get the desired amount of gathering. When you’re happy, back stitch (or tie) the thread and cut. Repeat this for all of your circles.
    1. TIP: If you’ve decided to give your Suffolk puff flowers a second layer, you’ll want to attach that now. Lay the larger circle so that the gathers are facing you, place the smaller circle on top – again with the gathers facing you and stitch in the middle to hold them in place.
  5. Choose a button for the centre of your Suffolk puff flower. Thread your needle with coordinating thread and tie a knot at one end.
  6. Decide where to place your button and when you’re happy, stitch the button in place. When you’re done back stitch (or tie) your thread and cut.

And there you have it, your very own Suffolk puff flowers!

To make our Suffolk puff flowers we used our ditsy floral print cotton lawn, we also used our fab cotton and linen blend and our textured yellow cotton lawn.
You could also use any of our fabulous Fat Quarter’s.
We hope you enjoyed this little tutorial and (as always :-)) we’d love to see any that you have made too, so feel free to send those to us via social media or our email address karendelahunty@outlook.co.uk

Happy Crafting and Weekend-ing!