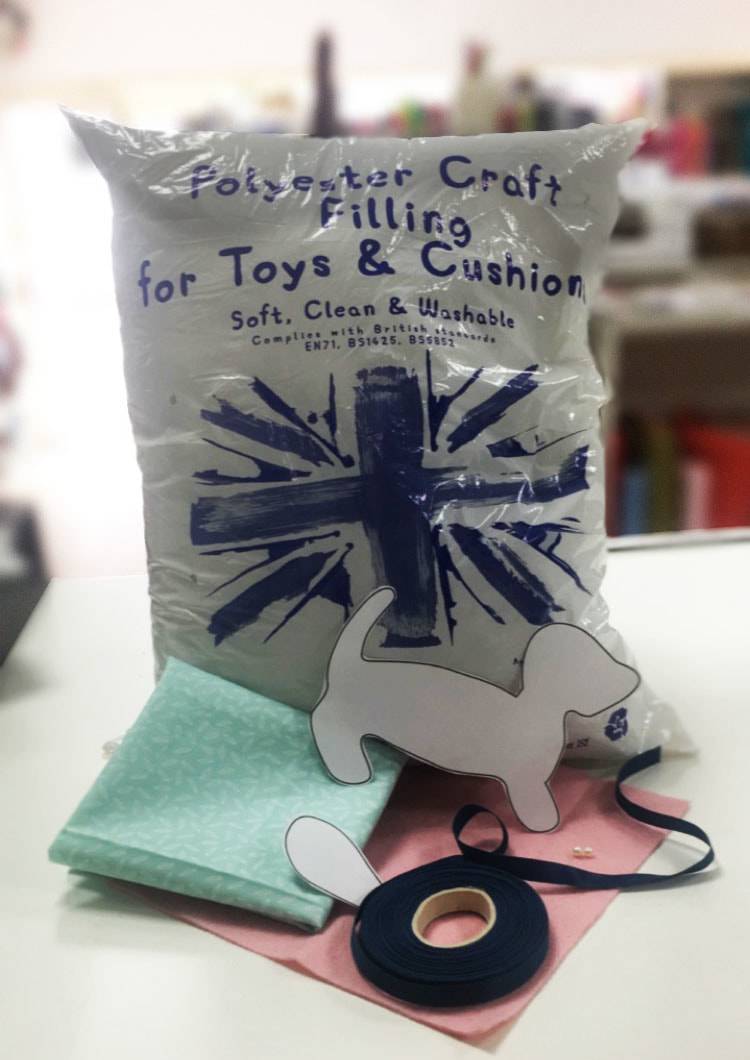
What you will need
- The Daisy dachshund template which you will need to download and print it off.
- Cotton fabric approx 20cm X 20cm ( Use a cotton print with a colourful patter to make it more interesting)
- Coloured felt of your choice
- Toy stuffing
- Ribbon
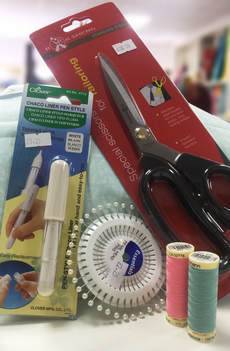
- Fabric scissors
- Thread to match your fabric
- Two small buttons for the eyes (or you can just embroider the eyes with thread as another option)
Lets get started
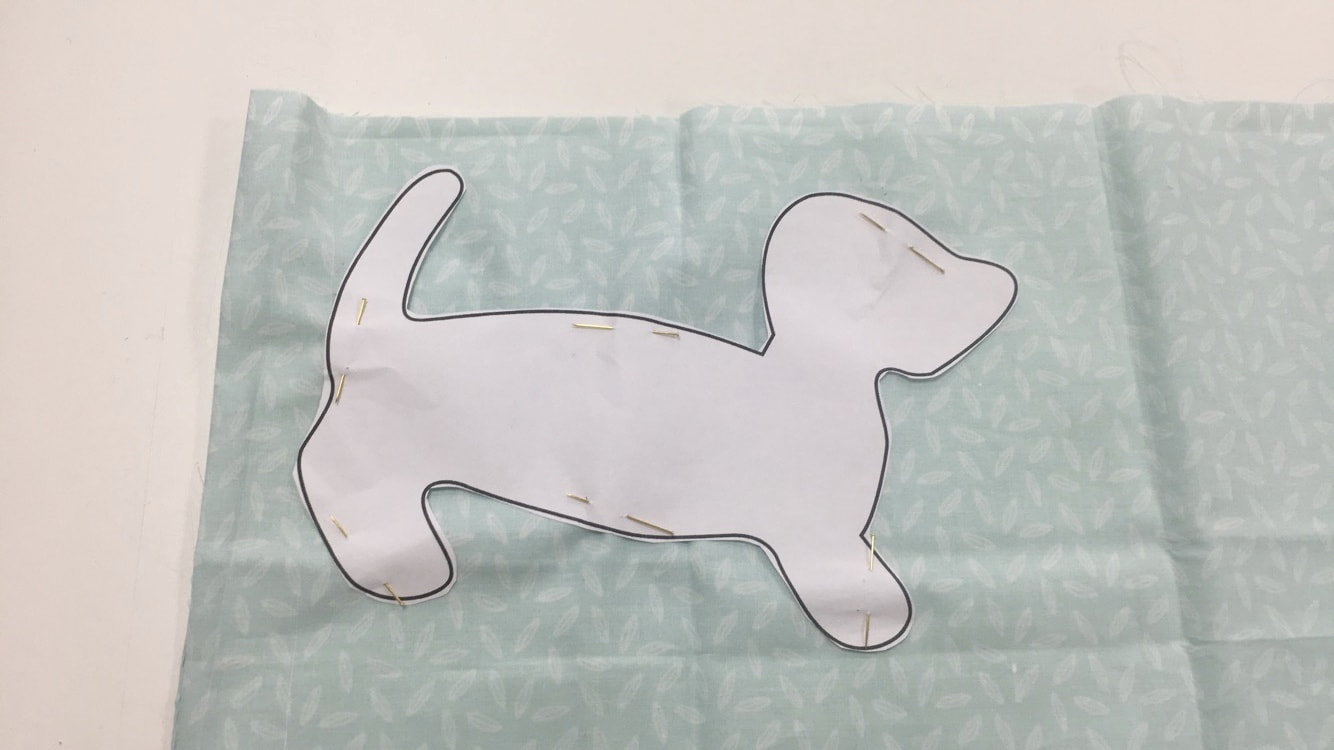
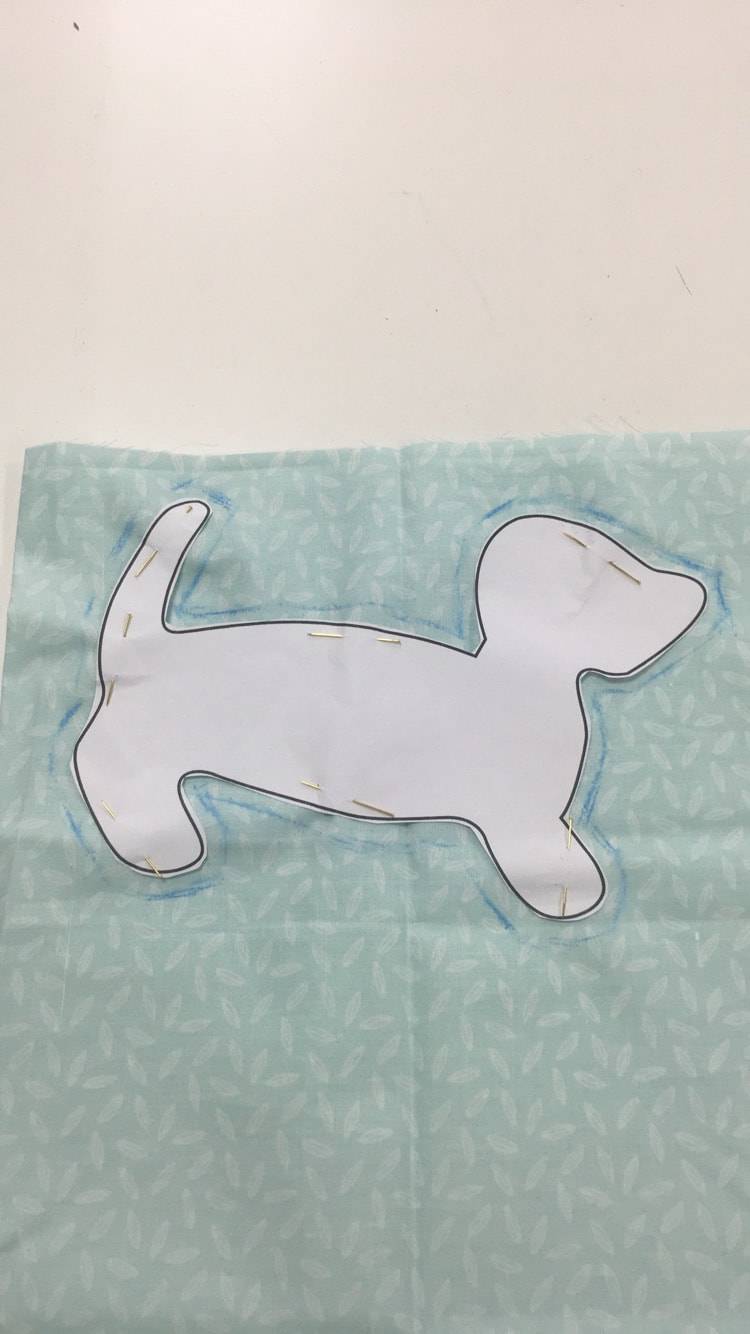
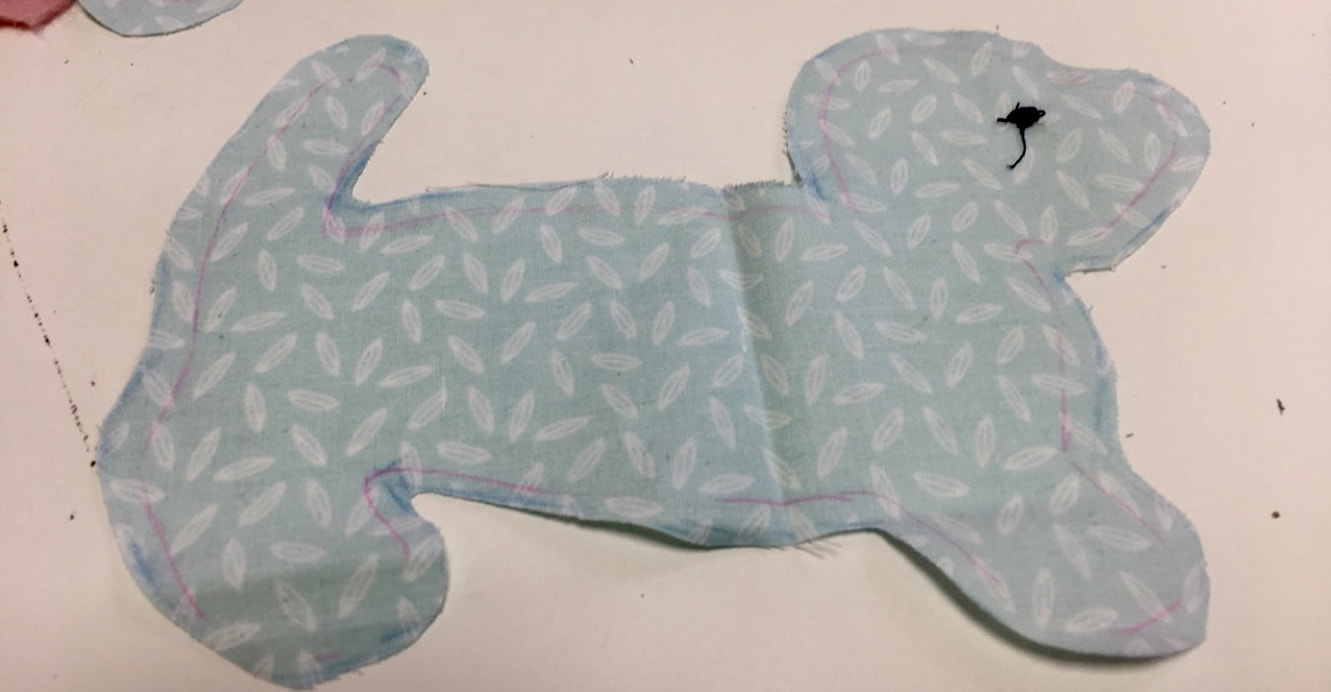
First fold your piece of cotton in half, with right sides together. (I have already cut out my dachshund template) ready to then pin to the layers of fabric. Once you have pinned the template to the fabric you will need to add 5mm seam allowance round the outside of the template. For this step I used a tape measure to measure 5mm and a clover liner chalk pen to mark the 5mm at points. I then roughly joined these points and then cut it out.


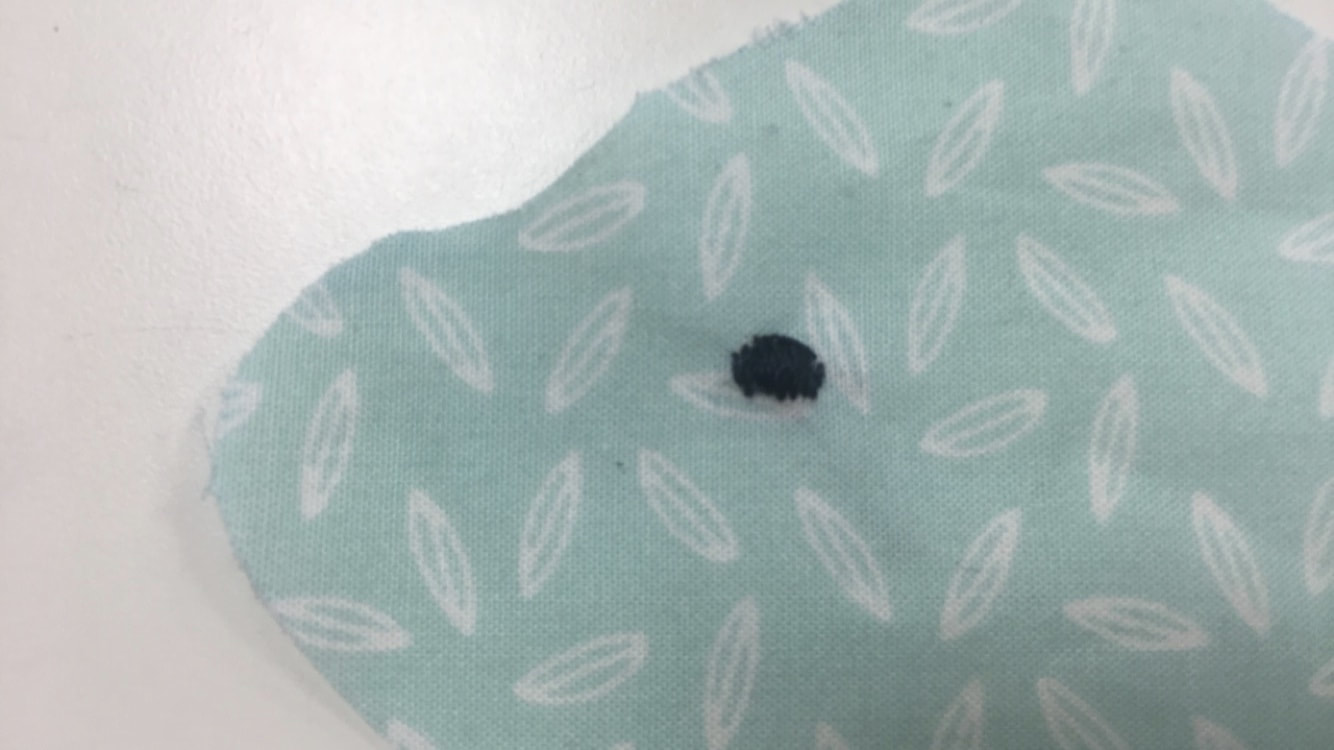
If you choose to embroider the eyes on the dachshund do this now, however if you want to use buttons for the eyes this can be done later. If you are a more advanced sewer you could do a tailor tack with the two pieces of fabric where you want the eyes to be positioned, this is just so the eyes will be positioned in the same place on either side of the dog. If you want to learn how to do a tailor tack Click here to take you to our blog post on how to do a tailor tack.


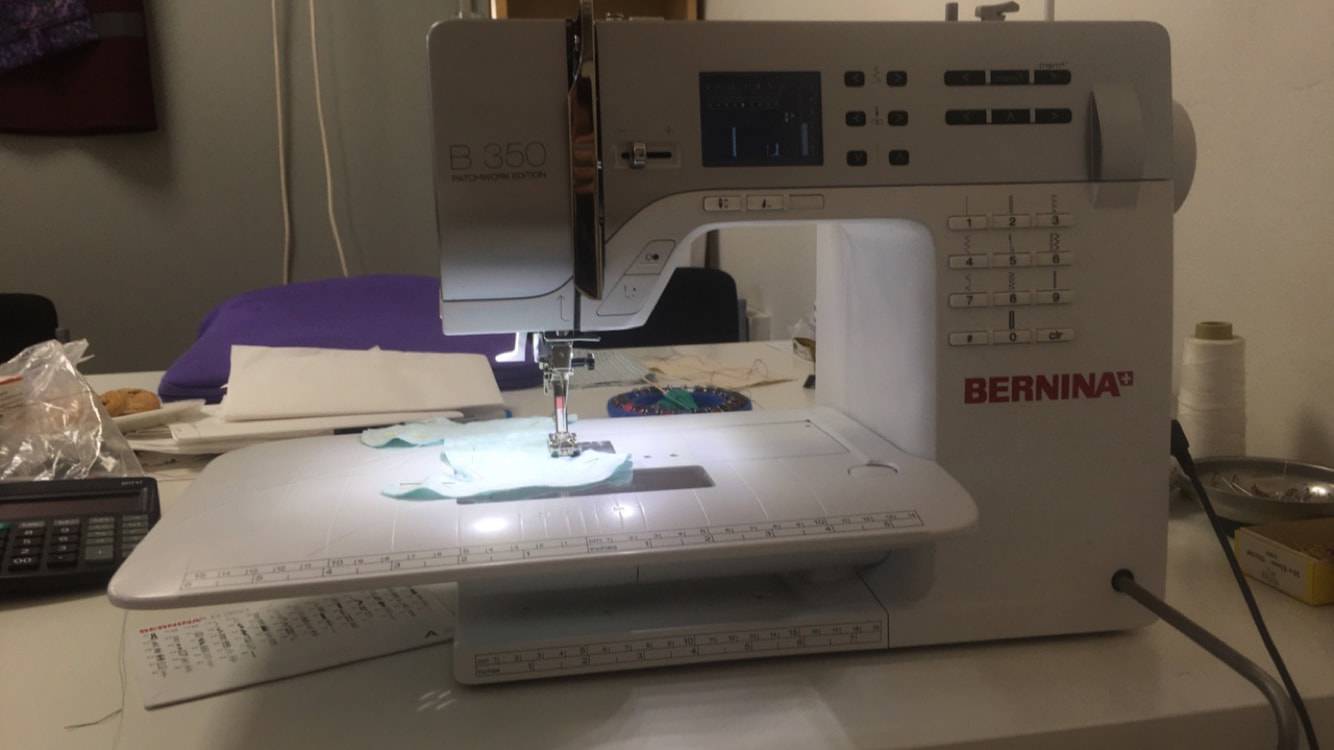
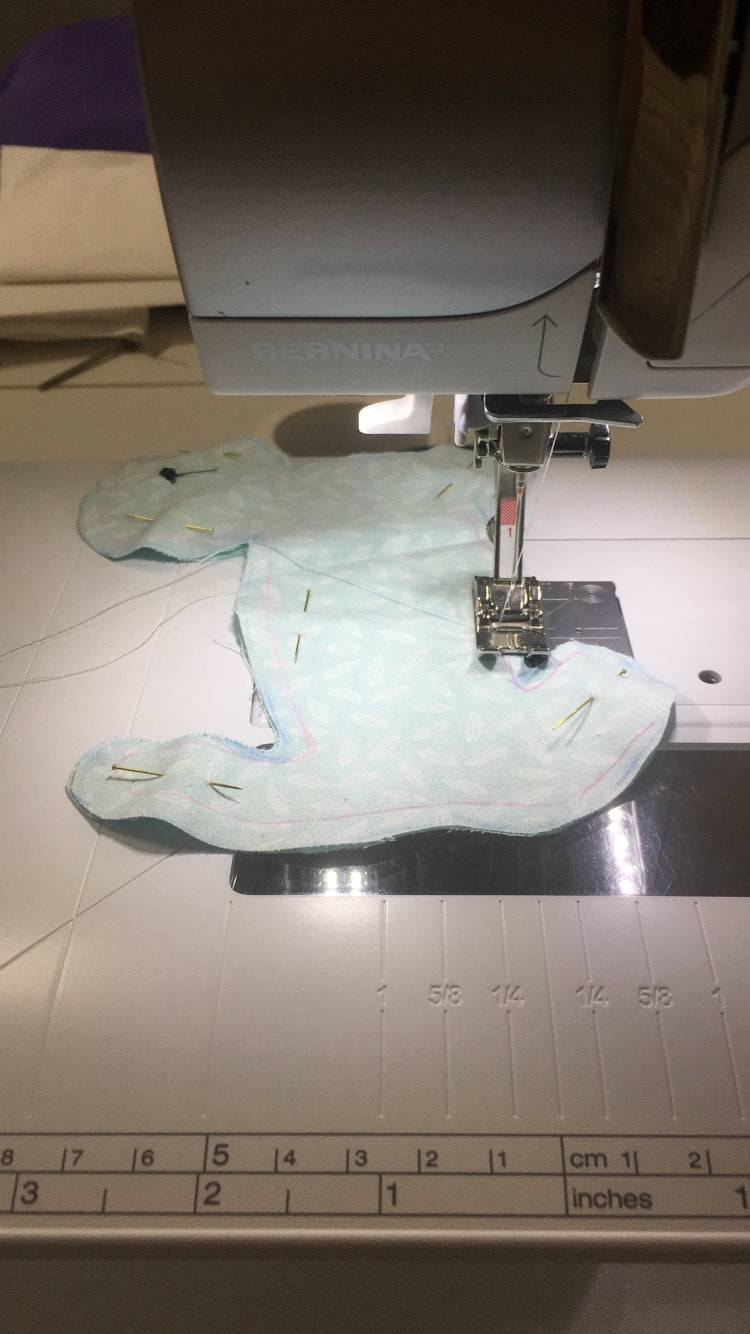
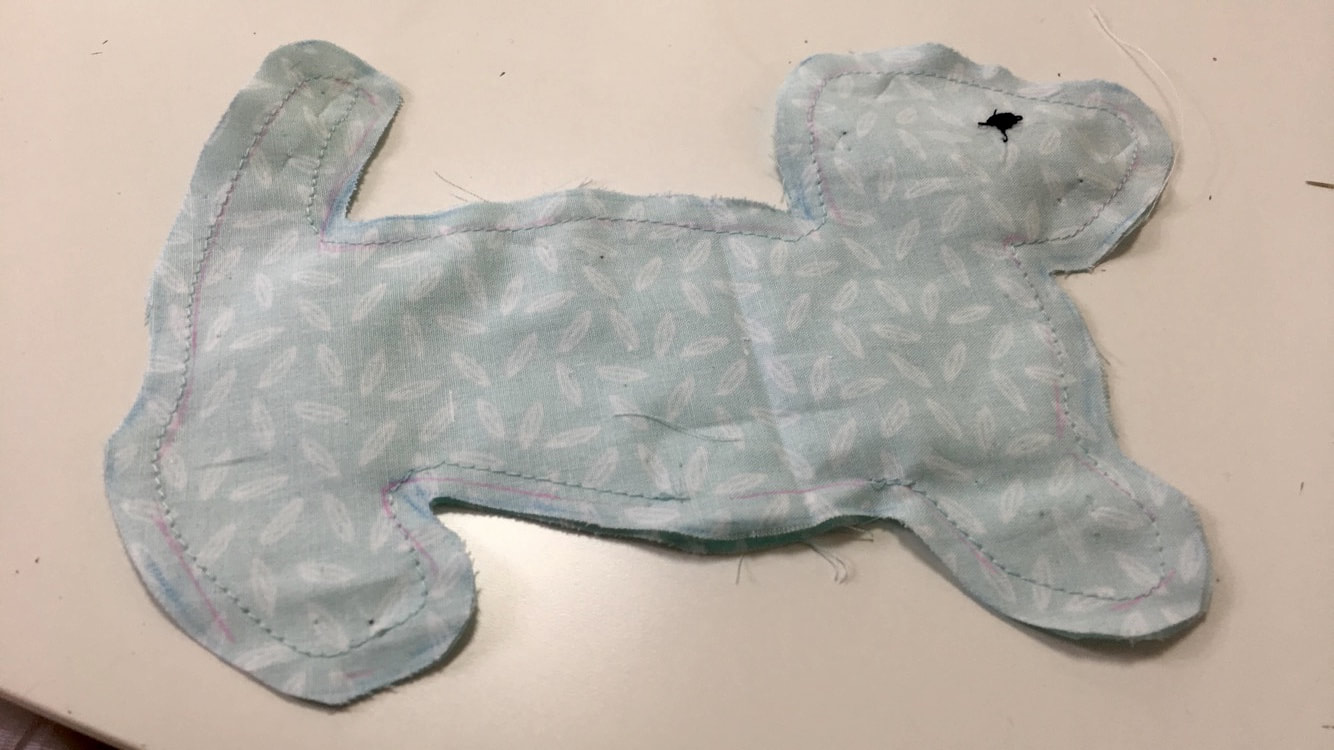
The next step is sewing the two fabric dog pieces together. Pin the pieces together to stop them from moving. You will want the right sides of the fabric together and using a sewing machine (I’m using a Bernina B350) and just a basic straight stitch, start on the Dachshunds tummy and sew along your 5 mm seam allowance line you drew earlier. Sew all the way round until you almost meet where you started and make sure you leave a gap to put the stuffing in later. Again if you are more advanced sewer reverse over your stitch at the start and end for strength so that it doesn’t easily rip open when you are turning and stuffing it.
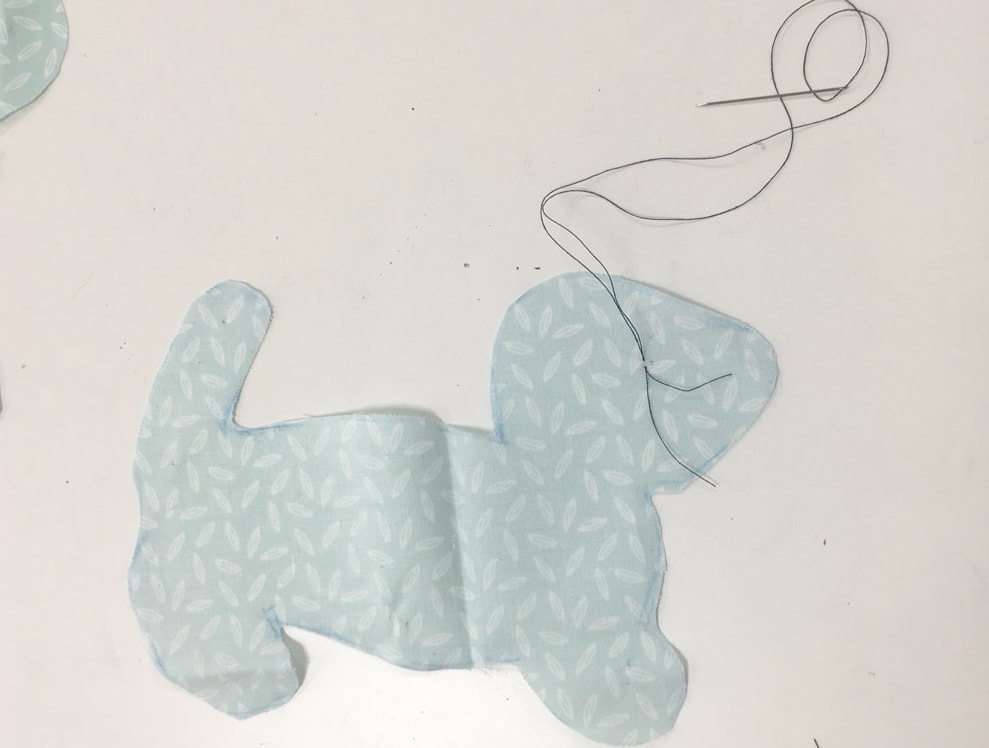
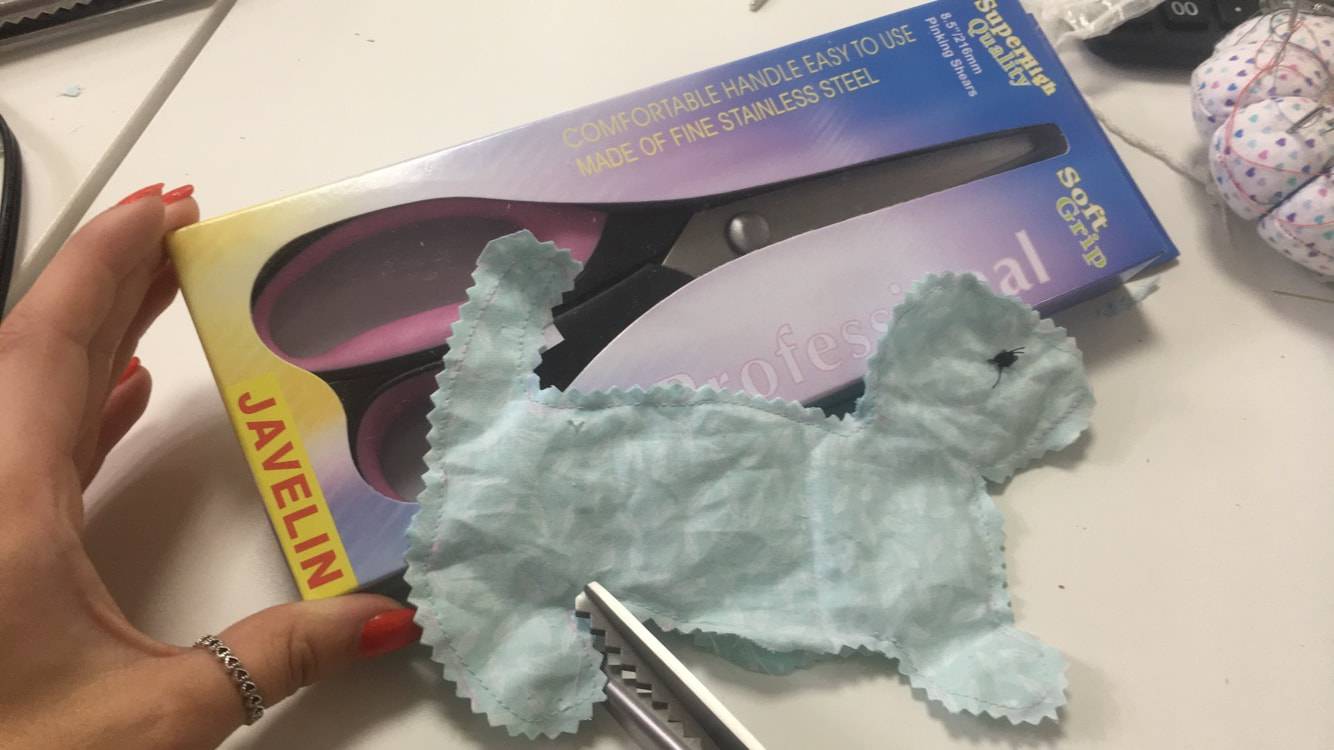
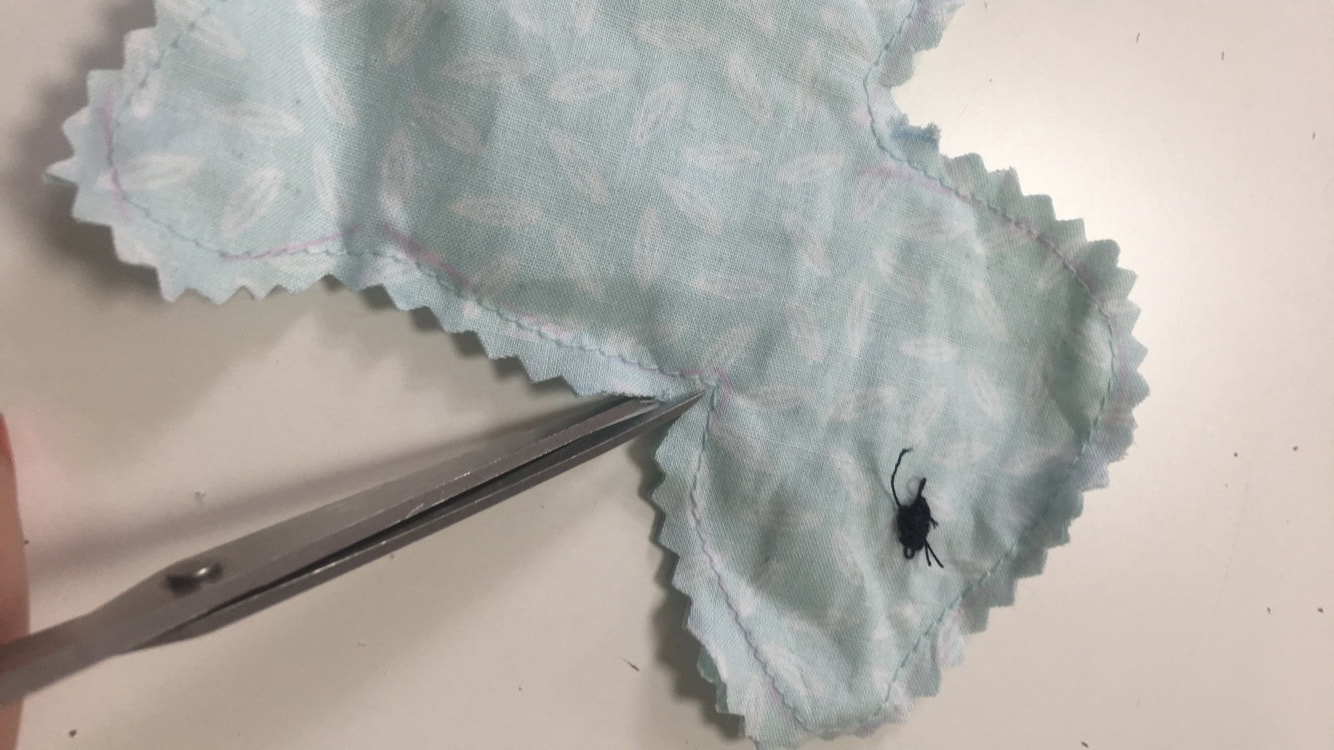
Clip and trim the seam allowance down, I used pinking shears to do this which makes this step quicker and easier. Make sure to really clip the corners before you turn the dachshund right side out.
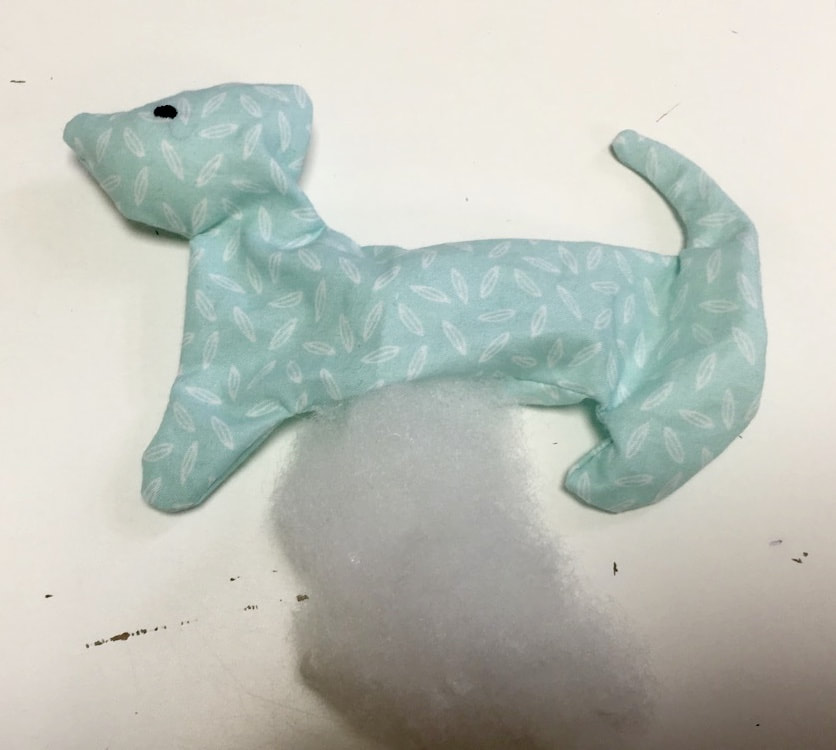
It should now look something like this.
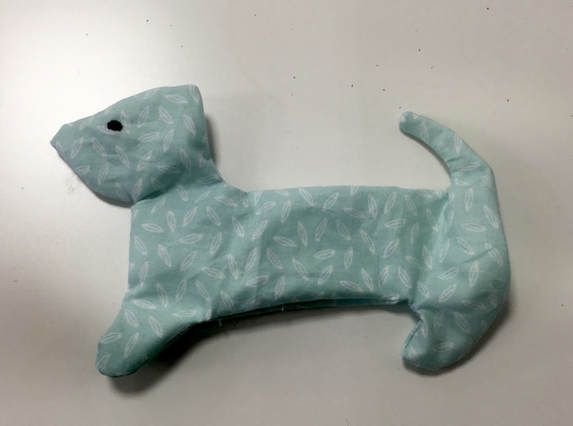
Fill the Dachshund with the toy stuffing. Tip: use a knitting needle to push the stuffing to the ends of the limbs.

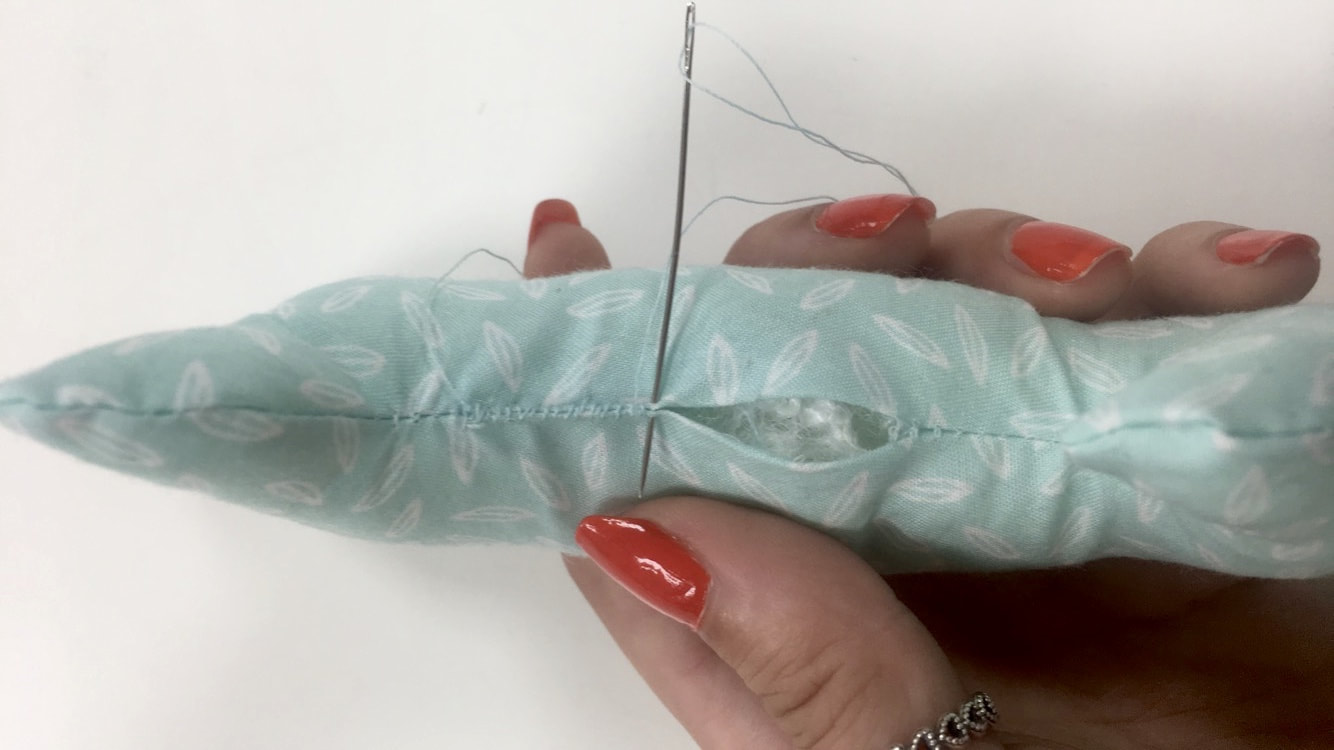
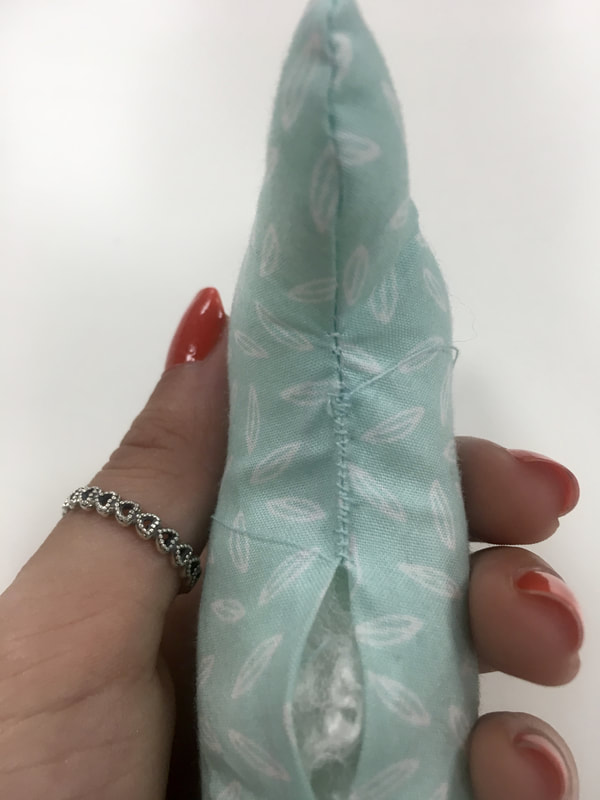
After you have stuffed the Dachshund fold in the raw edges where you left your gap and hand sew the gap closed.
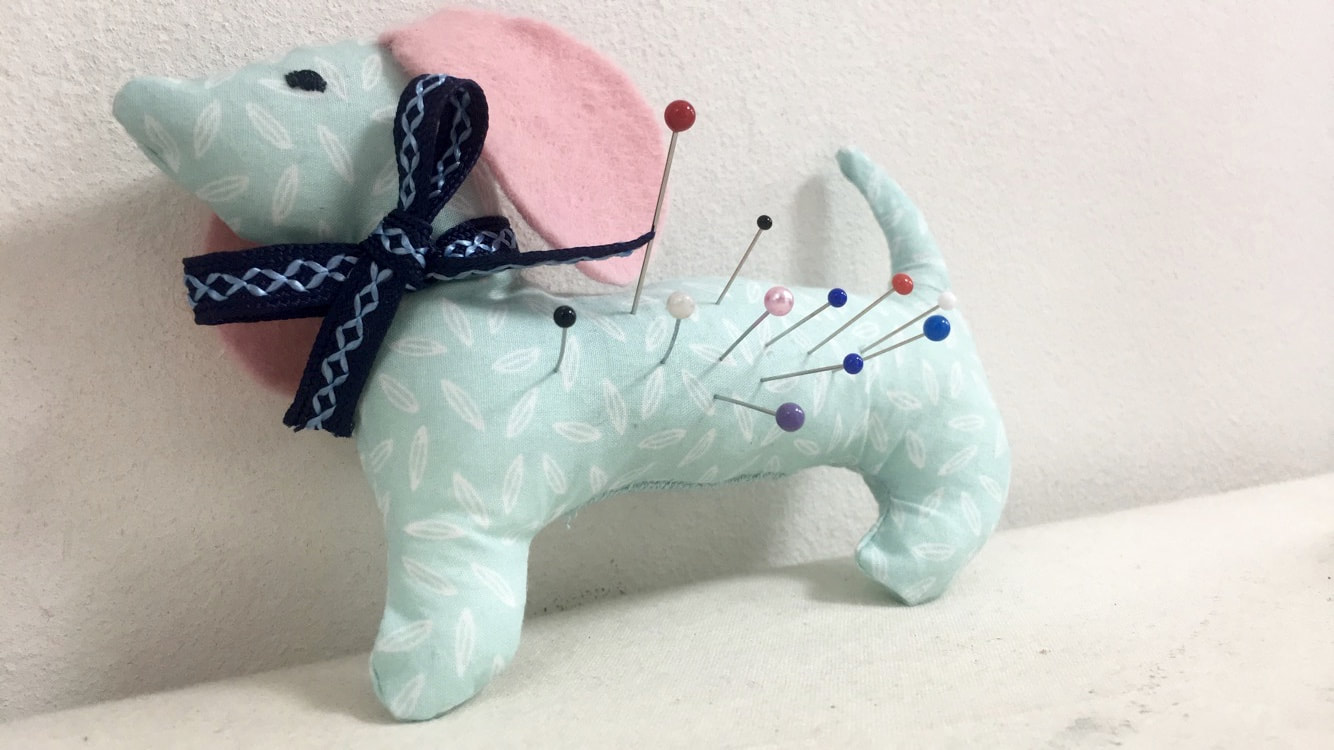
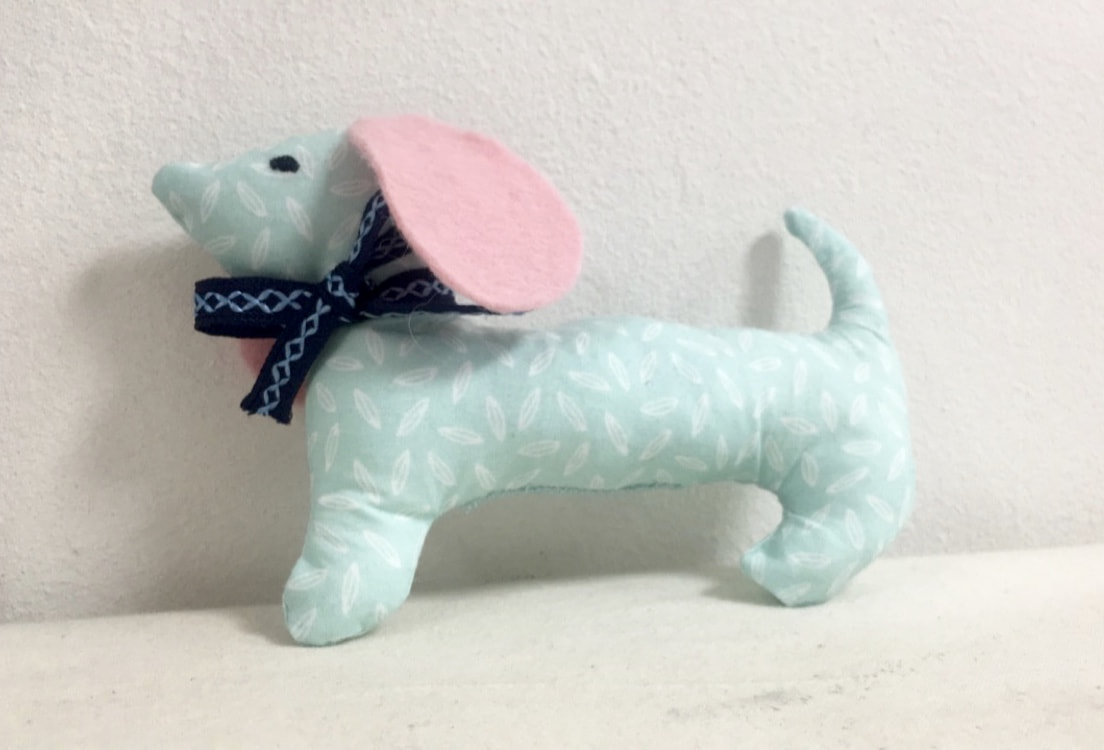
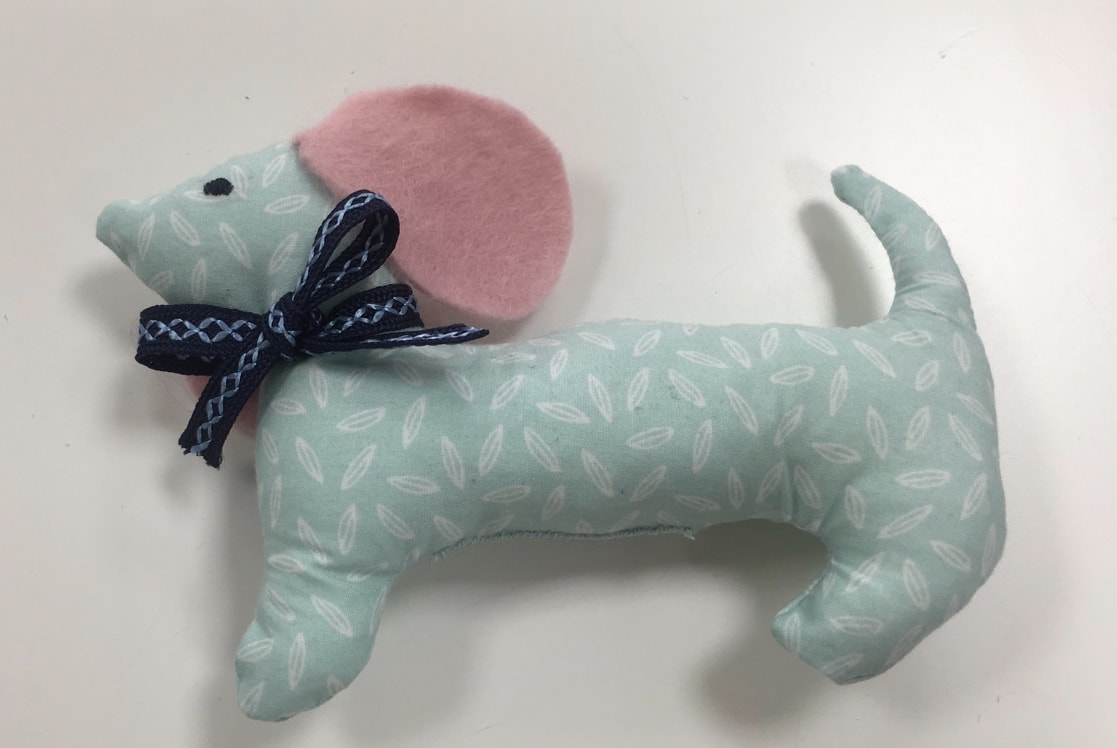
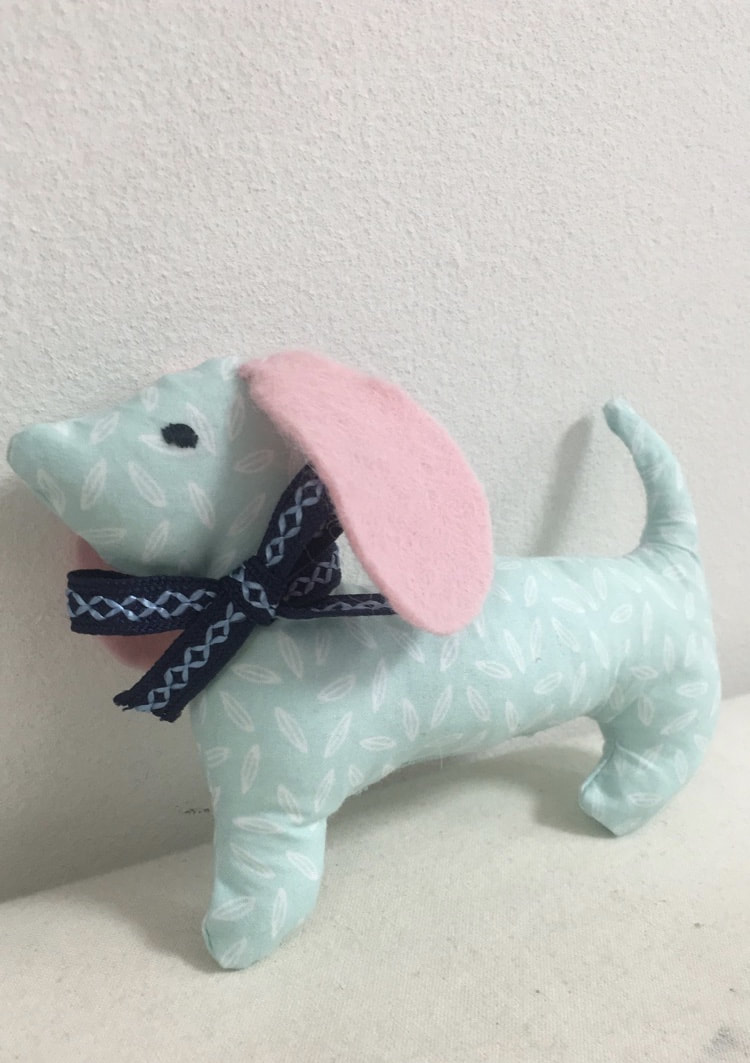
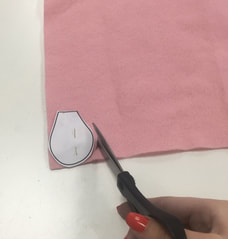 Pin the ear template pieces to your piece of felt and cut out two ear shapes from felt. Hand sew the ears to each side of the Dachshunds head. Make sure you use a matching thread to the colour of the felt so the thread is not visible. Then the final step is tying the ribbon around the Dachshunds neck in a bow. There you have your Daisy the Dachshund pin cushion.
Thank you to Sew Magazine for the pattern to make Daisy the Dachshund.
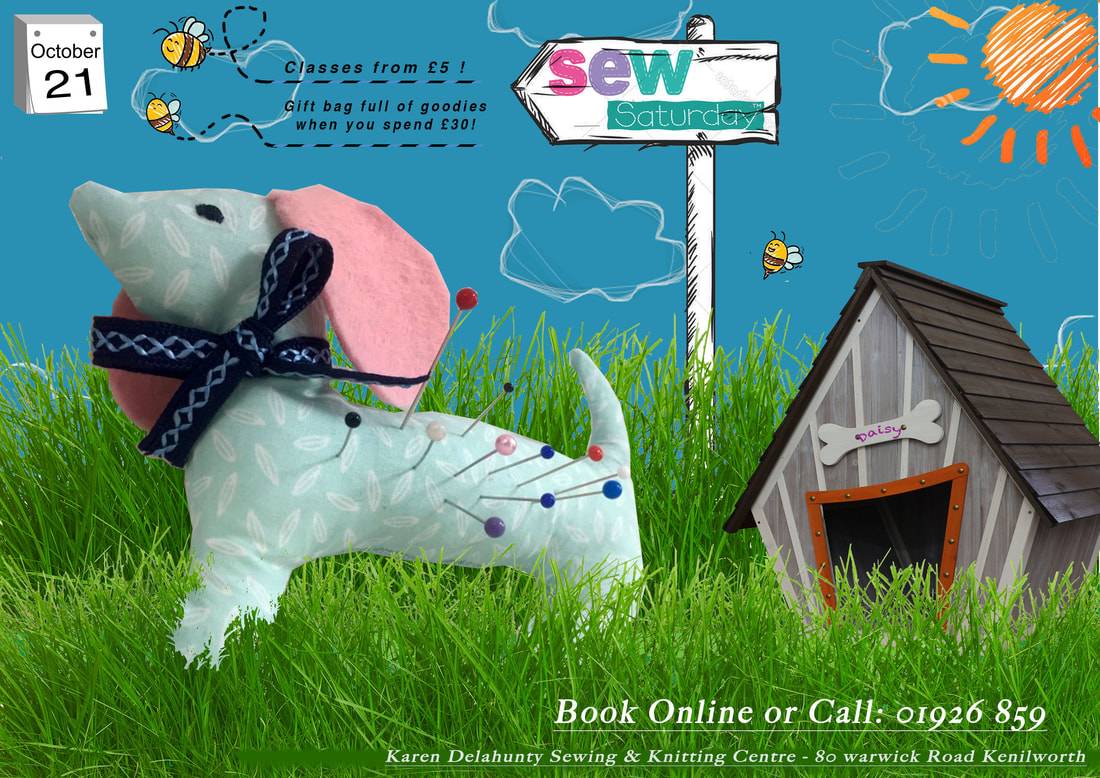
As always all the equipment used in this project are available to buy in store at Karen Delahunty Sewing and knitting Centre. Remember, if you come in on Sew Saturday which is the 21st of October and spend £30 with us you will receive a free gift bag full of exciting goodies, which includes a free Daisy the Dachshund pin cushion kit!
There will be lots of workshops going on through out the day where you can make your own zip up pouch bag or mini bunting for only £5, so make sure you book your place in advanced and come on down and have a fun filled afternoon celebrating Sew Magazines Sew Saturday!