We love Christmas, it’s such a lovely festive season! All those cosy nights in by the fire, the loveliest food, time spent with family, gift giving (and receiving!) What’s not to love?
One of my favourite things about Christmas is Gift Wrapping. I know lots of people who think it’s a chore and really boring, but I LOVE it! 🙂
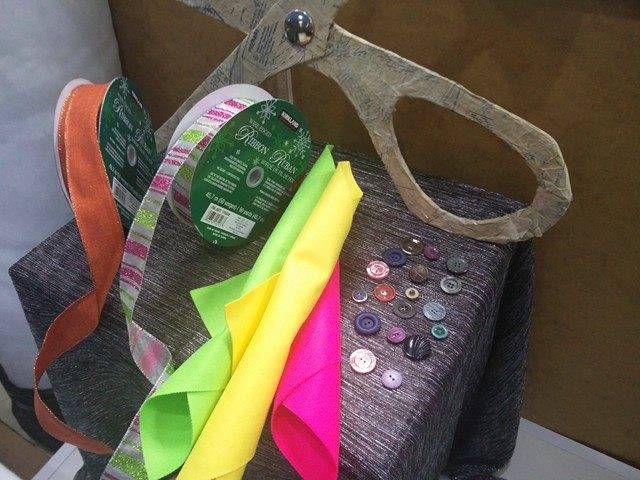
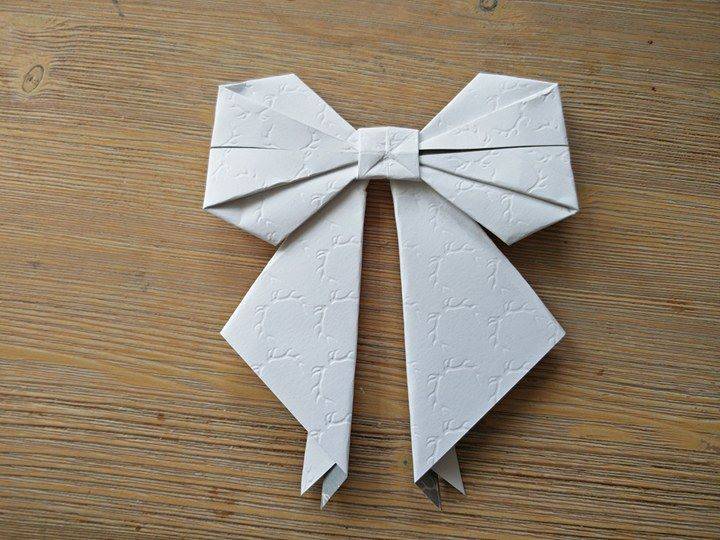
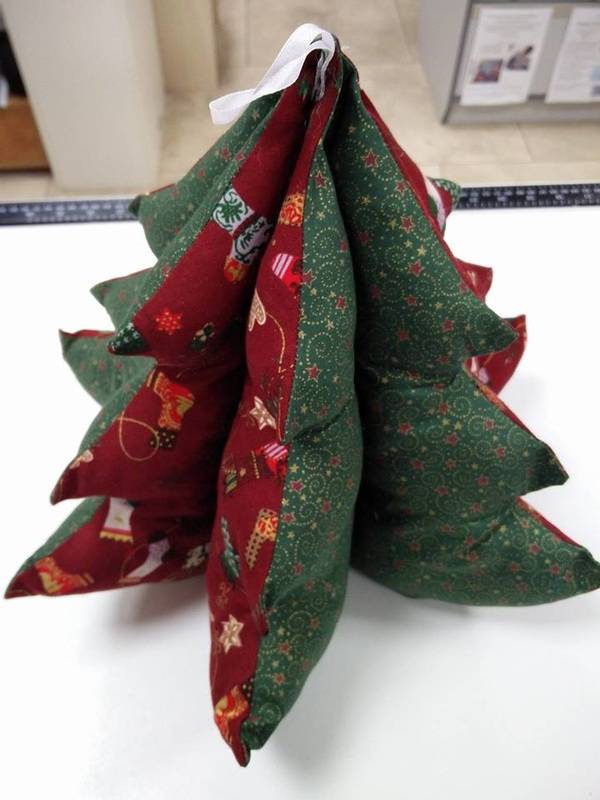
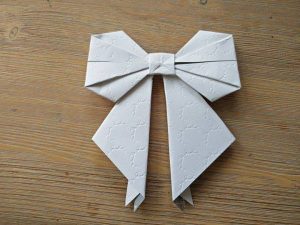
So for this week’s Crafty Friday, I wanted to share with you, how to make an Origami Bow to sit on top of any present and make it that extra bit special. You can make these from paper or Fabric – for this tutorial I’ll show you how to make the paper version (they’re less tricky!)
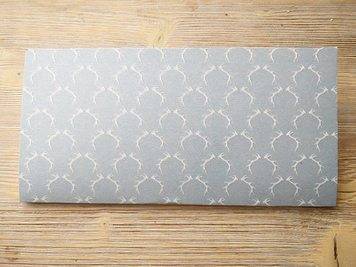
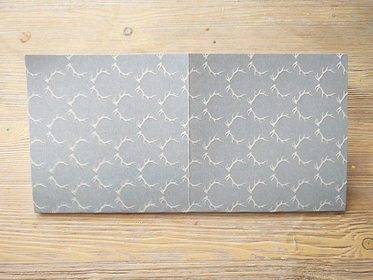
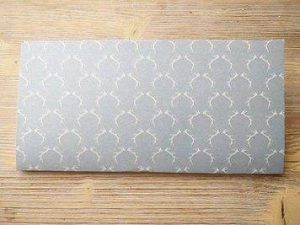
- Sheet of Card ( I used 20cm x 20cm or 8″ x 8″) – You’ll need to make sure it’s square.
- Scissors
- Ruler and Pencil (Optional)
How to Make an Origami Gift Wrap Bow
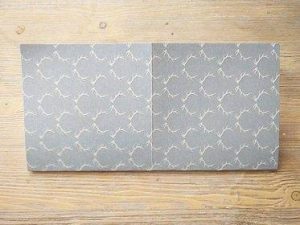
Fold your piece of card in half horizontally.
Note: If you’re using patterned paper, You’ll need to fold with the right sides together.
Now, unfold and fold again, this time, fold in half vertically.
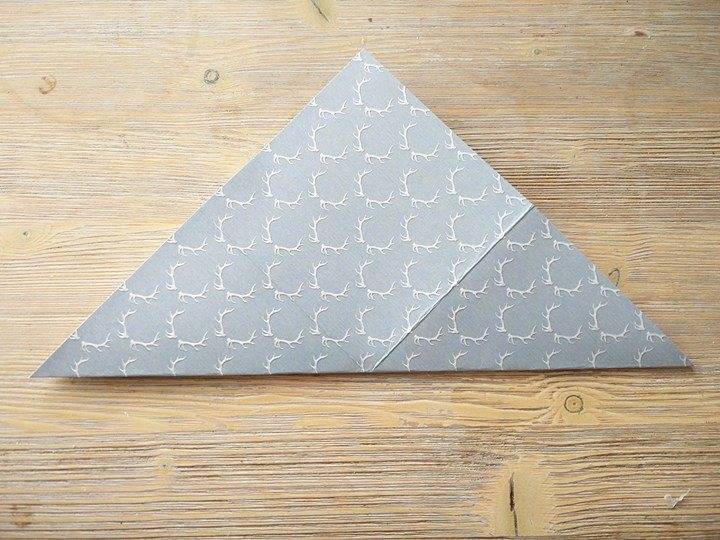
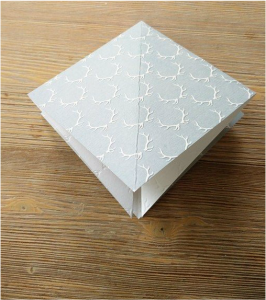
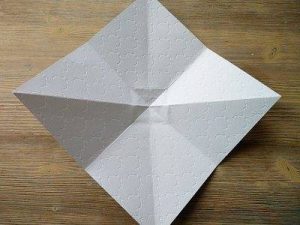
Unfold the card again and turn so that it resembles a diamond shape.
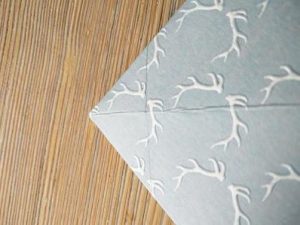
Fold one corner to the opposite one to form a triangle, press along the crease.
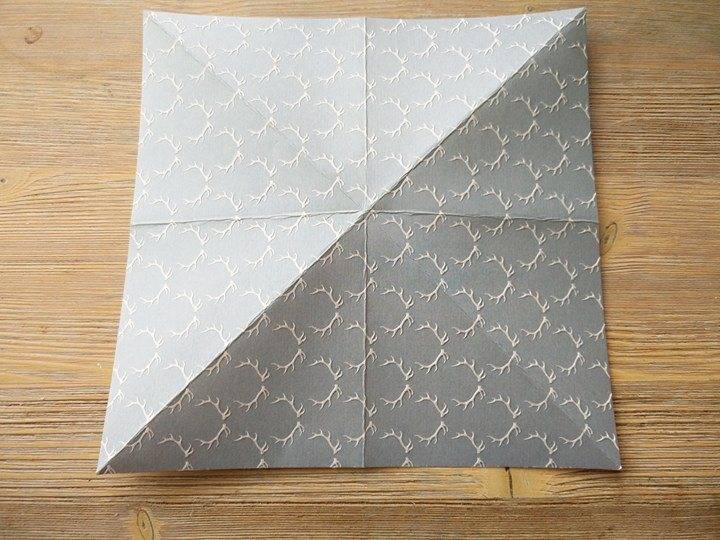
Unfold and repeat the previous step using the corners on the other side.
When you open the card back out after this step, you should see that from the centre point you have 8 creases.
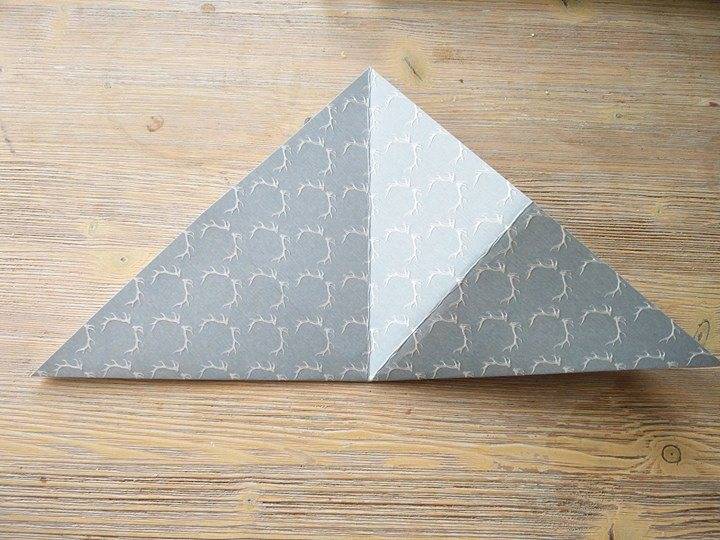
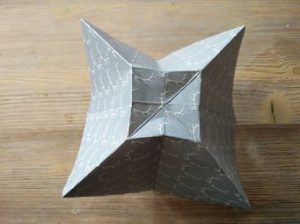
Keep the last fold in place, so you still have a triangle in front of you.
Take the right hand corner of the triangle and gently push it up to the top point of the triangle.
The creases you made should pop out and cause this to make a diamond shape; press to hold in place.
Turn over your sheet of card and repeat the step above with the next corner.
From the tip of the diamond shape you now have in front of you, draw a line roughly 2cm down. You can do these next two steps by eye or by drawing and marking exactly with a ruler and pencil.
Fold along the line you’ve just marked (or where you think), so the tip of the diamond is now pointing down to the bottom of the diamond,
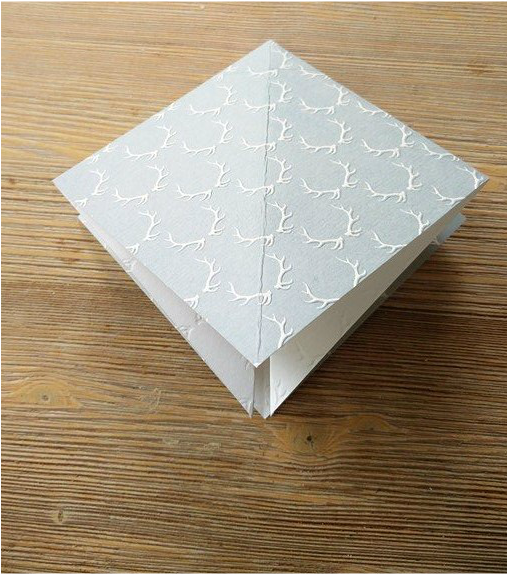
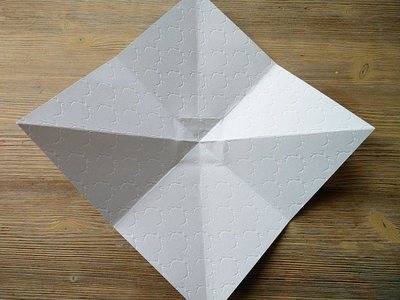
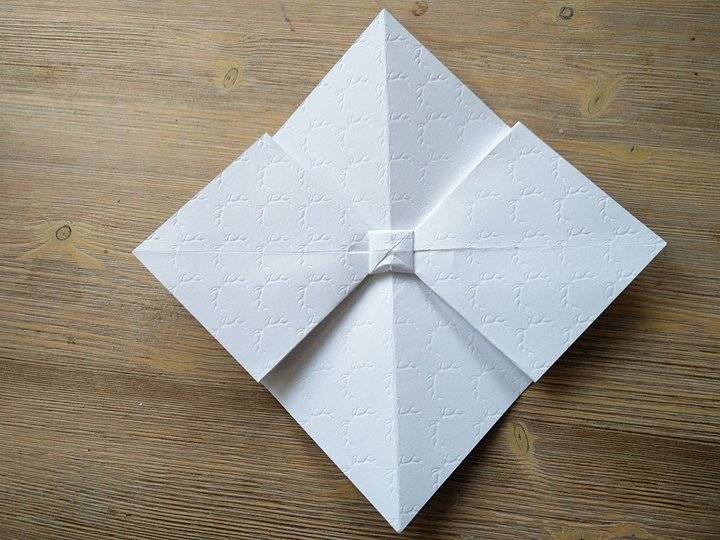
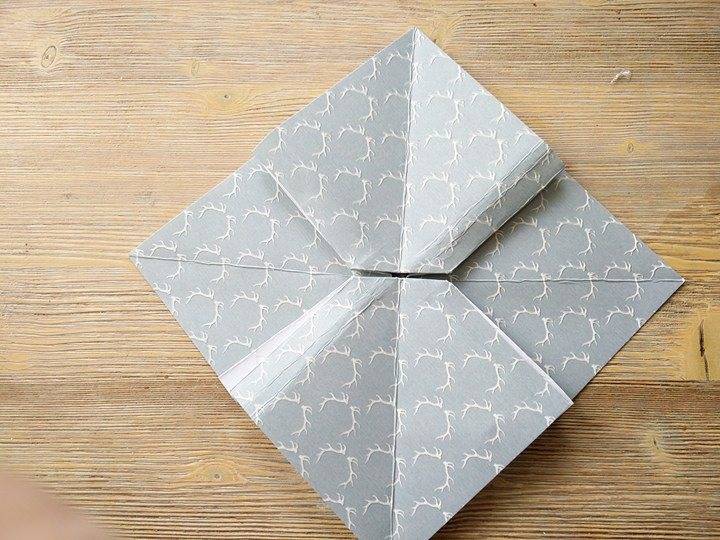
Open out all of your creases.
You should see a small square shape has appeared from the creases in the centre.
You are going to use those creases to help form the centre of the bow.
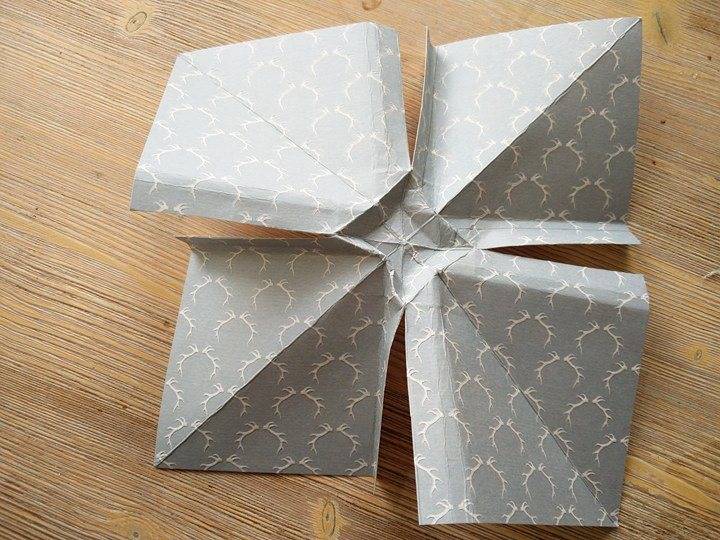
Take one side and fold along the crease, repeat this on all four sides, so the points of the card meet in the centre and the bottom of each side has formed a square shape.
Push the centre of the square inwards along its creases until it forms an X or Cross shape.
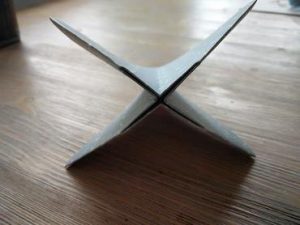
Press the X/Cross shape flat.
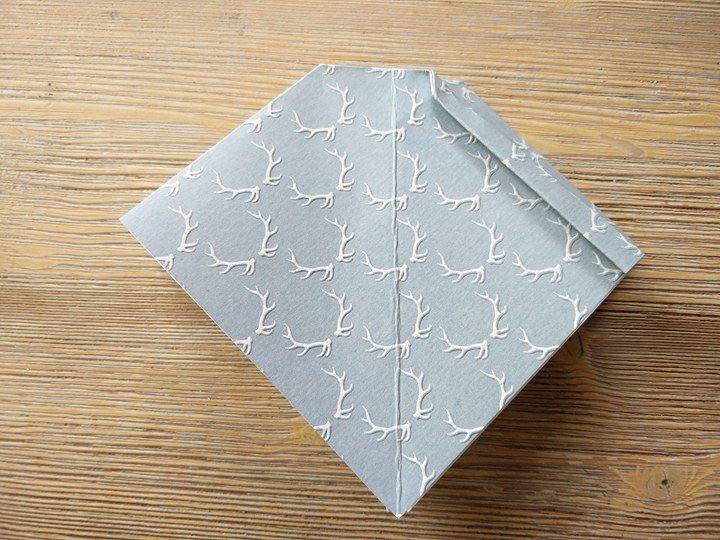
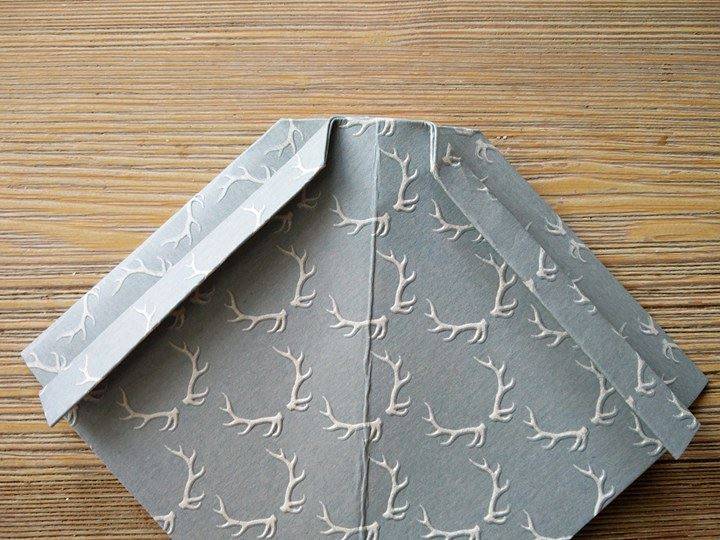
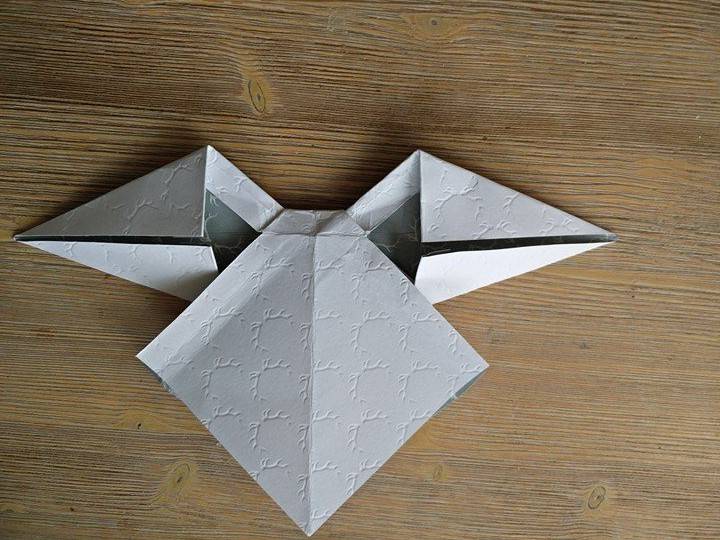
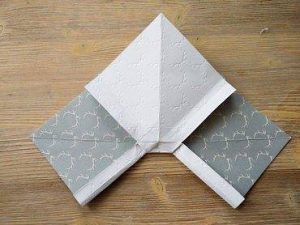
Starting from the right hand side, fold over the top edge (making sure to only use one layer of card) until it almost touches with the centre crease. Repeat on the left side.
Turn over the card and repeat with the second layers of card.
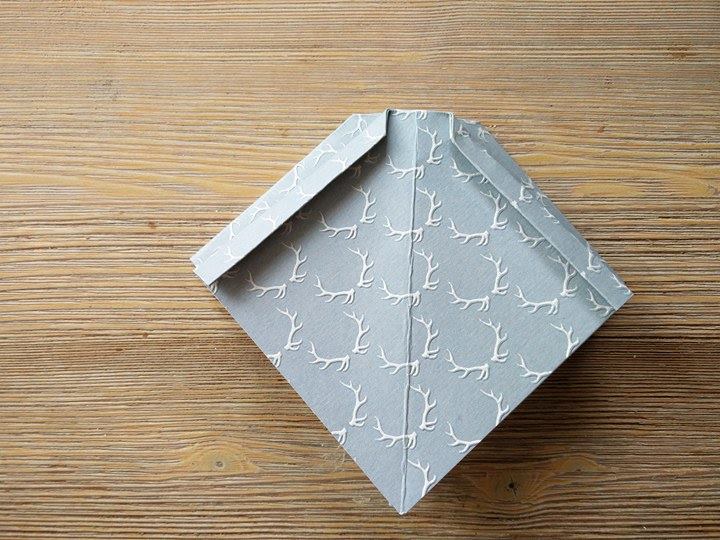
Gently pull the sides, to open the creases out. Push down at the middle.
You should see on one side a square has formed in the centre and on the other side, you have two creases that almost meet in the centre.
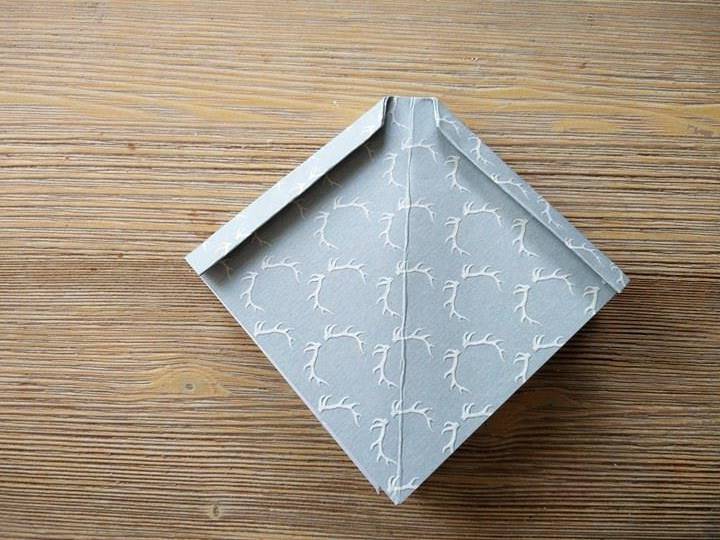
Working on the side where the creases almost meet, open out very carefully and not fully, so that you can see where the creases begin and end.
You will need to cut each crease that touches any corner of the centre square, cut from the outer edge to the corner of the square.
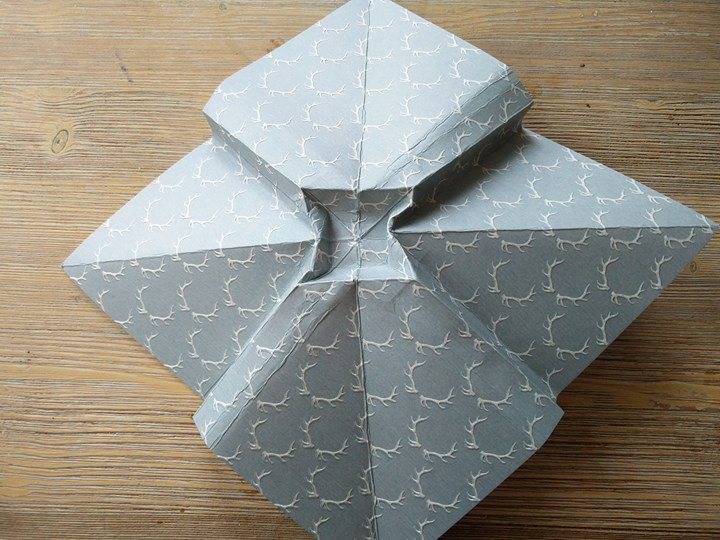
Once cut, press the piece back together, so the creases are in place.
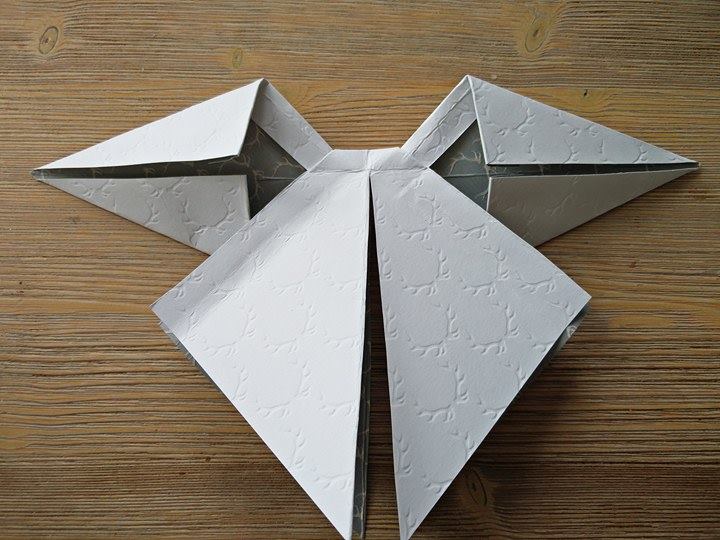
Fold the bottom diamond shape up to the one at the top; press in place.
Focusing on the two pieces sticking out to the sides, fold the bottom corner up to the centre fold and repeat on the opposite side.
Flip the centre diamond piece (that you just folded upwards a few steps previous) down, so they are now on the same side as the pieces you just folded. Repeat the folds on the opposite sides.
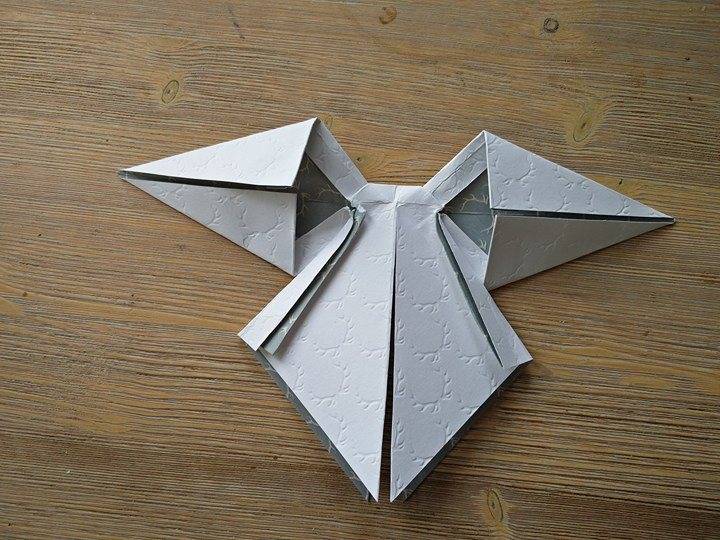
Take the large two diamond shapes and hold together, cut along the centre crease; make sure you cut through both layers of card.
Fold the line that you cut along and the adjacent sides by 1cm or less.
Turn the card over again, fold in the outer points (coming from the square in the middle), tuck the points under the square and press along the edge to hold in place, repeat on both sides.
Cut the excess overhang of the bow ribbon – if you wish, this is optional.
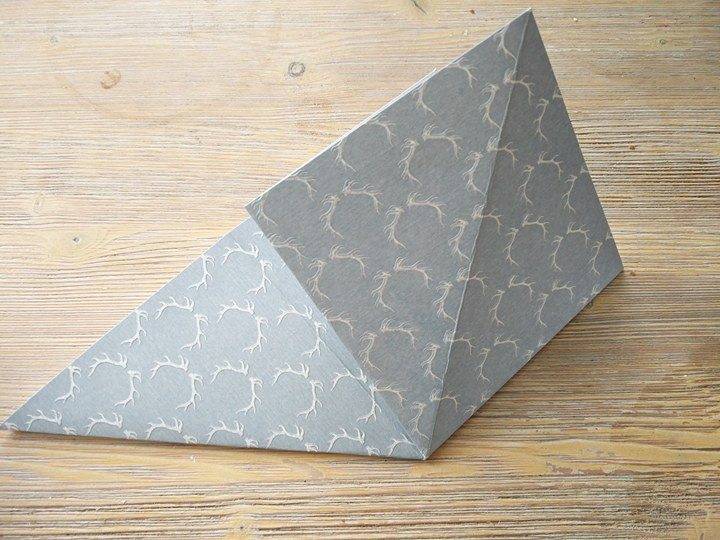
Ta dah! You’ve got your very own Occasion Origami Gift Wrap Bow! 🙂